Our Mirror Lab Puzzle Lab Solutions Guide will run you through all of the answers for each of the puzzles listed in the Mirror Lab section of the Puzzle Lab! We’ll have a full list of the puzzles, as well as the answers and some tips to help you get through the lab.
The Mirror style of puzzle is the most unique of them all. You are looking to create a perfect mirror of your opponent’s board. You might be forced to heal your enemies minions to match them up with yours, and do all sorts of crazy things to get them to match up! Here’s Blizzard’s official description:
These tasks challenge the assistant to create a board state where both sides are perfect mirror images of each other: minion positioning, health, attack, etc. This should yield plentiful data on various means of board manipulation.
Our Other Puzzle Lab Guides
- Lethal Puzzle Lab Solutions Guide
- Survival Puzzle Lab Solutions Guide
- Board Clear Lab Solutions Guide
- Dr. Boom Puzzle Lab Solutions Guide
Mirror Lab Puzzle Solutions, Answers, & Puzzle List
We’ve got all of the solutions to the Mirror Puzzles listed below! Be sure to follow each step carefully, order can be important depending on the puzzle.
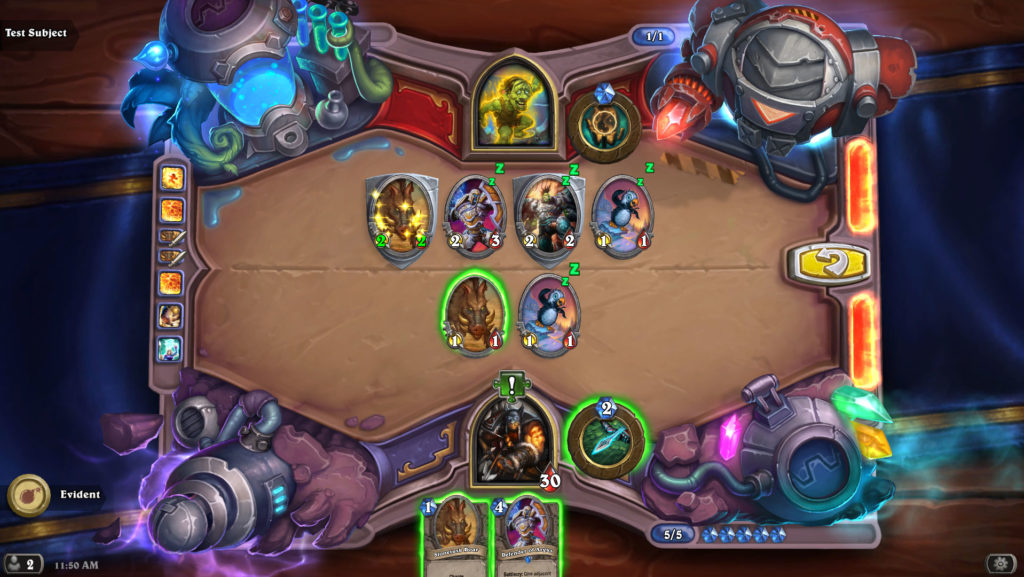
Test Subject #362 Mirror Lab Puzzles Answers & Solutions
Puzzle #1 – First steps

- Play your Wisp on the left side.
- Play your River Crocolisk on the right side.
Puzzle #2 – Smoldering Shield
- Fireball the Sen’jin Shieldmaster.
- Play your Wisp on the left side.
- Play your Chillwind Yeti on the right side.
Puzzle #3 – In a Flash
- Kill the Stonetusk Boar.
- Use Chillwind Yeti.
- Use your hero power to heal back the River Crocolisk.
Puzzle #4 – Adorable Sacrifice
- Throw your Murloc Tinyfin into the Bloodfen Raptor.
- Kill the Bloodfen Raptor with your Elven Archer.
- Ping down your Elven Archer.
- Play your Wisp.
Puzzle #5 – Pursuit of Knowledge
- Use your Arcane Intellect.
- Play your Novice Engineer on the left side.
- Play your Dire Mole on the right side.
Puzzle #6 – Brazed Pork

- Attack the Chillwind Yeti with your Stonetusk Boar”]s.
- Ping one of the opposing Stonetusk Boars.
- Fireball the remaining one.
Puzzle #7 – Shields up!
- Play the Stonetusk Boar in the middle.
- Buff both Boars with your Defender of Argus.
- Kill the Frostwolf Grunt with your Boar on the right side.
Puzzle #8 – Three Odd Yetis
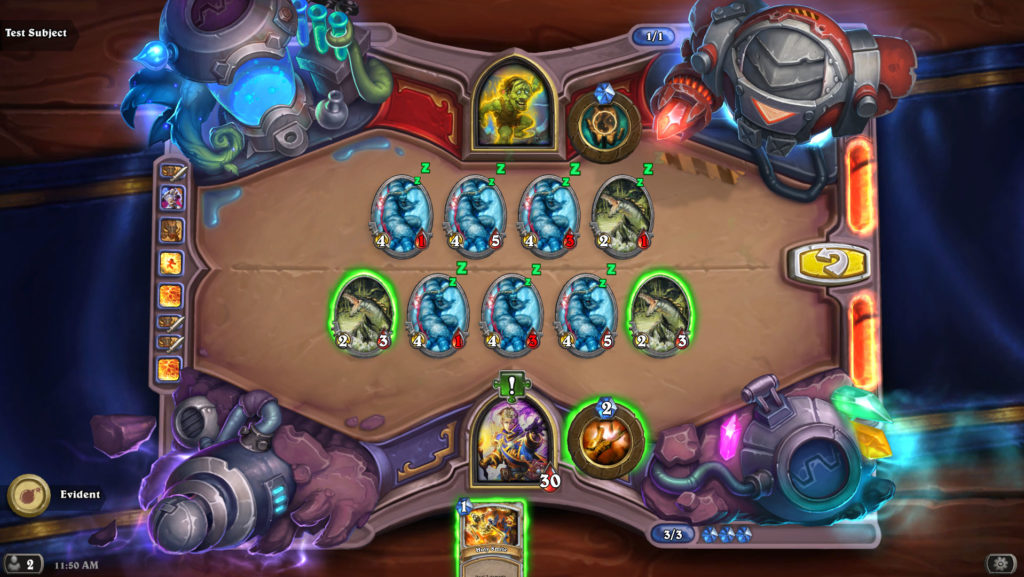
- Trade your left River Crocolisk into the Chillwind Yeti in the middle.
- Heal your opponent’s River Crocolisk with your hero power.
- Use Holy Smite on your right Yeti.
Astromancer Arwyn Mirror Lab Puzzles Answers & Solutions
Puzzle #1 – Loss and Gain
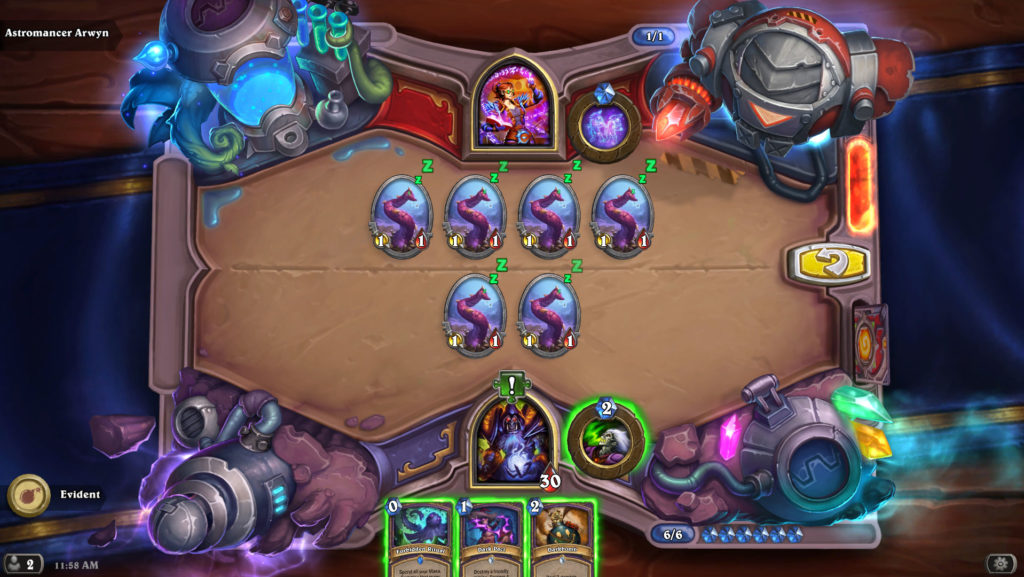
- Darkbomb your own face.
- Use Dark Pact on one of the tentacles.
- Cast Forbidden Ritual.
Puzzle #2 – Explosive Assault

- Use Frostbolt on your opponent’s Unstable Ghoul.
- Trade your own ghoul into the Bloodfen Raptor.
- Cast Arcane Explosion.
Puzzle #3 – Dragonslayer

- Cast Inner Fire on the opponent’s Sleepy Dragon.
- Kill it with Shadow Word: Death.
- Trade your Faceless Behemoth with your opponent’s.
Puzzle #4 – Nature’s Wispers
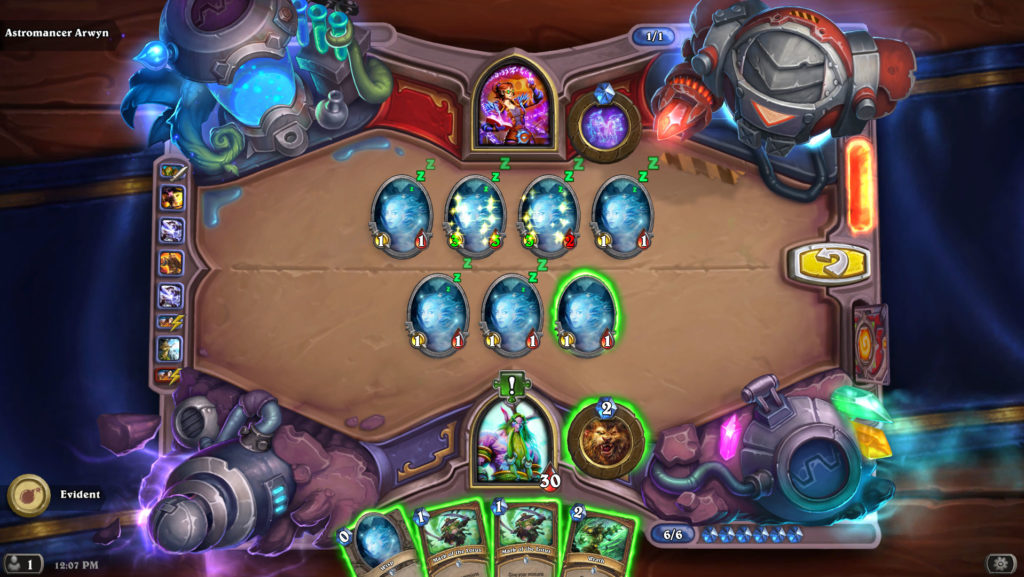
- Use Wrath on your opponent’s 3/3 Wisp.
- Trade one of your Wisps into the 3/2 Wisp.
- Use your hero power to finish it off.
Puzzle #5 – Burning Volley
- Use Elven Archer on the opponent’s left Gurubashi Berserker.
- Use Elven Archer on your own right Gurubashi Berserker.
- Cast Volcanic Potion.
- Ping your own Gurubashi Berserker on the right.
Puzzle #6 – Divine Alignment
- Use Holy Smite on your own Chillwind Yeti on the left side.
- Use Holy Smite on your own Faceless Behemoth.
- Cast The Stars Align.
- Cast Divine Spirit on your 10/4 Behemoth.
- Heal your Faceless Behemoth on the right side with your hero power.
Puzzle #7 – Aha!
- Place Sorcerer's Apprentice on the left side of Archmage Antonidas.
- Cast your Arcane Intellect for two mana.
- Place Sorcerer's Apprentice on the right side of Archmage Antonidas.
- Cast Molten Reflection on one of your Apprentices.
- Cast your Arcane Intellect for zero mana.
- Use the coins to gain 4 mana and use four Fireballs on the two Chillwind Yetis, your own Antonidas and the extra Sorcerer’s Apprentice on the opponent’s side of the board.
Stargazer Luna Mirror Lab Puzzles Answers & Solutions
Puzzle #1 – The ol’ Switcheroo
- Use Holy Smite on your Booty Bay Bodyguard
- Use Divine Spirit on the opponent’s.
- Cast Confuse.
- Use Divine Spirit on your Booty Bay Bodyguard.
Puzzle #2 – It’s in the Stars
- Cast Spirit Lash.
- Use Holy Smite on your own Wargear.
- Use Holy Smite on your own Rusty Recycler.
- Heal your own Spider Tank with your hero power.
- Cast The Stars Align.
- Cast Circle of Healing.
Puzzle #3 – Nether Side Up
- Play Ironbeak Owl and silence one of the Devilsaur Eggs.
- Cast Darkbomb on another egg.
- Bump your Meat Wagon into the summoned 5/5, killing it and summoning a Devilsaur Egg for you.
- Cast Hellfire.
Puzzle #4 – Filthy Rodent
- Play Dirty Rat.
- Kill your opponent’s Dirty Rat with your War Golem.
- Attack your opponent’s War Golem with your River Crocolisk.
- Kill your opponent’s Boulderfist Ogre with your Boulderfist Ogre.
- Use Holy Smite on your own Boulderfist Ogre.
- Use Shadow Word: Pain on your own Dirty Rat.
- Heal your own War Golem with your hero power.
Puzzle #5 – A Quest For Three
- Backstab your own Questing Adventurer.
- Shiv your own Questing Adventurer.
- Eviscerate your own Wisp.
- Kill your opponent’s Wisp with your hero power.
Puzzle #6 – Chilling Winds
- Play Kobold Geomancer.
- Kill your opponent’s 4/2 Chillwind Yeti on the right with your Moonfire.
- Heal your opponent’s 4/2 Chillwind Yeti in the middle with your Healing Touch.
- Kill own Kobold Geomancer with your Moonfire.
- (Feel free to use Innervate for style points.)
Zerek, Master Cloner Mirror Lab Puzzles Answers & Solutions
Puzzle #1 – Noble Sacrifices
- Sacrifice your Silver Hand Recruits into the Abomination.
- Play Bolvar Fordragon.
- Cast Cosmic Projection.
- Play the Coin.
- Cast Cosmic Projection.
- Cast Consecration.
Puzzle #2 – Shrinking Solutions
- Heal the damaged Sea Giant with your hero power.
- Use Shrinkmeister on the Cabal Shadow Priest.
- Cast Confuse.
- Use Uplink on the Sea Giant on the left side.
- Use Potion of Madness on a Shrinkmeister to kill the Cabal Shadow Priest.
Puzzle #3 – Perfect Patrons
- Use Execute on the 3/2 Grim Patron.
- Cast Whirlwind.
- Use your hero power.
- Shield Slam your opponent’s new 3/2 Grim Patron.
- Cast Whirlwind.
Puzzle #4 – Deathwing Dilemma
- Cast Confuse.
- Play Radiant Elemental.
- Use Light of the Naaru on your Wild Pyromancer.
- Use Holy Smite on your Wargear.
- Heal your Wild Pyromancer with your hero power.
- Use Vivid Nightmare on your Wild Pyromancer.
- Cast Spirit Lash.
Puzzle #5 – Infestation!
- Cast Whirlwind.
- Cast Charge on the Animated Berserker.
- Play Dirty Rat.
- Play the Incubator and copy a 2/5 Dirty Rat.
- Swap hands.
- Play Dirty Rat.
- Hit the healthy Dirty Rat with the Animated Berserker.
Mirror Dr. Boom Mirror Lab Puzzles Answers & Solutions
Puzzle #1 – Cruel Souls
- Copy the Abomination with Prince Taldaram.
- Use Kidnapper on a Sea Giant.
- Kill your opponent’s Abomination with your Kidnapper.
- Trade your Abomination into the 6/1 Worgen Greaser.
- Kill the remaining Sea Giants with Soulfire and the Cruel Dinomancer.
Puzzle #2 – Ride the Wave
- Attack with Archbishop Benedictus and return him to your hand thanks to the Freezing Trap.
- Play Archmage’s Insight.
- Cast Recycle on one of the Ultrasaur.
- Kill the Hoarding Dragon with the Polluted Hoarder and the Radiant Elemental.
- Use a coin to replay Archbishop Benedictus. He will get copied by the Mirror Entity.
- Kill the Loot Hoarder with the Ice Rager.
- Use Healing Wave to kill the remaining Ultrasaur.
- Trade your Auchenai Soulpriest for the Reckless Rocketeer.
Puzzle #3 – Hello Darkness
- Play Archmage’s Insight.
- Play Boots of Haste.
- Cast Toxic Arrow on the Dire Mole.
- Cast Betrayal on the Dire Mole.
- Use your hero power to kill the Dire Mole.
- Play Vanish.
- Play Gloves of Mugging.
- Play Novice Engineer.
- Copy The Darkness with Faceless Manipulator.
- Use Naturalize on your Novice Engineer.
Puzzle #4 – The Ray of Roasting
- Cast Shadow Madness on Glinda Crowskin.
- Copy Aviana with Prince Taldaram.
- Copy Mal'Ganis with Prince Taldaram twice, buffing its health above 10.
- Play Kun the Forgotten King and refresh your mana crystals.
- Happy roasting!
For anyone stuck on Three Old Yetis after smite’s damaged was increased to 3:
https://www.youtube.com/watch?v=G3DGqNGc9qo
Stuck last Mirror Dr Boom. Followed your guide on last Ray of Roasting, Seems after using Ray of Roasting, it keep resetting.
You have to copy mal’ganis twice
Puzzle #5 – Burning Volley
Play Elven Archer, using its Battlecry on the left-hand enemy Gurubashi Berserker
Play Elven Archer, using its Battlecry on the right-hand friendly Gurubashi Berserker
Use your Hero Power, Fireblast on the right-hand friendly Gurubashi Berserker
Play Volcanic Potion
Puzzle 6 – Chilling Wind (Fastest Way)
1.) Moonfire x2 to 3rd Chillwind Yeti
2.) Healing Touch the Chillwind Yeti on the opponent side (Right-Hand Side)
Correction:
1.) Moonfire x2 to 3rd Chillwind Yeti on the opponent side
It’s possible to beat Deathwing Dilemma in multiple ways; I didn’t need to use Vivid Nightmares for mine. Basically, I just used everything (including hero power) onto my wild pyromancer after using confuse, keeping it alive enough to kill everything except for deathwings. https://puu.sh/BimCM/d6eb083d18.jpg
Throw your Murloc Tinyfin into the Bloodfen Raptor.
Kill the Bloodfen Raptor with your Elven Archer.
Ping down your Elven Archer.
Play your Wisp.
This can be reduced to:
Throw your Murloc Tinyfin into the Bloodfen Raptor.
Ping down the Bloodfen Raptor.
Play your Wisp.
Just trade trade and play raptor. XD
Nr 6, Divine Judgement is wrong. So wrong. First off, you dont even get 3 smites :/
It’s been fixed now, thanks for the heads up.
Ell rayo e asado ell ultimo no funciona
RAY OF ROASTING DOES NOT WORK
You have to Copy Mal’Ganis twice
anyone have mirror labs, dr boom stage @?
*stage 2
You said Cast Recycle on one of the Hoarding Dragon with the Polluted Hoarder and the Radiant Elemental. But there is only one Hoarding Dragon’s. it just doesn’t make sense to me.
Nvm found it
I actually beat Hello Darkness a different way, which resulted in the entire board being empty. It’s so cool how some of them have different ways to win
While this is helpful, it’s also very messy and missing steps. For example, on the third Dr. Boom puzzle you have to play Vanish after killing the Dire Mole, then play Gloves of Mugging. It’s a good list, but it needs some proof reading.
I dont understand what puzzle 2 of Arwyn is supposed to say, you dont even have 3 holy smites and you dont specify on which faceless to smite
malganis kills void lord
shadow madness crowskin
taladrim aviana
taladrim malganis
taladrim grommish
kun refill mana crystals
abom into the ultrasaur
taladrim aviana
taladrim malganis
deathspeaker the 5/5 malganis
taladrim the 5/5 immune malganis
treachery one of the 5/5 immune mal’ganis
kun refill mana crystals
ray of roasting for profit
6. DIVINE ALIGNMENT
1. Use Holy Smite on your own Chillwind Yeti on the left side.
2. Use Holy Smite on your own Faceless Behemoth on the left side.
3. Cast The Stars Align.
4. Use Inner Fire on your own Faceless Behemoth, now on the left side (it has 4 hp before the spell).
5. Heal your Faceless Behemoth on the right side with your hero power.
*Fixed*
Thank you
On #4 you’re suppose to use Divine Spirit not Inner Fire.
@Styx
thanks for the fix
For Ray of roasting, Malygos should be Malganis
Fixed, thanks!
For hello darkness, should it be vanish then mugging?
Fixed!
Just found the solution for the match:
first attack with malganis the void lord, then madnesss on crow, taldaram on aviana, now clear voidwalkers with corw and a copied gromash, make a cpopy of malganis refill mana, and kill ur abombmination with uktrasaur, then get aviana back, make malganis invulnerable, then copy it and use trickery.
Now both plaer have an invunerable malganis, then kun to refill mana and use the 10 mana spell. DONE
This aint working i end up with a 3/3 malganis vs a 9/3
For Chilling Winds, all you have to do is
1. Run your charged Chillwind Yeti into an opponent’s 4/2 Yeti
2. Use two Moonfire on the other 4/2 Yeti
3. Use a third Moonfire on your right-most 4/1 Yeti
In Deathwing Dilemma what is meant by “use wargear?”
What does “Use Wargear” mean on Deathwing Dilemma?
I figured it out, you need to use holy smite to deal two damage to it.
Ride The Wave needs a correction. Step 3 should state 3 “Cast Recycle on one of the Ultrasaurs.” Step 4 is missing, but it should state “Kill off the Hoarding Dragon with the Polluted Hoarder and the Radiant Elemental.”
The ride the wave one i wrong i think.
The Divine Alignment against Arwyn is wrong. It says to use 3x smites but you only get two lol
Shrinking soluntion cannot be done this way. After playing the first 3 cards you are out on mana crystals and no coins or other ways to get mana crystal
3. Use Potion of Madness on a Cabal Shadow Priest.
4. Cast Confuse.
5. Use Cabal Shadow Priest to kill the Shrinkmeister.
6. Use Uplink on the Sea Giant on the left side.
how do you beat the drboom puzzle with the 2 7/12 dinosaurs
The order for THE OL’ SWITCHEROO is wrong, it should be:
1. Use Holy Smite on your Booty Bay Bodyguard
2. Use Divine Spirit on the opponent’s.
3. Cast Confuse
4. Use Divine Spirit on your Booty Bay Bodyguard
The Old swithceroo quest step 3 and 4 are “switched”
6. DIVINE ALIGNMENT description is wrong! there is no 3 holy smites! and order is wrong too!
Yes, 4. should be double health and not another holy smite, then it works.
regards
heal the giant, shrinkmaster the shadow priest, cast confuse, cast potion of madness on shrinkmaster, kill the cabel shadow priest with the shrinkmaster, uplink the sea giant
Ty so much I kept on banging my head against the wall tryin to figure this one out. Ty again
For Zerek 5:
1. Use Whirlwind
2. Use Incubator on an opponent’s Dirty Rat
3. Summon your own Dirty Rat
4. Cast Charge on the Animated Berserker
5. Cast Cosmic Projection
6. Summon the other Dirty Rat
7. Run your Animated Berserker into the 2/6 Dirty Rat.
How do i “use” Cabal Shadow Priest in “SHRINKING SOLUTIONS”?
same
You have to use Shrinkmeister on her, that shall work buddy 😉
It means Shrinkmaster the opponent’s Cabal
not enough mana to go that way, yes
3. Use Potion of Madness on a Cabal Shadow Priest.
4. Cast Confuse.
5. Use Cabal Shadow Priest to kill the Shrinkmeister.
6. Use Uplink on the Sea Giant on the left side.
No idea stuck on this one aswell
Any idea how to do puzzle #5 of Zerek? The one with dirty rats.
That’s up now as well! 🙂
1. Heal the damaged Sea Giant with your hero power.
2. Use Shrinkmeiste and Potion of Madness on Cabal Shadow Priest.
3. Cast Confuse.
4. Kill 1 Shrinkmeister with Cabal Shadow Priest.
5. Use Uplink on the Sea Giant on the left side.
It’s been fixed, sorry about that!
Puzzle #6 is wrong we dont get three holy smite we only get two and a divine spirit
use shrinkmeister on their shadowpriest and then follow the steps
1. Uplink the sea giant 8/6 then heal it
2. play shrink master, right side of the sea giant, and use it to the cabal,
3. play potion of maddness
4. play confuse
5. kill one of shrinkmasters with cabal
I’m still struggling with Dr boom on mirror. the best i’ve got so far:
malganis attacks the void lord,
shadow madness on glinda crow
taldaram on aviana
destroy 1 voidwalker with Crow
taldaram on grommash (attack the other voidwalker)
then, ticking abomination can attack ultrasaur to clear board when needed leaving crow with 1hp
cast kun once for 10 armor, then again for10 mana
ticking abomination attacks ultrasaur,
taldaram on aviana again,
cast kun for armor twice,
trickery for make some room, but kun cannot be casted enough times to make it viable (any idea?)
Same with me.
I had the feeling that the ticking abomination should hit the stealthed 100 HP bomb, twice, while your’e invulnerable, but you cannot copy the abomination and take it on the other side of the board…
I also thought about armoring up for 80 armor, but getting 8 Kuns seems impossible.
Seems like you need to give him Abomination in order to infinitely copy it.
How do you copy and kill it, once it’s the other side? Taldaram will stay on your side, since you have only one trickery.
Was trying to think of the way to leave it with 1hp but couldn’t figure it out 🙁
Got an idea! You need to give him immune malganis!
malganis kills void lord
shadow madness crowskin
taladrim aviana
taladrim malganis
taladrim grommish
kun refill mana crystals
abom into the ultrasaur
taladrim aviana
taladrim malganis
deathspeaker the 5/5 malganis
taladrim the 5/5 immune malganis
treachery one of the 5/5 immune mal’ganis
kun refill mana crystals
ray of roasting for profit
probably not the only solution but im pretty sure it’s the intended one:
1. Shadow madness Glinda
2. Taldaram Aviana
3. Taldaram Mal’Ganis
3. Deathspeaker 3/3 (5/5) Mal’Ganis
4. Kun for mana
5. Treachery the Immune Mal’Ganis
6. Taldaram Mal’Ganis
7. Trade Ticking Abomination into VoidLord and ping it
8. Taldaram Aviana again
9. Kun for mana
10. Taldaram Mal’Ganis
11. Deathspeaker 3/3 (5/5) Mal’Ganis
12. Trade Gilda into Voidlord
13. Kun for mana
14. Ray of Roasting for the win.
Thank you this worked!