Book of Heroes is a new series of solo content, and the very first one was just released. Each chapter will tell the story of a different “base” Hearthstone Hero, starting with Mage – Jaina Proudmoore. More will come soon – roughly once per month. You can learn more about them with the official Hearthside Chat video.
During the 8 adventure missions, we will learn about the character’s backstory, rise to fame/power, and often fall. However, you can tell only so much through the gameplay and a few dialogues, that’s why I’ve paired up with our resident Loremaster Tharid to create a more unique guide.
Each challenge will be covered from two perspectives – lore and strategy. In the lore parts, Tharid will offer a deeper look into that specific fragment of Jaina’s story. In the strategy parts, I will cover the actual Hearthstone gameplay and how you should approach each matchup.
Table of Content
- Challenge #1 – Archmage Antonidas
- Challenge #2 – Prince Kael’thas
- Challenge #3 – Prince Arthas
- Challenge #4 – Grommash Hellscream
- Challenge #5 – Archimonde
- Challenge #6 – Garrosh Hellscream
- Challenge #7 – Thrall
- Challenge #8 – Aethas Sunreaver
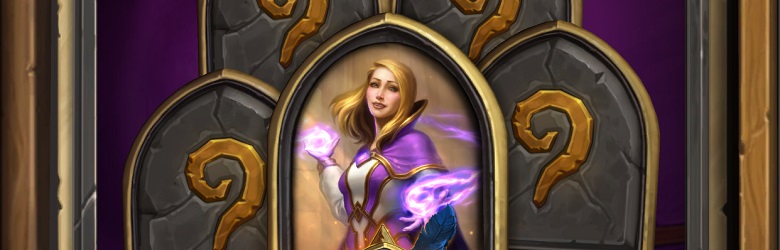
Challenge #1 – Archmage Antonidas

Lore
In the first mission, Jaina appears as a young member of the Kirin Tor.
When Jaina was just eleven years old, her parents and rulers of Kul Tiras, Daelin and Katherine Proudmoore, found out about the exceptional magical talent of their daughter, and decided to send her to the city of Dalaran, home of the Kirin Tor.
Over the years, Jaina completed her basic training with ease, and decided to ask no one less than the great Archmage Antonidas if she could become his apprentice – an undertaking that took a whole lot of convincing.
Strategy
Your Hero Power: 2 mana, “Deal 1 damage.”
Opponent’s Hero Power: Passive, “Your spells cast twice.”
It is more of an introductory challenge – even though Antonidas’ Hero Power looks quite powerful, he doesn’t really have any strong spells to take advantage of it. Don’t worry about burn and such – he’ll mostly play stall & hand refill tools, and draw A LOT of cards. He will constantly fill his hand, be it with Arcane Intellect, Research Project or various copy cards like Duplicate or Echo of Medivh.
Mulligan for some early plays like Frostbolt and Gray Cat, you can also keep Water Elemental – it will come handy removing his minions. Try to keep his board clear so he won’t copy too many things with Echo. Trade off low health minions, because they will likely die to Twilight Flamecaller or Arcane Explosion (deals 2 because of Antonidas’ Hero Power). As long as you keep his board clear, he will just fatigue himself to death.
Interestingly, one way to win this matchup is simply by letting him fill his board with Mirror Image. Once he fills all 7 slots, he can’t really do anything else – you just leave them, ping him every turn and pass. It’s a pretty cheesy way to win, but if it works…
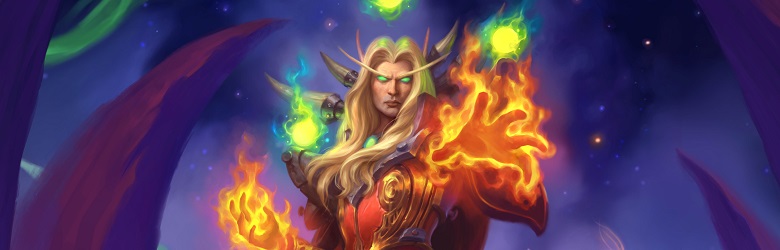
Challenge #2 – Prince Kael’thas
Lore
During her time in Dalaran, Jaina became acquainted with Kael’thas, the Prince of Quel’thalas, kingdom of the high elves. Back then, Kael’thas – just like Antonidas – was a member of the Council of Six that led the magocracy of the Kirin Tor, protected the city of Dalaran, and provided advice to all citizens of Azeroth.
Attracted by her sheer beauty as well as her incredible talents, the much older Kael immediately felt attracted to the “Daughter of the Sea”. What the young prince didn’t know though is that Jaina’s heart already belonged to someone else.
Strategy
Your Hero Power: 2 mana, “Deal 2 damage.”
Opponent’s Hero Power: Passive, “After you cast a spell, add a Fireball to your deck. It costs (2) more.”
Besides having to listen to Kael’s awkward pickup lines, the matchup is also quite easy. Your deck is full of freeze cards and synergies – and you want to capitalize on those.
You can’t beat Kael in a very long game, because his deck will become full of 6 mana Fireballs at one point, so if he draws right, he might be able to kill you over a few turns with burn. On the other hand, you don’t need to rush things that much – it takes a while for him to get enough burn. Try to not take too much minion damage, but unless you’re down to 12 or below, you should be fine. You also have an Ice Block + Counterspell that might keep you alive against Fireballs. Unlike Antonidas, Kael doesn’t draw many cards, so he will run out of things to do and rely on top decks sooner or later.
At one point you will draw so many ways to freeze the board that you can stall for multiple turns. The easiest way to win is to stick a minion or two and keep freezing the opponent’s board + Hero Powering their face every turn. 2 damage per turn from Hero Power might not seem like much, but since Kael doesn’t regain health, it really stacks up quickly. You can close out the games with your Iceballs, which are basically Fireballs with frosty flavor.
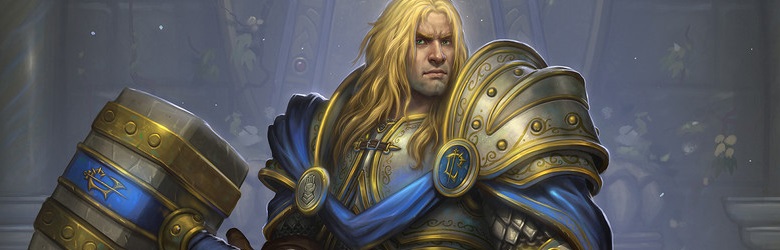
Challenge #3 – Prince Arthas
Lore
The aforementioned “someone else” that Jaina loved so much was Arthas Menethil, prince and rightful heir to the throne of the powerful human kingdom Lordaeron.
Their history goes way back when Jaina visited Lordaeron on her way to become a mage in Dalaran. Later on, Jaina’s relationship with Arthas intensified when the young prince visited Dalaran for further magical studies – and to spend time with Jaina.
Shortly after, Prince Arthas planned to propose to Jaina, but hesitated after he had been confronted with the possible burden of leading the entire Lordaeron empire sooner than later. Eventually, Arthas decided to end his liaison with Jaina so that both of them could focus on their duties – a decision that caused Jaina great heartache up to this day.
Some time later, Arthas investigated an ominous plague that spread all over Lordaeron. He was in dire need of magical expertise, so Jaina decided to support the obstinate young prince.
Strategy
Your Hero Power: 2 mana, “Deal 3 damage.”
Opponent’s Hero Power: 2 mana, “Deal 2 damage to all enemy minions. If any die, give all your minions Divine Shield.”
Arthas’ Hero Power makes things simple – you don’t want to play low health minions. To be fair, the only minions in your deck that are in the range are Sorcerer's Apprentices (which honestly makes them quite useless). But with your Hero Power now dealing three damage, both board control and burning your opponent down should be a piece of cake.
He doesn’t run any bigger threats – the small ones can easily be answered with your Hero Power, and the midrange ones can be frozen until you can ping or AoE them down. He plays a small Libram package, but don’t worry, the only Libram he actually runs is Libram of Wisdom – no Justice or Hope (so your big minions are safe and he won’t summon a big Taunt). Arthas DOES play a bunch of healing – Holy Light, Paragon of Light, Guardian of Kings, Lay on Hands. But honestly that’s not even close to outheal your damage.
The easiest way to win this matchup is to control the game with HP throughout the early-mid game, and when there’s nothing to clear just use it to hit face. At one point stop Hero Powering minions at all – just deal 3 to him every turn and keep freezing the board until there’s enough minions to warrant an AoE clear like Flamestrike. At one point your minions become really cheap (either through Giants natural discounts or Luna's Pocket Galaxy) – the best way to close out the game is dropping a cheap Giant and copying it with Molten Reflection. Siamat with Divine Shield and Windfury + Frost Nova is also a pretty solid way to seal the game. Sorcerer's Apprentice is kind of useless, because it just dies to his Hero Power – you can drop it with a few spells on a turn, but most of the time it’s better to keep it in hand. Just keep in mind that he runs Noble Sacrifice, so most likely your first big hit will be blocked. Then just finish him off with burn like Fireball or Pyroblast. To be honest, you could probably win it without using minions at all.
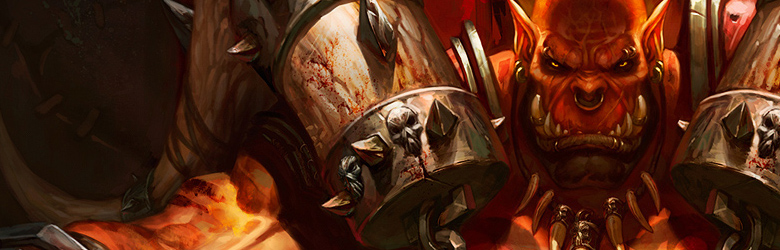
Challenge #4 – Grommash Hellscream

Lore
What Jaina sensed in Arthas sadly became harsh reality: Driven by despair and haunted by his inner demons, her love turned into the Lich King, and together with the Scourge, a mindless army of undeath, he ravaged the Eastern Kingdoms.
That again caused both Alliance and Horde to set sail to the continent of Kalimdor. Jaina and Thrall, who led their people to discover new territories, tried to avoid acts of war in the process – not last because an oracle named Medivh told them so. An orc called Grommash Hellscream, however, had none of it and attacked the Alliance.
The following conflict involved countless dead night elves which caused the demigod Cenarius to appear to punish those driven by bloodlust. On the verge of defeat, Grom found a fountain, corrupted by the pitlord and Burning Legion lieutenant Mannoroth, and he decided to drink from it just like he drank Mannoroth’s blood years ago to corrupt himself, the orcs and the Horde as a whole.
Once again empowered by demonic energies, Grom and his chaos orcs defeated Cenarius. However, they were now slaves of the Burning Legion and Mannoroth. Eventually, Thrall managed to capture Grommash, and asked Jaina to help free one of his closest brethren from the demonic curse once and for all.
Strategy
Your Hero Power: 4 mana, “Summon a Water Elemental.”
Opponent’s Hero Power: 5 mana, “Equip Gorehowl.”
As you can probably imagine, from Turn 5 onwards, Grommash will constantly have access to Gorehowl. While it’s most efficient when used as a board control tool, even if he just swings it at you, his Hero Power is basically 5 mana “deal 7 damage”. Luckily, your Hero Power is kind of a counter for that – since you can summon Water Elementals from Turn 4 onwards, you should have a way to keep your opponent frozen.
Your deck plays like a poor version of Tempo/Cyclone Mage – but to be honest, you won’t need that much of your combos anyway. Starting from Turn 4, most of the time you will summon Water Elementals with Hero Power to keep freezing Grommash, and you will usually play a cheap card or two with spare mana. You CAN do some cool plays, like Sorcerer's Apprentice + multiple cheap spells + Chenvaala / Mana Cyclone, but you don’t need those to win. You will mostly have to close the game with minion damage, but there’s still some burn you can use, like Fireball.
Grommash plays a sort of Tempo/Control build mix, with some proactive plays, but also quite a bit of removal & Armor gain. He runs Warpath and Brawl, so your board might suddenly disappear. But since your Hero Power gives you infinite value (while his is useless as long as he’s frozen), he can’t really outcontrol you, so unless he kills you with the weapon, you should be fine.
In the mid/late game, Thrall will come to your aid and start summoning spells for you – e.g. Voltaic Burst or Feral Spirit. Unless you were losing the game hard at that point, this should make the fight even easier.
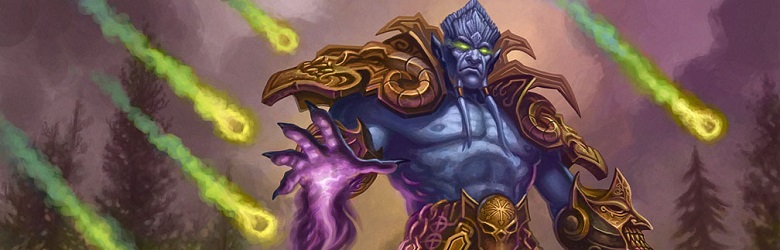
Challenge #5 – Archimonde
Lore
After Jaina had used a soul gem to safe Grommash’s soul from eternal slavery, she and Thrall continued their efforts to forge a strong alliance against the Burning Legion, which Medivh once warned them about.
Eventually, Archimonde, right hand of Sargeras, the leader of the Burning Legion, tried to burn down Nordrassil, the life-giving tree and original home to the night elves located on Mount Hjyal, only with the plan to access and drain the Well of Eternity, a source of unspeakable power that lay right beneath the tree.
To hold off the Burning Legion and Archimonde from destroying the home of the night elves and one of the sources of life on Azeroth, the kaldorei leaders Malfurion and Tyrande decided to team up with Jaina and Thrall.
Strategy
Your Hero Power: 4 mana, “Summon a 4/7 Water Elemental.”
Opponent’s Hero Power: 6 mana, “Summon two 6/6 Infernals.”
Archimonde starts with 40 health, so killing him might seem a bit more difficult, but in reality you only need to get him down to ~10 health. You play a deck very similar to the previous one, however instead of some Tempo shenanigans, you play more removal such as Shatter and Polymorph – and those will come handy.
Archimonde’s early deck is very Zoo-like – he plays multiple small Demons, which can actually be quite overwhelming. He also runs some small removal, but it’s usually not enough to get rid of your 4/7 Water Elementals. And they are your main game plan – mulligan for your early game removal like Frostbolt / Ray of Frost, but you might also keep a Frost Nova, because it will come handy on Turn 7.
Starting on Turn 6, he will rely on the Hero Power – summoning 2x 6/6 is very, very strong for 6 mana… but in this case not really, because those 6/6’s won’t be able to attack because they will be frozen. You can try removing the first batch instead of freezing if you can, but if not, then you can follow up his Turn 6 play nicely with Hero Power + Frost Nova or 2x Ray of Frost. He plays some bigger Taunts (such as Siegebreaker) and you should ideally keep at least one Polymorph / Shatter to get rid of those. You should be able to “kill” him around Turn 8, so you only really need two-three freezes or a few removals.
Challenge #6 – Garrosh Hellscream
Lore
Thanks to the alliance with the Horde and the night elves, the Defiler Archimonde had been defeated, and Jaina decided to make Theramore, an island on the eastern coast of Kalimdor, the new home of the Alliance refugees.
For many years and ignoring a few minor skirmishes, the truce between Horde and Alliance on Kalimdor held, even sustaining through the happenings of the terrible events of the Cataclysm.
But that changed when Thrall decided to step down as warchief and an orc named Garrosh Hellscream became the new leader of the Horde.
The son of Grommash had no interest in holding up peace with the eternal archenemy of the Horde, still holding a life-long grudge against the Alliance and the Proudmoore clan in particular.
The ongoing tensions between both factions eventually led to the Battle of Theramore, Garrosh’s attack against Jaina’s home and the last Alliance exclave on Kalimdor.
Strategy
Your Hero Power: 4 mana, “Summon a 5/8 Water Elemental.”
Opponent’s Hero Power: 0 mana, “Deal 4 damage to the Gates of Theramore.”
This challenge is quite different than the others – not only you play a deck full of custom cards, but you also start with four 0/10 Taunts on the board, each called “Gates of Theramore”. As you might have noticed, your opponent’s Hero Power is created specifically to get rid of them – assuming no other attacks, each gate will take 3 hits from it before it dies (however, realistically they will fall sooner because of Charge minions, some random damage from Pirates etc.). Even though they deal 3 damage to you on death (12 in total), they buy you a lot of time in the early game so you can amass enough power behind them. I would say that you don’t have to worry about your health, especially with a few huge Taunts keeping opponent’s early game push at bay.
Garrosh plays a version of Pirate Warrior, so he will try to aggressively win the board. Mulligan hard for the early game plays like Violet Spellwing, Kirin Tor Elemental (but try to keep those alive – they’re quite strong!) and Scalerider, which will give you something to do before Turn 4. However, starting from Turn 4, once you begin summoning 5/8 Elementals, you should have a very easy time both clearing his board and dealing some extra damage each turn (those 5/8’s are so much bigger than whatever he plays in the mid game). Prioritize minions like Ship's Cannon and Skybarge that might snowball with multiple Pirates, and if you keep the threats under control, you should win the game even before all the Gates fall.
You have an unique card that’s a massive late game win condition – Staff of Antonidas (it creates Fireballs whenever you cast a spell) – but trust me, you won’t really need it. It’s way too slow in this matchup. You’d rather just play more minions than spend 7 mana on a weapon that does nothing immediately.
Challenge #7 – Thrall
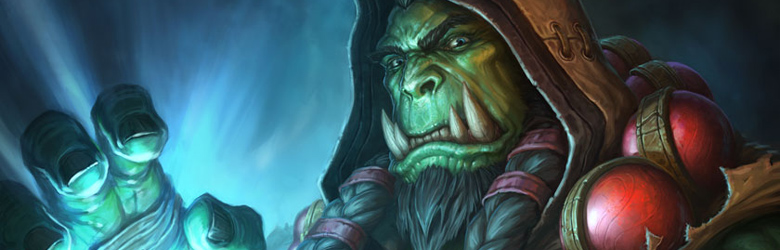
Lore
At the end of the battle, Garrosh eventually got what he wanted and completely annihilated Theramore by dropping a deadly mana bomb on the city.
Left with nothing but rage and the Kirin Tor mage Kalecgos, the blue dragon aspect that tried to help the Alliance during battle, by her side, Jaina was able to escape and only had one goal: revenge.
After the battle, she managed to recover the Focusing Iris, an arcane artifact once created by Malygos, which Garrosh used to empower the mana bomb he used to destroy Theramore.
Jaina, full of vengeance, plotted to use that artifact to avenge all those who were lost by summoning a crushing wave of water upon the Horde city of Orgrimmar – only to be opposed by Thrall himself in the last second.
Strategy
Your Hero Power: 3 mana, “Deal 2 damage to 2 random enemy minions. Freeze them.”
Opponent’s Hero Power: 2 mana, “Give all friendly minions Windfury.”
Your Hero Power has changed once again – you will no longer rely on beefed up Water Elementals to close your games, nor you can burn your opponent down with. Thrall starts with 50 health, and your Hero Power is more control-oriented, so you will have to play a more “fair” game.
Thrall plays a Control Shaman build, but his Hero Power makes any minion he sticks really threatening. Luckily, he doesn’t run any attack buffs like Bloodlust to synergize with it, but he DOES play some high attack minions, so be careful. His deck is quite top-heavy, with multiple big threats like Earth Elementals, Fire Elementals, Stone Sentinels, Walking Fountains and – probably the most scary one – Eye of the Storm. Luckily, you can at least freeze those, but if he had more minions at the time and you hit freezes on wrong targets, those can just kill you. Your deck runs NO AoE removal and Thrall can heal, so you should go for the control plan. Trying to stall the board and killing him is a bad idea. He runs some healing like Healing Rain and Walking Fountain mentioned above – those can put him out of the range quite easily. At one point you might find yourself unable to kill him nor clear/freeze the board, and he will just kill you on the backswing thanks to the Hero Power.
The biggest win condition in your deck is Focusing Iris – it summons a board full of Water Elementals and gives you a constant +1 Spell Damage. Spell damage might make it tempting to play as soon as possible, but don’t! You don’t have many spells that benefit from it anyway, and Thrall runs 2x Earthquake. You want to bait those first before dropping Iris. So your goal would be to stay on the board all the time. He runs some early-mid game removal, but not many – Twilight Drake will most likely die to Earth Shock and your small/damaged minions might get removed by Lightning Storm, but that’s about it. As long as you freeze / clear his minions all the time, Thrall won’t really be able to kill you – the only burn he runs are 2x Fire Elemental and Doomhammer, and that’s not nearly enough (especially since he won’t go face with those all the time – he will use them to remove minions too).
So that’s your game plan – use your Hero Power and own minions to clear his board all the time, make a pretty threatening board, force him to use Earthquake, repeat. After the second Earthquake, drop Iris and win the game. If you have a big board earlier and he doesn’t draw Earthquake – that’s even better, you might be able to finish him earlier.
Challenge #8 – Aethas Sunreaver
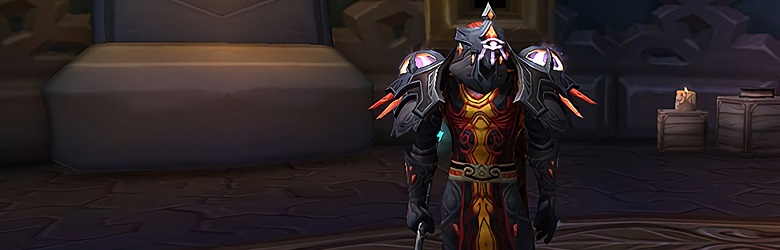
Lore
In the end it was yet again Kalecgos, the calm blue dragon mage, that helped Jaina to see the inanity of violence. Orgrimmar was left unharmed, and together with the blue dragon aspect, Jaina returned to Dalaran and the Kirin Tor.
Ashamed by her actions, Jaina, in front of the Council of Six, demanded to be demoted to the rank of a simple novice.
But instead, all members saw the greatness of Jaina’s actions and agreed on appointing her as leader of the Council of Six and successor of Rhonin, the great archmage who lost his life during the Battle of Theramore.
Honored by the decision, Jaina led the magocracy with peace and only peace in mind – however, she was still a proud member of the Alliance as well.
As the conflict between Alliance and Horde flared up once again, the Sunreaver blood elves of Dalaran were suspected to have pledged allegiance to the Horde – an unacceptable offense in Jaina’s eyes.
Strategy
Your Hero Power: 3 mana, “Deal 2 damage to 2 random enemy minions. Freeze them.”
Opponent’s Hero Power: 2 mana, “Deal 3 damage to the enemy hero and gain Spell Damage +2 this turn.”
This is the last, and by far the hardest challenge in this Book of Heroes. The biggest issue is inevitability – just like the Face Hunters you might see on the ladder, Aethas can deal 2 damage per turn with Hero Power – and he will. Starting in the mid game, he will press that Hero Power at every opportunity, and given that he plays a rather aggressive Secret Mage build with quite a lot of extra burn, each time he does it will bring you closer to death.
That’s why you need to play fast in the early/mid game. Luckily, your Hero Power is good enough to deal with most of the early game minions he plays, and even if it doesn’t kill one right away, it will still freeze it so it can’t attack. And that’s your main goal – do not let those minions attack you, or else you will die very quickly. Focus on clearing them with Hero Power + small removal, then try to stick a minion or two on the board.
Aethas runs a few Secrets, like Counterspell, Explosive Runes and Flame Ward. Triggering them is actually quite important starting in the mid game, so his Cloud Prince is not active (and so he can’t drop Sunreaver Spy out of range of your Hero Power). After you get to the late game, your big removals like Meteor or Flamestrike should be able to deal with most of his board states, especially if you sprinkle in a Hero Power or some minion damage. However, at this point you’re probably also at a rather low health, so he will put you on a clock with Hero Power. Do everything to minimize any other damage you take – it might not seem bad to take 2 extra damage from a small minion that you didn’t want to waste freeze on, but those 2 extra damage might be the difference between dying to the last Hero Power + top deck Fireball and winning the game.
There are two main ways to win this match – with minion pressure or Staff of Antonidas. As for the minions pressure, you want to stick in one of your bigger threats (Archmage Kalec / Violet Warden / Arcane Giant) and keep dealing damage this way while using your Hero Power & spells to deal with the board. Aethas doesn’t really run a lot of big removal – and if he uses his burn damage on your minions, then you’re honestly quite happy. Once he gets low enough, you can close the game with Fireballs and Pyroblast.
The other win condition is Staff of Antonidas. While it’s super slow to play, probably takes you a whole turn, then every spell you play turns into a Fireball… and so does the Fireball. This way you should easily be able to clear the board while also burning your opponent down. Your opponent is quite low on value / card draw, so once he runs out of cards, he will enter a top deck mode and won’t be able to do much per turn. He starts at 50 health, so there’s a lot of burn through, but it will only take a few turns if you add some minion damage etc. and keep flinging Fireballs at his face.
Congratulations! After beating Aethas, you have finished this entire chapter of Book of Heroes! You’ve learned more about Jaina’s lore and you can enjoy your free Mage pack!
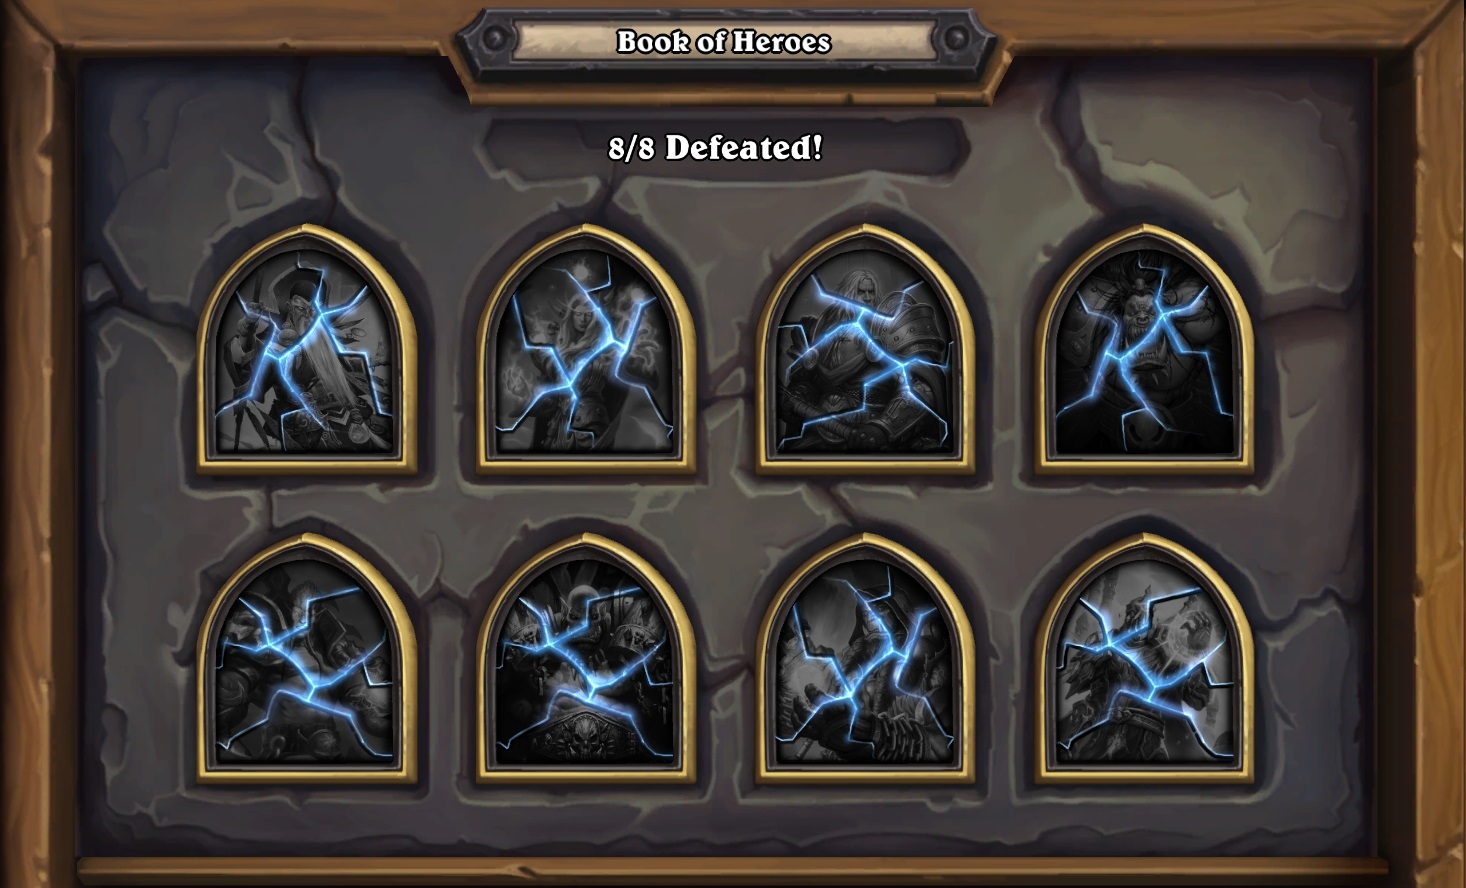
And again, huge shout-out to Tharid for covering the lore parts!
Why none still not pointing the elephant in the room…’assistant bigglesworth’? So it was not always a cat? Or Kelthuzad was so fond of him (not fond enough to turn him into a cat though) that he named his favorite pet after him?
There are no info on wow wiki….Blizzard give us answers!
Absolutely agreed! Bigglesworth as a once living gnome will hopefully become canon lore! 🙂
I agree that it was very easy to beat all challenges, but it was also very nice to read de lore. I had already beaten all the challenges but read the article because of the lore.
you finish all of the chapters way way sooner than reading all of this guides trust me
Well, those solo content strategy guides are mostly targeted at more casual / new players, which might struggle with some of the encounters.
And half of the article is about lore, Tharid explains a lot of the things that aren’t shown in the game, backstories, talks more about events shown in those encounters, so even if you don’t need help, but you’re interested in learning more about the character (in this case Jaina), I feel like it might be a solid read.
Jupp. No offence (and that article is a good read) but new solo content is a joke.