Tombs of Terror is the solo PvE adventure content for the Saviors of Uldum expansion. It picks up on the story from last expansion’s The Dalaran Heist. After League of E.V.I.L. has stolen the Dalaran city, they headed towards Uldum and unleashed plagues (which took the form of powerful Plague Lords). But completing their plan might not be as easy as they thought, because this time the League of Explorers is there to stop them. You will play as one of them, trying to stop plagues from spreading across the world.
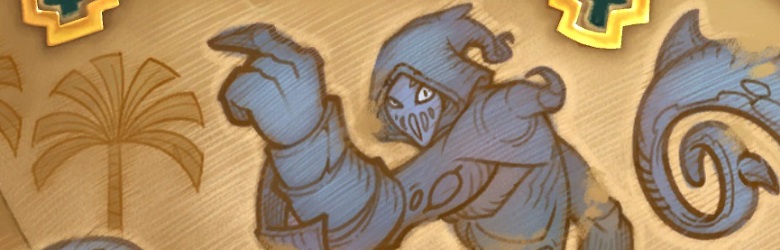
In the second chapter, players will visit the Scorching Dunes and fight against Plague Lord of Madness – K’zrath.
Check Out Our Other Guides!
- Tombs of Terror General Guide
- Chapter 1 Guide – Vesh, Plague Lord of Murlocs
- Chapter 3 Guide – Xatma, Plague Lord of Death
- Chapter 4 Guide – Icarax, Plague Lord of Wrath
- Chapter 5 (Finale) Guide – Tekahn, Plague Lord of Flames
- Reno Jackson Hero Guide – Mage / Rogue
- Sir Finley Hero Guide – Paladin / Shaman
- Elise Starseeker Hero Guide – Druid / Priest
- Brann Bronzebeard Hero Guide – Hunter / Warrior
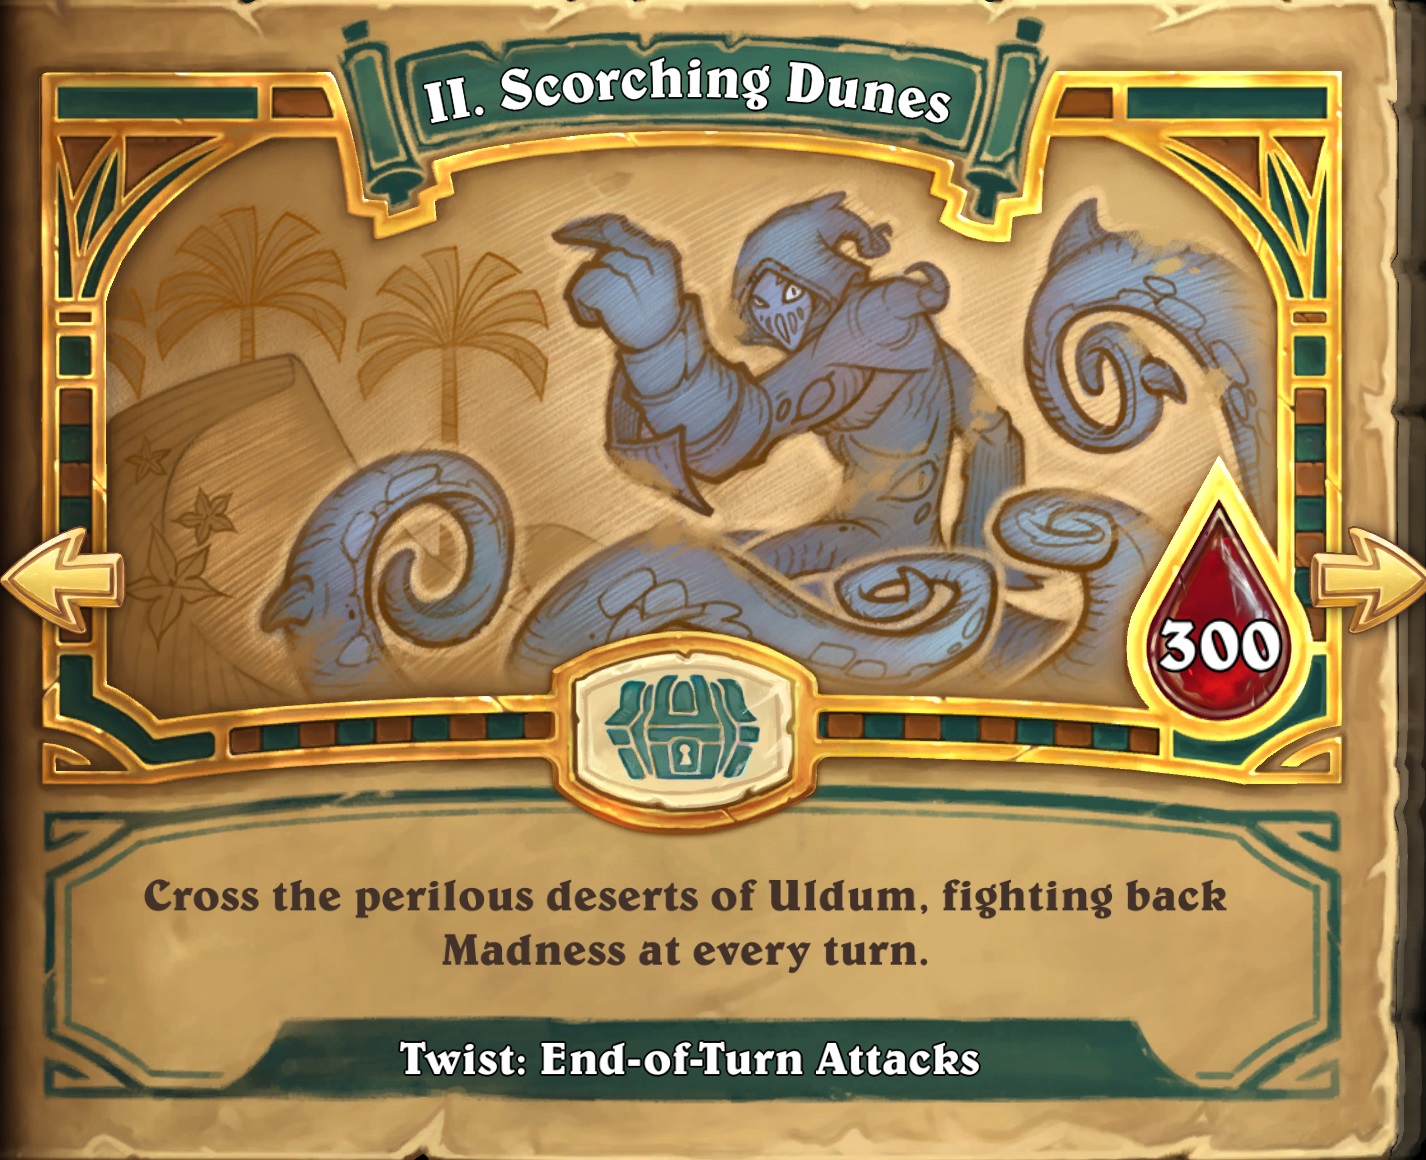
Twist: End-of-Turn Attacks
The twist is very self-explanatory – at the end of every turn, the right-most minion attacks a random enemy. It can attack either a minion or a Hero, which is very important to remember. It happens after every single turn – both yours and your opponent’s. Which means that having minions on the board is a huge advantage – if you don’t, then you’re missing on an extra attack every turn.
A few more information about the passive. Your right-most minion will attack no matter what. You just played it this turn? It will attack. You already attacked with it? It will attack again. It can’t attack? (e.g. Arcane Watcher) It will attack anyway. Minions with on-attack effects will trigger them, and minions with Windfury will only attack once (obviously). Which means that positioning on the board is very important in this chapter, but also deck building – picking cards that can utilize the effect best definitely won’t hurt your win rate.
Chapter 2 Strategy
What’s most important in this chapter is minion positioning and setting up your opponent’s board in a way that any random attack will be good for you. Since you can’t stop the passive in any way, you want to get most of it.
If your opponent has no minions on the board and you want to push as much face damage as possible, always have your highest attack minion on the right. It doesn’t have to be a new minion – if it’s already on the board, just keep it there and don’t play anything to the right side. It basically doubles the damage of that minion. For example, if you already have a 7/7 on board on the right side and opponent has no minions, then putting a 4/4 on the board there would decrease your damage by 3. Yes, you would get an attack from a new minion, but the old one wouldn’t get a second hit. But that’s a simple part.
Things get a bit more complicated when your opponent has minions on the board. Then you want to play a minion that you don’t mind trading with on the right. For example – opponent has a 3/3 minion on the board and you have a 4/3 on board and a 3/4 in hand. While you can just straight up trade your 4/3 into their 3/3, it’s not very efficient. That’s why you want to play the 3/4 on the right side. Now it will have a 50% chance to hit the opposing minion and clear without dying, making the trade great. In case of anticipating minion combat, you don’t always want to have the highest attack on the right – you’d much rather have a minion that will get good trades instead of just hitting something small and dying.
If you have a high attack minion on the board, however, you might want to guarantee that it will hit face. Under normal circumstances, you would often ignore opponent’s small, irrelevant minions when you’re pushing damage, but not in this chapter. A simple example – if your opponent has a 1/1 on the board and you have a 2/2 and a 5/5. Normally you could just ignore the 1/1 (assuming that your opponent doesn’t play any buff-related deck etc.) and go face with both. But in this case, if you do that, you push 7 damage and then have a 50/50 that 5/5 will kill the 1/1. So, on average, you’re going to push 9.5 damage (and you have a chance to damage your bigger minion, making it more vulnerable to removals). But if you just kill 1/1 with 2/2 and hit face with 5/5, you are now guaranteed to push 10 damage without any rolls and have your biggest minion undamaged. Of course – real life scenarios are usually more complicated. But the key is that in this chapter clearing your opponent’s small stuff might actually lead to dealing more damage in the end.
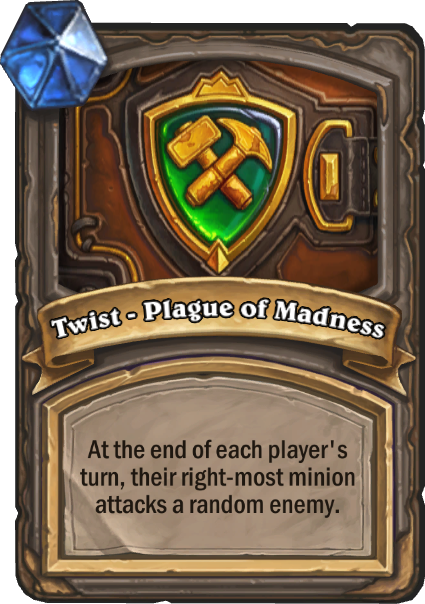
But putting the highest attack or the best trading minion on the right is not ALWAYS the correct choice. While it depends on the exact situation, putting a minion with on-attack triggers on the right (such as Vicious Fledgling or Cutpurse) might be a better idea since you will get an extra effect. If you have a “Can’t Attack” minion, you might want to put it on the right even if it won’t give you the best trades, simply because otherwise it might not be very useful without Silencing it (since, well, it can’t attack normally).
While deck building is less important than on-board positioning in this chapter, there are some things you might want to consider. For example, because the minions might get an instant attack (so some sort of immediate value), picking big, but slow minions is not that bad of an idea. By putting it on the right, you effectively turn it into a slightly weaker Ragnaros the Firelord – weaker because if it hits minion, it will still take damage, but on the other hand, it can be cheaper or have more attack etc. At the same time, I think that having some token generation or small minions that you can somewhat flood the board with is also a solid idea. The reason is that during the regular boss encounters they will soak random attacks from the opponent’s minions (so he will have lower chance to hit your best targets), but they are especially useful in the final encounter. Having only big minions means that you probably won’t get too far against K’zrath, because each of his Hero Powers works best against big minions. All in all, I think that a healthy deck in this chapter should NOT be midrange-focused – get some big minions to abuse the Twist, as well as some small minions (especially cards that generate multiple tokens) against the final boss.
K’zrath, Plague Lord of Madness Guide
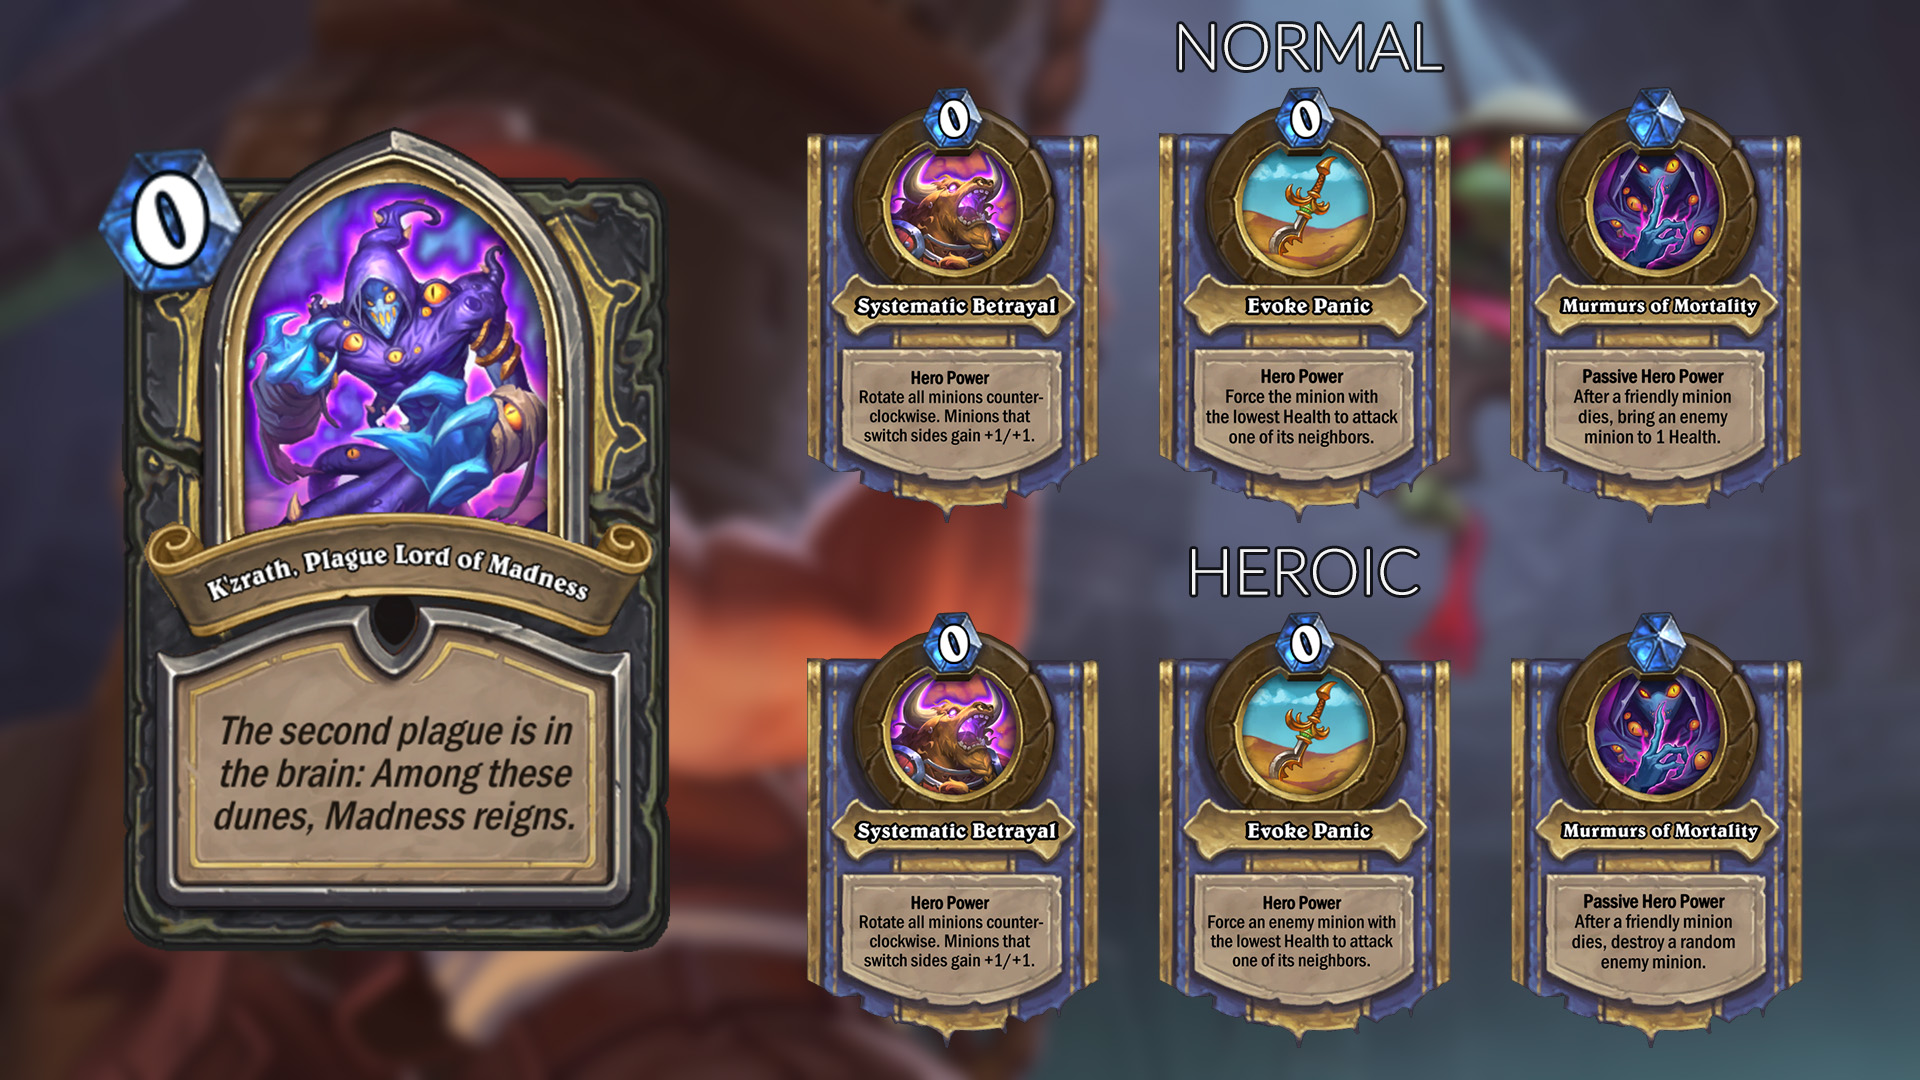
Phase 1 – Systemic Betrayal
First phase will work in the same way on both Normal and Heroic. It reminds me a lot of Carousel Gryphon from The Dalaran Heist – an encounter I loved and hated at the same time. I loved it from the design perspective, as it makes you play the game in a completely different way, but I also hated it because I had to analyze each turn carefully instead of just playing. And unlike Gryphon, which often shown up as one of the first bosses, here you will have to go through 100 HP to switch to the second phase. So good luck!
When it comes to strategy, first of all, I have an advice. Don’t try to play fast. Think about each move you do during your turns, plan ahead, it will take many, many turns to go through 100 HP. One bad play can mean that your biggest minions is now in your opponent’s control for many turns.
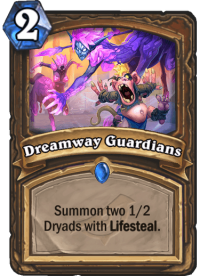
The basic idea is simple, and that’s why I’ve said before that the best deck for this chapter is a combination of big and small minions. Ideally you want to have 2-3 big minions on the board ON THE LEFT and then fill the rest with small minions ON THE RIGHT. This way you will keep your big minions to attack with and you will give away your small stuff. Cards that summon a few small minions, like let’s say Unleash the Hounds or Dreamway Guardians are very useful in this phase. Focusing on Midrange minions will make the steals bad and you won’t have enough cannon fodder to basically sacrifice into the Hero Power. Remember that the Hero Power is on auto-cast and it activates at the beginning of every K’zrath’s turn. Which means that he has no chance ot play something first – the board state after you end your turn will be the one that this Hero Power affects. Except one thing – Twist. At the end of your turn, the right-most minion will still attack a random enemy before it switches sides. Which means that having only a single small minion on the right, with bigger minions on the left of it, a very risky deal. If it runs into something bigger and dies, it means that you’ve just lost your big minion. That’s why, ideally, you want to have at least 2 small minions on the board on the right side. One is enough if your opponent has an empty board or there is no way that it will die (e.g. your opponent has only 1-2 attack minions and you play something with 3 health).
Of course, it also means that you will get your opponent’s minions too. At the start of his turn, he will “donate” his left-most minion to you. Unlike him, which can’t attack with the minion immediately, you will be able to make a hit with it as soon as your turn starts. While you will be happy with getting anything for free, you have some control over what you’re getting. Let’s say that K’zrath has a small minion on the left (the one you would get) and a mid-sized minion next to it. Killing the small minion means that you will get the other one instead. This is also a solid strategy for when he managed to snatch one of your bigger minions – try to kill everything to the left of it so you get it back next time.
Don’t play a single minion into an empty board, there’s no point. It will just get stolen by the Hero Power and you won’t be able to do anything anyway. You might be mostly passing over the first few turns, depending on your draws.
K’zrath plays a bunch of “thief” effects (like Clever Disguise), so it might be hard to play around any specific stuff. Which means that sometimes you will face the perfect random card from him, and there’s really nothing you can do about it. It’s impossible to play around everything.
P.S. If you’re close to changing phases and he has just stolen your big/important minion, you might want ot wait a bit longer before switching phases, because otherwise you won’t get your minion back.
Phase 2 – Evoke Panic
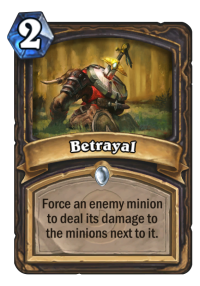
This is where Normal and Heroic are getting different. This phase actually has a bit more strategy to it in Normal mode than in Heroic, but Heroic is undoubtedly a more difficult one. Once again, the phase is heavily about positioning, but this time instead of the left/right set-up you need to put your small minions in between your big minions, just like you would when playing around Betrayal. This is true for both Normal and Heroic. The difference is that in Heroic, he will always target one of your minions, and there’s nothing you can do about it. In Normal, however, he always has to target the lowest Health minion no matter which side of board it is on. It means that you want to do your best that the lowest health minion will be on his side – this way he will have to target and damage his own minions. There are some ways you can do it – like not playing minions that are lower health than your opponent’s lowest health minion, damaging your opponent’s minions without killing them etc.
However, the main thing we want to focus on is Heroic, since it’s more difficult. Like I’ve said, it’s all about positioning. Since he will always force your lowest HEALTH (that’s important – lowest health not attack) minion to attack one of the adjacent ones, it means that a) you always want to have a low attack/low health minion on the board so he won’t pick anything bigger and b) that you ideally want to put it next to minions that won’t die from the hit. It also means that once your bigger minion gets to low health, you might want to kill it off by trading it away. Otherwise it will start hitting adjacent minion, which won’t be good.
If you have more than one minion with lowest health (e.g. 3 minions are at 1), he can pick whichever he wants to target, so keep that in mind.

Just like in last part, having a mixture of big and small minions is best here. You can use your big minions for actual trading and pushing damage, while your small minions die to the Hero Power. If you have no small minions and only big ones, keep only one on the board at the same time. Dropping a second big minion next to it is absolutely counter-productive in Heroic – he will just force them to attack each other. Playing only big minions is still a viable strategy in Normal, because it will force him to use Hero Power on his own minions… but that’s only as long as he HAS the minions.
Phase 2 is also when you might start worrying about AoE cards, which K’zrath does play. He for sure plays Priest board clears Mass Hysteria as well as Psychic Scream, both of which are pretty strong. Especially the Scream, which basically wipes your entire board. Again, the best way to play around Mass Hysteria is a mixture of big and small minions. When it comes to Psychic Scream, you simply don’t want to overextend – once it comes down, you can’t really do much. The best idea would probably be to not put too many tokens out on the board at the same time, or sac off the extra ones. You really need only 1-2 at most at the same time to play around the Hero Power, extra ones will just flood your deck in case of Scream.
Phase 3 – Murmurs of Mortality
And that’s when everything starts to get really, really difficult. When it comes to this phase, you want to try to kill K’zrath as fast as possible. This final Hero Power is simply insane on Heroic mode. On Normal it’s still manageable, because a) minions don’t die and b) it can target the same minion multiple times. But on Heroic, every time one of his minions die, so will yours. Luckily for you, at this point he might not have THAT many minions. At this point, you no longer need to pay that much attention to positioning (outside of the regular card effects), but you still want to mix up big and small minions. Sadly, this final phase is extremely RNG and you can’t really do anything about it. You can have 1 big and 4 small minions on the board and Hero Power might still kill the big one. Board flooding is your best bet in this phase, but then again, K’zrath still has the AoEs I’ve mentioned before, so it will be pretty difficult to get any damage in. Luckily, thanks to the Twist, you might still be able to get some damage here and there with the random end of turn attacks.
If you want to kill one of the opponent’s minions, you definitely want to attack with your big stuff first, since it’s an easy way to miss damage (if RNG is not working well for you).

A thing you might notice in this phase is that K’zrath might drop Old Gods. As far as I know, he has all of them. Over the course of the game he will play a bunch of minions that buff C'Thun, so when it comes down, it will be pretty big. You really want to have a single target removal for it, otherwise it might just kill you. N'Zoth, The Corruptor wasn’t very powerful when played against me, because he didn’t play that many Deathrattle minions over the course of the game (and I also snatched some of them during Phase 1), but prepare for a big board refill that will kill your own board when you try to clear it. Y'Shaarj, Rage Unbound is pretty slow, and there’s a solid chance that it will pull something small, so as long as you have an answer for 10/10 body it should be fine. And finally, Yogg-Saron, Hope's End is… well, it’s Yogg. It can either win him the game on the spot, kill itself with the first spell and do nothing, or even be beneficial to you.
If you don’t beat him first time and you end up in this phase, the next time you want to try to rush him down as quickly as possible. Unlike Phase 1, you don’t really want to play slowly and analyze anything, just put as much power on the board as possible quickly and try to kill him before he drops many minions for his passive to work out. If you’re in this phase, you want to build an Aggro deck throughout the chapter – this way you will be able to finish it quickly before all of his late game plays really come into action.
Is it just me or is the second plague lord regenerating back to 300 health even if I get him less than 100 health? Note is is on heroic mode
Has happened to me 3 times now. One time I consceded (I don’t remember at what health he was), second I used the Hearthstone (86 HP), so I thought maybe it had to so with leaving the battle early? But then it happened a third time (96 HP). Let him kill me and everything, so I have no idea whats causing it….
On the first plague lord in heroic: I lost against him once, thought I had him below 100. When I went back, he was at 197, which seemed high. After a few more attempts, I got to him again, and took him from 197 to 11. He killed me, and when the game returned to the map screen, it showed him at 170.
Either Heroic mode restores some boss health when the run ends, or there’s a bug. Either way, it’s not worth my time.
The same, he was at 75hp on 1st try, i surrender and when i come back, he is at full hp again …
I happened to me as well, twice on heroic mode. First time I played as Finley, got the second plague lord just below 100 and he started at 300. The second time, I played as Reno. Again I managed to put him below 100 just to realize that this time he went back to 289 life. I can’t confirm it for the first plague lord since I managed to beat it in first try. Seems to be a bug.
I think that there’s a bug where he often resets his health instead of staying at how low you got him too. I’ve read it many times today but so far no official words from Blizzard.
100% guaranteed method to kill this boss:
1. Pick Reno
2. Pick Jr. Tomb Driver (signature treasure)
3. Build a deck with at least 6 secrets to activate Tomb Driver (if you lucky to get a skill of auto-play 3 secrets at the beginning then you only need 3 more).
Once Tomb Driver is online, the game is over. Treasures that this new hero power generates are way beyond broken. I don’t even know what the boss was doing with his hero power in my first run, just spamming mine and the game ended before I realize it.
Played 2 runs on Heroic, picking the deck that already has 3 secrets in it.
Both runs ended with at best 5 secrets in the deck and a totally useless Signature Hero Card (well, at least it’s a 5/5 for 4, I guess).
I even picked suboptimal buckets with cards like Spellslinger in desperate search for additional secrets.
And even if you manage to build that deck: You have to draw and play your secrets AND draw and play Madame Jr. afterwards. Okay, the Lord game goes long, but I’m not so sure if you’ll have time for such shenanigans.
So I assume that it’s very hard to assemble and that you’ve gotten incredibly lucky. 😉
I agree, Secret decks are very hard to build. Even if you manage to build a decent one, it’s only good against Plague Lord, since it still takes a while to get all 6 Secrets up AND you need to draw your Tomb Diver. It’s far from “100% guaranteed method”, especially not on Heroic, where your deck needs to be good against regular bosses too or otherwise you won’t even get to Plague Lord at all. You need to get extremely lucky – both with drafts and with draws to get this strategy going. Obviously, when it works, it’s insane – you basically can’t lose when you get a new treasure every turn. But there are definitely more consistent strategies.
As I found out today, if you defeat 4 Plague Lords, those Jrs get upgraded zu Srs … in the case of Madame Tomb Diver, you only need to play 3 secrets, then. Which makes the hole scenario more realistic.
So much for replay value. 😉
I just finished my second second run in Heroic Mode using secret build. So I beat both wings using Reno’s secret decks. Have no idea why you guys think secrets are bad?
Agree that getting 6 secrets on are time consuming, but in the last boss all you have is time. You don’t need the combo against other bosses so just play your usual good cards/treasure. Don’t forget that you don’t need to pick 6 secrets from the draft, there are tons of spell-generating mechanic for you to find your extra secrets.
Well… erm… that’s what I was trying to tell. I wanted to do that 2 times and my ‘better’ deck had 5 secrets plus spell generating cards like Spellslinger.
Nonetheless I didn’t manage to play 6 secrets in time before defeating the Lord (one of the tries) or being defeated by the Lord (the other try, where my deck had 4 secrets plus spell generating cards).
Just defeated the plague lord in my first run in the first chapter itself. Wow. Hope could share screenshot here.
Does anyone know how the ‘Silentstone’ (don’t know the english translation yet; the 0 mana thing that lets you flee to the tavern) works with Plague Lords?
I know what you mean, and I would also like to know! I picked it up once, but actually didn’t have opportunity to use it, lol.
But just in theory, I would assume so, because getting through the 7 bosses is the “easier” part, so if the treasure wouldn’t work vs Plague Lords it wouldn’t make much sense.
I played it against the second plague lord. You bounce out to the inn, and after you finish the inn, you go back to the battle start screen, with the big play button, for the boss. I’m almost certain the damage you did before playing the card still counts.
That was the only time I’ve played it, but I assume that’s pretty much how it works against any other boss, other than the carry over damage.