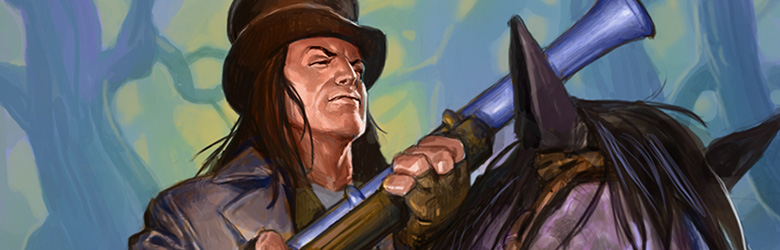
The Houndmaster is one of the monster hunters you will get to choose from in the new Monster Hunt mode. We’ll be listing all of the tips and tricks, best treasures and equipment, for you to make your way through some fierce beasts on your way to the final nemesis and then to Hagatha!
Monster Hunt is very similar to the Dungeon Run from Kobolds and Catacombs. So if you enjoyed that, then you will very likely have a good time with this single-player roguelike mode.
Houndmaster (Shaw) Info: Hero Power, Starting Deck
You might recognize Houndmaster Shaw as one of the Hunter legendaries from The Witchwood expansion. He will essentially be representing the Hunter class and probably start out with a bunch of Hunter cards as his core deck.
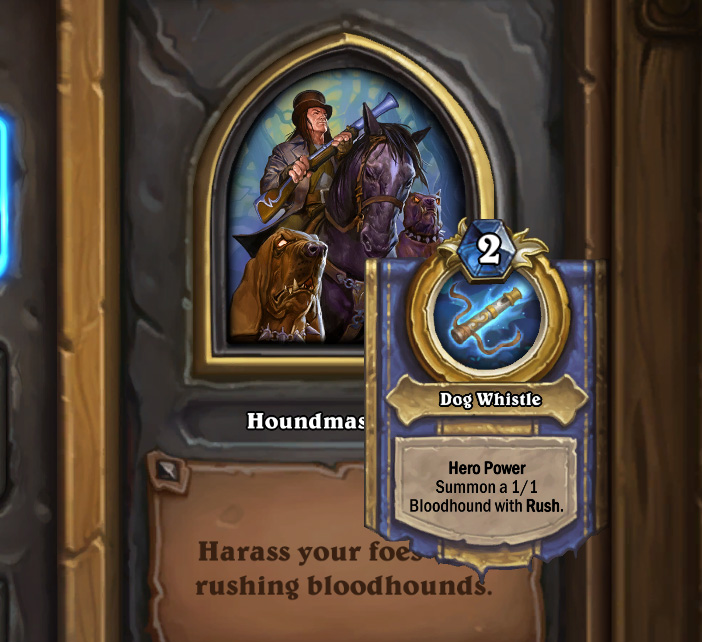
The Houndmaster’s Hero Power is Dog Whistle (2 Mana): Summon a 1/1 Bloodhound with Rush. This should allow you to bulk up your board and fight off any small minions that your monster fight might have.
Houndmaster’s Starting Deck
- Fiery Bat
- On the Hunt
- Swamp Leech
- Crackling Razormaw
- Hunting Mastiff
- Forlorn Stalker
- Kill Command
- Unleash the Hounds
- Houndmaster
- Swift Messenger
Shaw’s hero power is simply incredible and it can single-handedly win you most of the encounters: not only does it allow you to easily interact with the board, it is also a source of essentially infinite value if the game goes long: if you weave it in as often as possible, the early encounters should pose no problem to you. The inclusion of Kill Command in your starting deck allows you to easily finish off the early bosses as five damage is a massive chunk of their health. Since your hero power guarantees the presence of a beast on the board, you will always be able to trigger it past turn five, so always consider going face once you’ve drawn it during the first stages of your hunt.
Houndmaster (Shaw) Card Choices
Both Houndmaster Shaw’s hero power and his starting deck lean towards a tempo strategy, and adding mid-sized beasts and synergy cards to your deck is good enough by itself to carry you over the finish line: the Companions loot box is perhaps the best of the bunch as it regularly includes Crackling Razormaws and Mark of Y'Shaarjs: these cards can help you get the snowball going very early on, and they have stellar synergy with your hero power. A slightly inferior, but still effective approach is to pick valuable Deathrattle cards from the Unwavering bucket, especially if you can find treasures that synergize with them: however, that particular choice often features bad minions like Baron Rivendare, so be careful with it. In general, you can build a powerful enough tempo deck to beat every monster in your path.
Monster Hunter Guides
Learn more about the Monster Hunt and the rest of the Monster Hunters with our in-depth guides!
- Full Monster Hunt Guide: Bosses and Treasure List
- Houndmaster Tips and Tricks Monster Hunt Guide
- Time-Tinker Tips and Tricks Monster Hunt Guide
- Tracker Tips and Tricks Monster Hunt Guide
- Cannoneer Tips and Tricks Monster Hunt Guide
Houndmaster (Shaw) Best Treasures, Equipment
Perhaps the single most impressive treasure available to you is Companionship, which grants +2 Attack to your Bloodhounds generated by your hero power. If you pick it up, your hero power will usually allow you to trade zero-for-one with your opponents’ minions and you are almost always advised to press that button on your turn. (If you get to pick up two, enjoy your close to guaranteed win!) It also synergizes greatly with another incredible card, Bubba: not only is it a 9/9 Beast for 7 mana, but it also summons six Bloodhounds that automatially attack a selected enemy minion. Not only do the excess puppies survive, they also gain the Companionship buff if you happen to pick up both treasures. If you commit to the tempo strategy, Shaw’s Shank is also a great choice: a 3-mana weapon with a whopping five durability that starts off with one attack but gains +1 for every friendly minion on the field: you can really get a lot of mileage out of it with smart trading. As per Dungeon Run standards, it’s always worth picking up Potion of Vitality to double your health, especially considering how Shaw generally lacks proper AoE options, meaning it can take some time and effort to take over the board against the tougher bosses. Also, you might want to consider the Spyglass as an option for the final challenges: a 2-mana spell with Echo that puts a copy of a random card in your opponent’s hand into yours: it also costs three mana less than it normally would. It can help you get over the edge in the value game, and it can be especially useful against your Nemesis.
Speaking of which…
Houndmaster (Shaw)’s Nemesis: Glinda Crowskin
If you reach the end of your monster hunt with Houndmaster then you will sometimes run into Glinda Crowskin. She is the Houndmaster’s nemesis, so check out her information below!
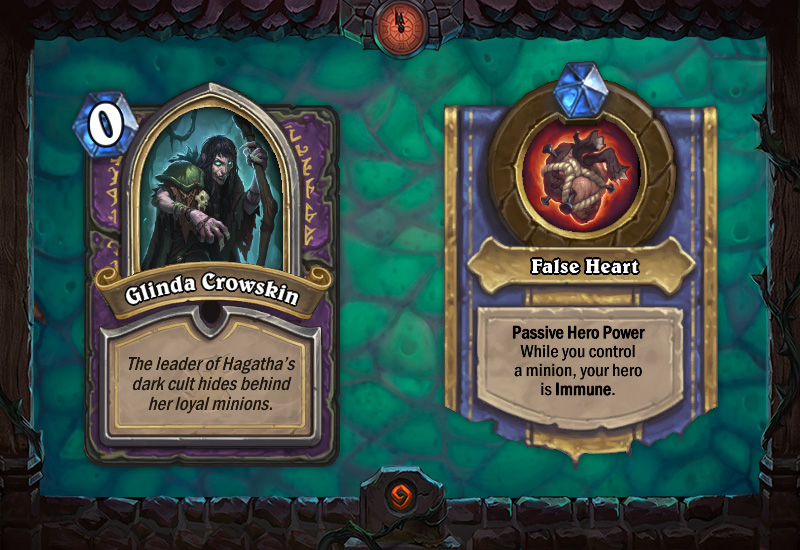
- Health: 50
- Hero Power: False Heart (Passive) – While you control a minion, your hero is Immune.
- Flavor: The leader of Hagatha’s dark cult hides behind her loyal minions.
When she’s not terrorizing your monster hunt runs Glinda Crowskin is also a Warlock Legendary from The Witchwood expansion.
Glinda Crowskin’s Deck Highlights
The showpiece of this bossfight is a set of minions called Crowskin Faithful: 3 mana 6/3s with a deathrattle that draws a card and then shuffles the minion back in the deck. Other than that, Glinda tries to get as many sticky and annoying critters on the board as possible in order to keep the False Heart beating: expect Imp-losions and Splitting Festeroots to make your day difficult: luckily, you will be able to value-trade with most of them, and that is the key to victory in this battle. Make sure you don’t overcommit as the deck also contains Abyssal Enforcers as well!
In a way, Glinda is very similar to The Darkness in the original Dungeon Run: her hero power makes it fairly difficult to get damage through, especially considering the stickiness of some of her minions. While the fight may seem close to impossible at first considering the Deathrattle of the Crowskin Faithfuls, it is essentially another battle into fatigue: you can regularly use your opponent’s Cult Masters against her to burn through her entire deck, and once the fatigue counter racks up, you only need a few clean turns to get in the damage you’re looking for. (The AI also makes some incredible misplays in this fight, like not playing the Crowskin Faithfuls when there is lethal on board.) Basically: just hang in there and try to get as much value out of your hero power and other options as possible, you shouldn’t have to put up with too much pressure over the fight.
You can gain a massive advantage by being very conservative with your Hunting Mastiffs: your hero power will almost always do the same job, meaning if you can save the card, it can provide a full board re-fill on its own, which can be really important in this battle.
Thanks for the guide, it’s really helpful!
I’m kind of pissed that two of the four hunt bosses are easiest to defeat through fatigue. I just think that’s lazy for the designers and boring for the players.
You might want to mention all her board clears. Got hit with 2 twisting nethers and 2 dooms!.
Yes – got greedy and lost an awesome board to her Twisting nether!!!
Double +3 Hero Power is bullshit, you won’t stand a chance with this.
If you don’t get double starting health after round 5 you can pretty much surrender
I had 2 turns before fatigue killed me, and I had no minions anywhere. All she had to do was play a minion, but she didn’t, and fatigue killed her
Funnily enough, I beat Glinda in Fatigue with Hadranoxes, Staff/Scepter of Summoning (forgot the name lol; 5+ mana minions -> 5 mana), and Lunar Signet (I think… The one which makes Deathrattles proc when played). Made a deck with a few midrange minions, a good amount of taunts, and a couple Hadranoxes to top it off lol.
Rarely used my Hero Power; as much praise as it’s getting in the thread, it’s possible to beat the run if you end up not rolling the Bloodhound buffs and synergies, so long as you play yer cards right and optimize trades and synergies (most notably, Lunar Signet and Hadronox x3).
So, if Shaw was trying to redeem himself to Genn Greymane via his blade, it would be Shaw’s shank redemption!
Not sorry, lol