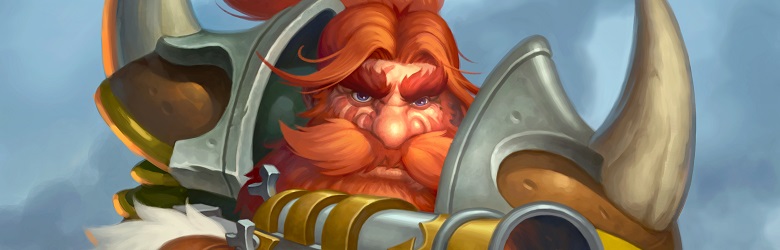
It is time for yet another edition of Book of Mercenaries! In its eighth installment, Team 5 tells the story of Tavish Stormpike, the dwarven hunter. Will he be able to overcome his snobby cousin Vanndar? Are we gonna see the true face of Kazakus? And why is Guff calling Tavish’s crab Rudolphus?!
In this extensive gameplay guide, we will navigate you through the eight different encounters of “Book of Mercenaries: Tavish”!
Vanndar Stormpike
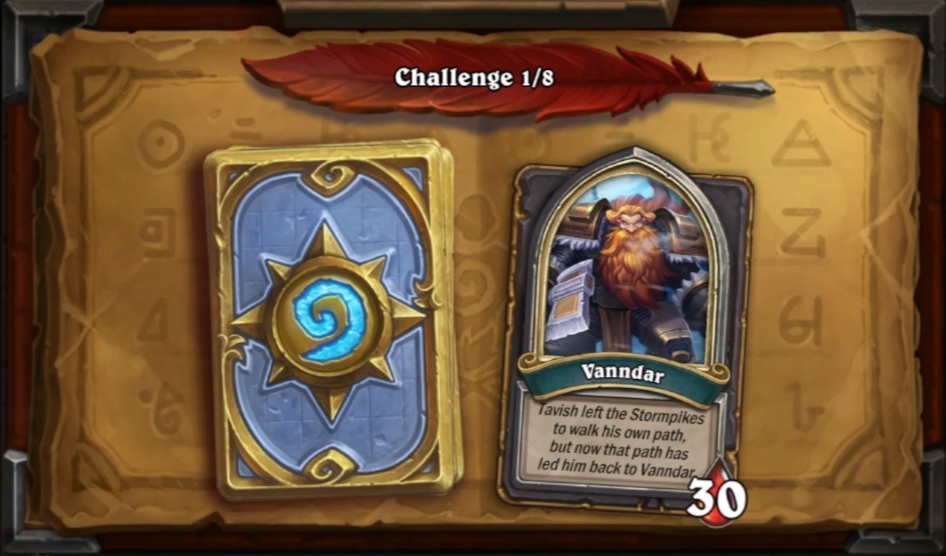
The first fight of this chapter will be against Tavish’s charming cousin, Vanndar Stormpike. The first thing that you will notice is that Vanndar starts with 4 mana. This mana disadvantage should be enough reason for you to try and get as much value out of your hand as possible. Your Crabby hero power also helps with that – but prepare to take a lot of damage early. Over the course of the fight, things will get easier – not last because of your great deck quality at a relatively early stage in the adventure. Don’t worry about Vann’s hero power – he has way too few cards in hand to make much worth of reducing their cost.
Spells like Spring the Trap or secrets like Ice Trap will provide great value and also time to get your hand going. At turn 6 or 7, you should have more than enough tools to overcome Vanndar’s small board and hand, including a plethora of late-game beasts at your disposal. P.S.: Don’t overplay your board! Shield Shatter, Vanndar’s only good card in deck, can ruin your mid-game dreams.
Morloch
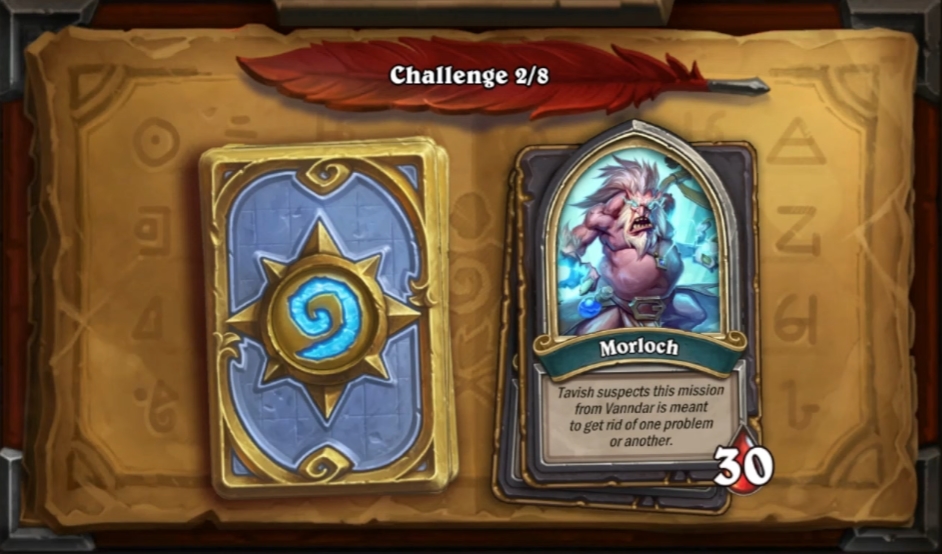
As Tavish’s team makes their way through Alterac Valley, they have to face off a big ol’ trogg named Morloch. Just like Vanndar, he starts out with 4 mana as well, so be prepared for a storm of early-game troggs. His hero power supports that fantasy by summoning a 1/3 trogg every time you play a spell, so be aware of that.
Apart from the troggs, there’s really nothing for you to fear – especially because you start out with two mercenaries on board: Kurtrus and the second one of your choice. I chose Cariel because of her early-game Taunt prowess against buffed up troggs. Similar to the first fight, you will fall behind early but catch up in the mid-game. Summon Crabby as often as possible, and make smart use of high-value spells like Ramming Mount – but always remember the troggs and their anti-magic effects! As soon as you get into late-game, not even a million troggs should be able to avoid Morloch’s eventual demise.
Rokara
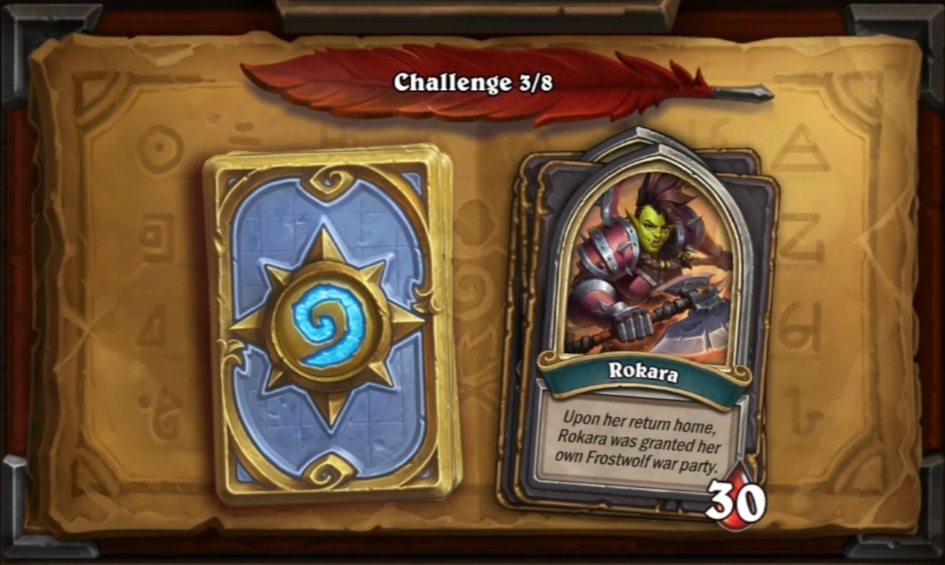
After your adventure in the mine, the next one already awaits in the form of Rokara and her Horde mercenaries. Her hero power Grand Slam looks strong but isn’t really something you should actively play around. Just like last fight, you will receive mercenary support fairly early, so play those as quickly as possible for maximum value – because Rokara will do exactly the same. In the mid-game, you should face a board of mercenaries versus mercenaries – and that is a great thing for us because of the insane Secret and spell synergies in Tavish’s deck. Again, cards like Ramming Mount and Ice Trap produce a whole lot of tempo, while mercenaries like Xyrella can fully change the state of our board for the better. The only real threat on Rokara’s side is Bru’kan and his Frenzy effect, so try to play around that one.
As ever so often, our enemy will run out of value by turn 7 or 8. By then you should have drawn into your late-game beasts like Mountain Bear and have a healthy board of mercenaries on top. Play your cards, trade accordingly, finish off Rokara, and let the Horde filth feel the wrath of the Stormpikes!
Campfire
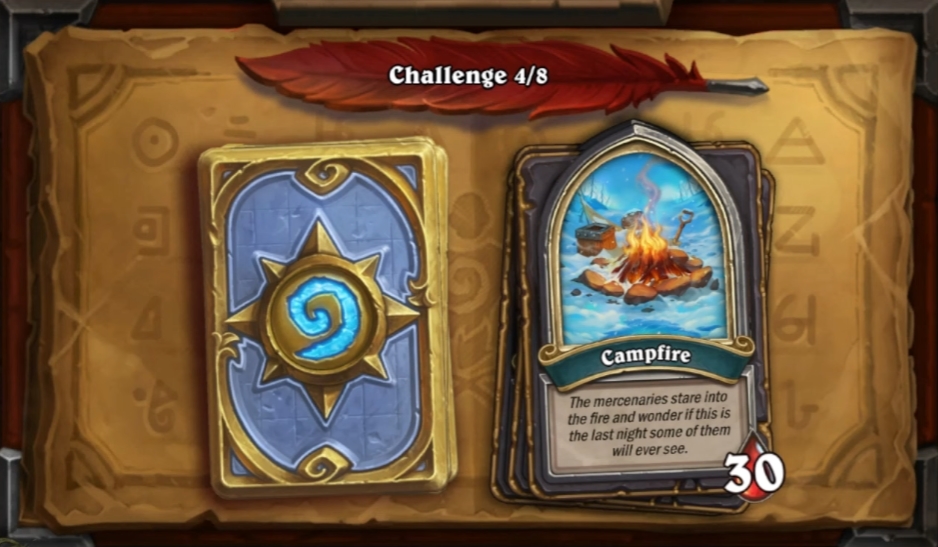
It’s once again Puzzle time in Book of Mercenaries! Tavish’s group finally gets to rest, and you need to cook up a storm to please the exquisite taste of your Alliance friends. In order to complete the puzzle, you must provide the correct recipe of cards – in this case, order doesn’t matter! Here are the correct recipes:
Monster Omelet: Play 2 Eggs + 1 Soothing Spices
Lobster Stew: Play Tracking for Alterac Lobster, Play Simulacrum for second Refreshing Spring Water, play 1 Alterac Lobster and 2 Refreshing Spring Water
Hot Seafood Bisque: Play Barak Kodobane, Play Call Pet to draw Alterac Lobster, play 1 Alterac Lobster, play Kill Command on Barak Kodobane, Play Lightning Bloom, Play second Alterac Lobster, 1 Soothing Spices and 2 Refreshing Spring Water
Cherry Pie: Play 1 Simple Flour, play 3 Winter Cherries, Play 1 Simple Spices
Galvangar
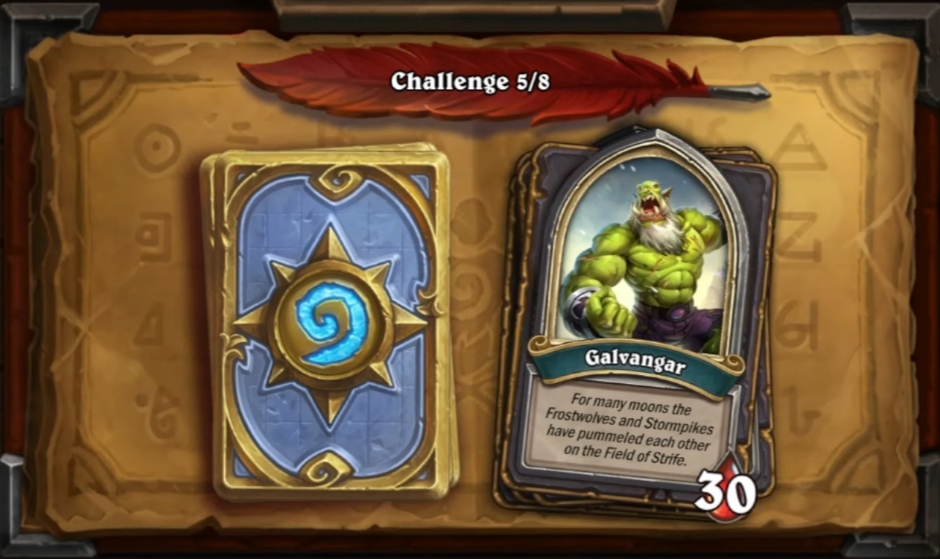
The day of battle has come, and you first encounter Drek’Thar’s left hand in war, Captain Galvangar. You start the fight with Scabbs on board who showcases a great way to draw cards early, so protect him!
Galvangar’s Hero Power won’t hurt you so much in the early game but you should always keep it in mind coming into mid and late-game – a 2-mana Hunter's Mark is nothing to scoff at! For me, Ice Trap did a ton of work in this matchup. Galvangar sports a spell-heavy deck, and gaining one whole turn of tempo is priceless in this Arena-like format. In addition to that, Galvangar’s deck quality is terribly low, so you should be able to go for the throat early on. Be sure to make aggressive plays, especially if you can outplay low-value spells! All that ties together with your general approach to not let Galvangar and his hero power get to late-game – and thanks to your great early-game disruption tools, that should almost never happen!
Drek’Thar
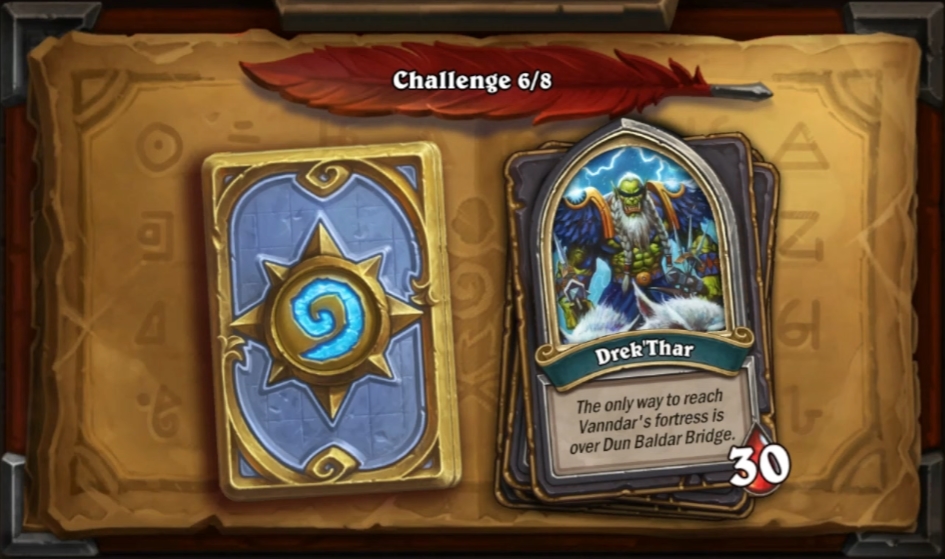
Remember the cinematic trailer and the battle on that particularly long bridge featuring Cariel? That’s where we’re at right now!
You start the fight with a buffed-up Cariel on board, while Drek’Thar’s side features the Forsaken Lieutenant Lewis. Remember to read Cariel’s Deathrattle effect – you lose the game when she dies in battle!
First off, Lewis not only looks badass but also features a threatening active effect by providing all played minions Stealth. In my playthrough, and similar to his 4-mana “Summon an Elemental” hero power, Drek’Thar didn’t make much use of it, though.
Instead, he keeps hurling additional commanders at you which you have to take care of after Lewis is done:
Commander Mulverick will summon 2/2 gryphons until the board is full, and after that, Lieutenant Grummus will be dealt with in order to defeat Drek’Thar.
For all that, all you need to do is trade wisely. Try to not overtrade against Lewis because Mulverick will add a ton of stats to an empty board. Go for maximum Crabby value as well – resummoning him every turn gives you 3 damage for 2 mana – a great deal for Tavish. Make use of your Honorable Kill cards and get ahead on board by applying your secrets accordingly. Try not to use Cariel for aggressive trading too much because you won’t be able to heal or buff her during the fight. If things get hairy, remember that you only have to kill Grummus to end this encounter, so go for the face race if you have to! Once he’s off the bridge, you’re free to advance to Dun Baldar.
Kazakus
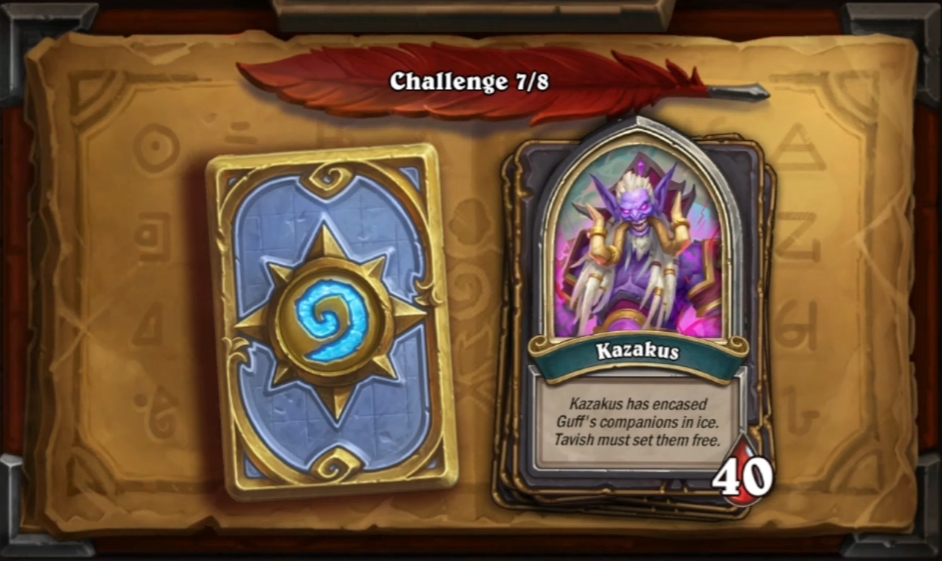
During the search for Cariel, Tavish and friends encounter Guff who begs them to hold back Kazakus from corrupting the naaru he holds hostage. At long last – we are finally dealing with Kazakus! For that, we need to help Guff and the Horde mercenaries who have been trapped in ice by the evil Zandalari troll.
In order to break our friends free, we have to get their health to zero – and after that, they join our side in battle!
We start the battle with Kurtrus on board, and should be able to free all mercs together with Guff by turn 3 or 4. Once we’re rocking a board full of mercenaries, the only thing we really have to take care of is Kazakus’ hero power – the good ol’ crafted potions.
To counter that, it is once again pivotal to use your anti-spell tools such as Ice Trap – they trivialize this fight. However, you will most likely lose your board once or twice to something like Felfire Potion. In this case, trade heavily with the limited board space you have and wait for your mercs to make a comeback. After that, your merc effects together with the insane Secret synergy should be able to finish off the, for a seventh encounter comparably weak, dragon-in-disguise!
Kazakusan
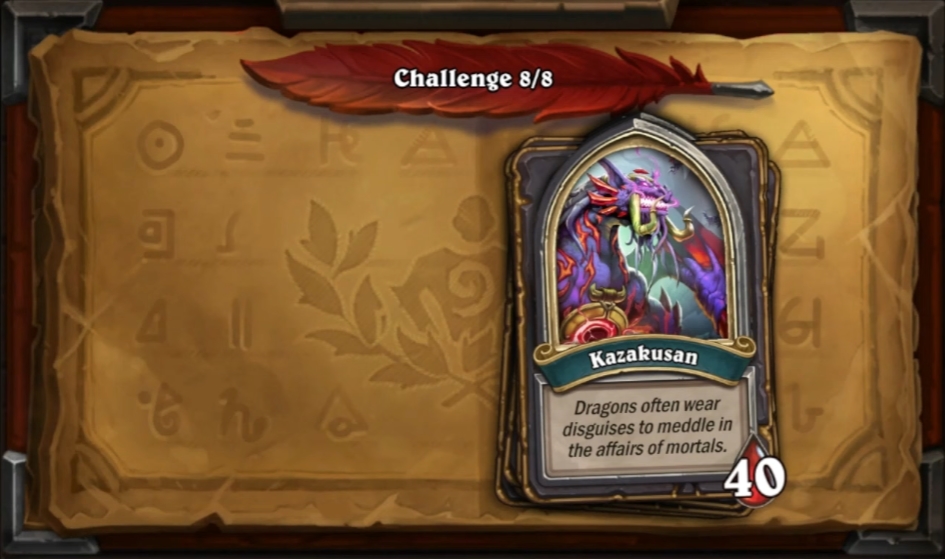
SURPRISE! Or, well, not really. Kazakus is a dragon, and a black one, too! We start the fight against him and the corrupted void naaru Mi’da on the enemy board. Being immune to damage, this thing also deals 4 damage split between all enemies at the end of each turn.
Luckily, we have multiple mercenaries at our disposal, including Xyrella who plays a vital role in the fight against Mi’da. Her Honorable Kill effect restores all minions on our side of the board to full health, supporting our overall game plan against Kazakusan: Play as many high-health minions as early as possible!
Very much like Drek’Thar, Kazakusan rarely uses his Hero Power that reduces the cost of Dragons. Instead, we will see a bunch of board-clearing spells – so keep your Ice Trap close to yourself! Other than that, this last fight really lives from its story-telling effect. Tavish’s Hunter kit is just very solid, and being able to play lots of secrets together with a full and infinitely-respawning board of insanely strong mercenaries will bring down even a powerful dragon of the Black Dragonflight. Once you’ve defeated Kazakusan, the fight ends on an entertaining cliffhanger – so make sure to tune into the next chapter of Book of Mercenaries later this month and the final one next month (well, probably)!
One thing I hate from doing Solo mission like BoM, is the measly amount of XP earned for couple hours of unique insignificant dialogs, and 1 free (40 dusts) pack. After that, I think most players would forget about it forever.
Yes. I know it’s free. I shouldn’t complain.
But if I was the one given a choice how to do things, I would never have chose to do BoM.
The 1st option were to fit the stories into Mercenaries mode. And the pack rewards should go to reward track.
The 2nd option were to give each story it’s own Tavern Brawl.
This time, it was my personal opinion. So I won’t reply to any comment at all.
This was by far the best Solo Adventure for me -> it was fast, your deck actually didn’t play against you, had one “logical minigame”, some jokes went by, Guff was there…
It’s a shame I already finished it… can we have more of this, please 🙁 ?
Fully agreed! I think it was mostly because of the great Hunter kit, but also the overall manageable difficulty.
That’s the thing – I hated most of the previous “Books” because YOUR deck worked AGAINST you… this time it was actaully pretty good set of cards 🙂