The day is finally upon us: With the release of Patch 22.6, the Book of Mercenaries single-player campaign moves into its final chapter. As the last of our ten mercenaries, Varden Dawngrasp leads their friends into the final battle against Onyxia and Kazakusan. Who will win? Is this the moment where Alliance and Horde will finally put aside the faction war to collaborate against the bigger evil? Let’s find out!
In this extensive gameplay guide, we will navigate you through the eight different encounters of “Book of Mercenaries: Varden Dawngrasp”!
Memorial
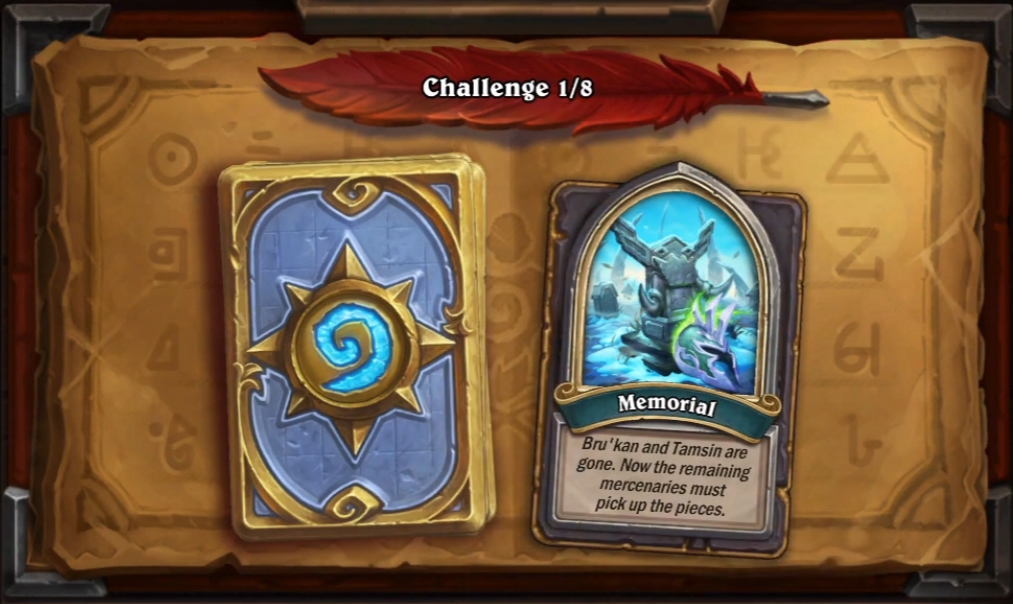
The last chapter of Book of Mercenaries starts with a sad highlight – the memorial of Bru’kan. Over nine turns, the remaining mercenaries mourn their late friends.
From a gameplay perspective, nothing has to be done during this chapter. You can literally skip every single turn. Feel free to listen to the story because it will be the beginning of a very well-known narrative: the Horde and the Alliance fighting together against the greater evil.
Lor’themar Theron
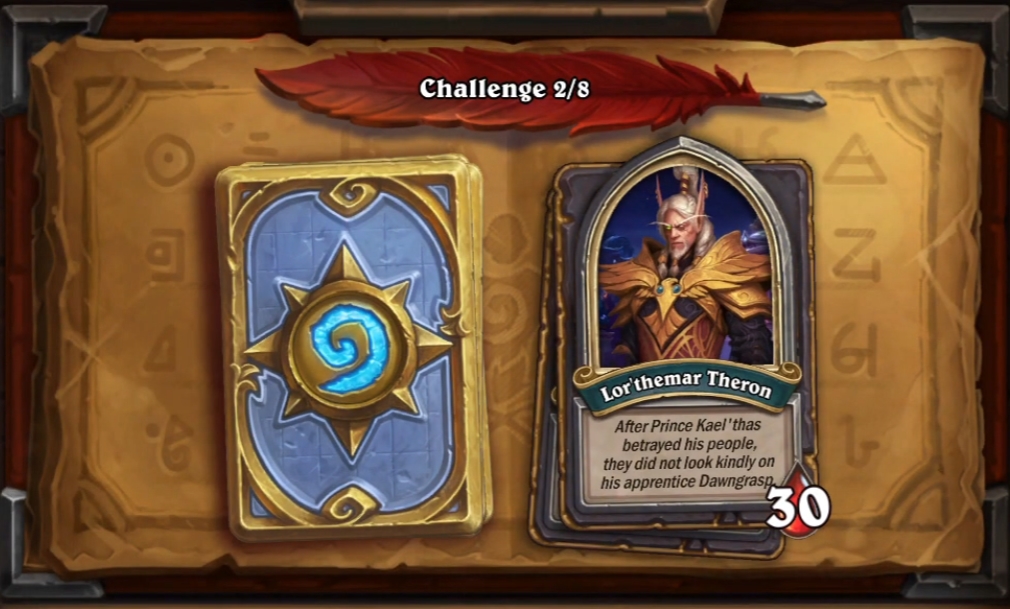
Varden travels to Silvermoon to talk to Lor’themar, the leader of the blood elves, about the looming dragon threat.
We start the game with a small surprise – we’re already rocking an upgraded hero power! That one will help you navigate through a relatively weak early-game on our opponents’ side. In fact, you should be able to take the board lead very early. That together with Varden’s numerous tools to freeze and thus control the board makes a face approach a whole lot more viable. I dealt lethal damage on turn 7 and turn 8 in both of my playthroughs thanks to Fireball and several snowmen on the board – so you should do the same!
King Varian
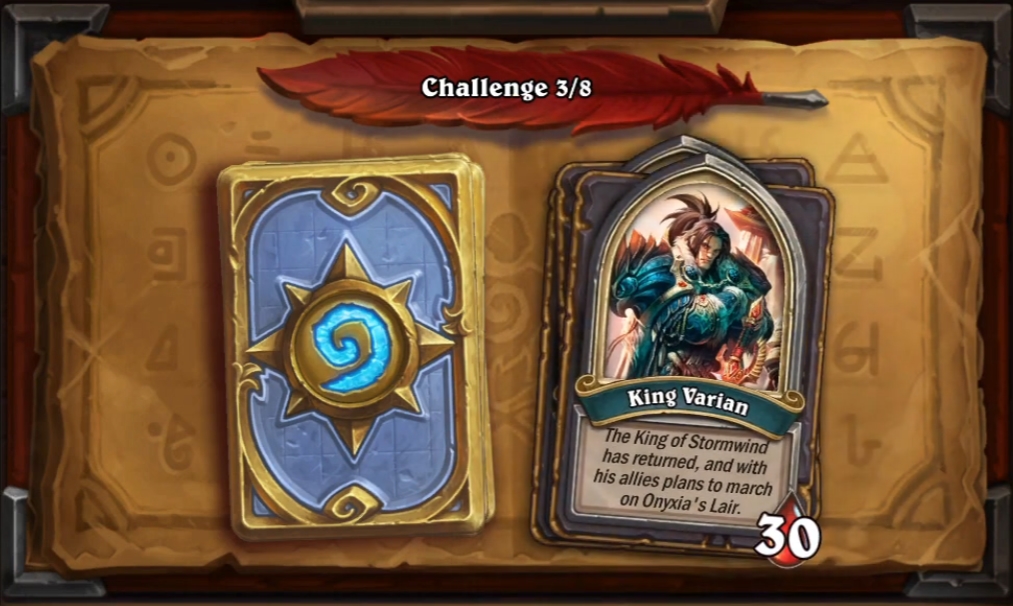
The armies of Azeroth arrive in Theramore to advance to Onyxia’s Lair in Dustwallow Marsh where both Onyxia and Kazakusan are suspected to hide the naaru shards. King Varian himself wants to meet and test Varden in battle.
Third fight of the chapter, third type of hero power. This time, we’re turning into Lich Queen Jaina as our HP deals one damage and summons a water elemental if it kills the targeted minion.
Logically, we have to make use of one of the most broken hero powers in all of Hearthstone. The fight starts with Varian putting Valeera Sanguinar and her deathrattle on his board, indicating that we’re entering yet another phase-based fight.
Valeera herself doesn’t pose too much of a threat. In fact, we should try to build as much of a stable board as possible. Varian will throw a bunch of Rush Warrior minions at us, so be aware of minions like Militia Commander. As always with phase fights, you should try to have a decent board when you switch phases.
The fight’s second phase introduces Broll Bearmantle to the board. His Frenzy effect will turn him into a 3/9 bear, so prepare to deal with that. You should always use your Freeze effects to either advance the fight or delay phasing so that you can establish a better board. Frost Nova into Shattering Blast for example is a safe 2-card combo that will lead you into the next phase.
As the third contest of the fight, Jaina Proudmoore enters the fray. By this time you should have the upper hand on the board already, so killing her within one or two turns without further moves by Varian should be no problem.
Last but not least, Varian puts himself on the board – or rather his “better half”. To explain why there are two Varians would take an article on its own … Anyway! Similar to fighting Jaina, you should still have a couple of tools at your disposal to make quick work of the King of Stormwind.
As soon as you’ve defeated Varian on the board, all you have to do is defeat Varian on the other end of the board. Again, Varian’s resources aren’t exactly of high power level, so your army of water elementals shouldn’t have to much of a problem dealing with his minions and weapons in particular. Eventually, you will prove your worth in battle against Varian, and advance to the next fight!
Raid Boss Onyxia – Part 1
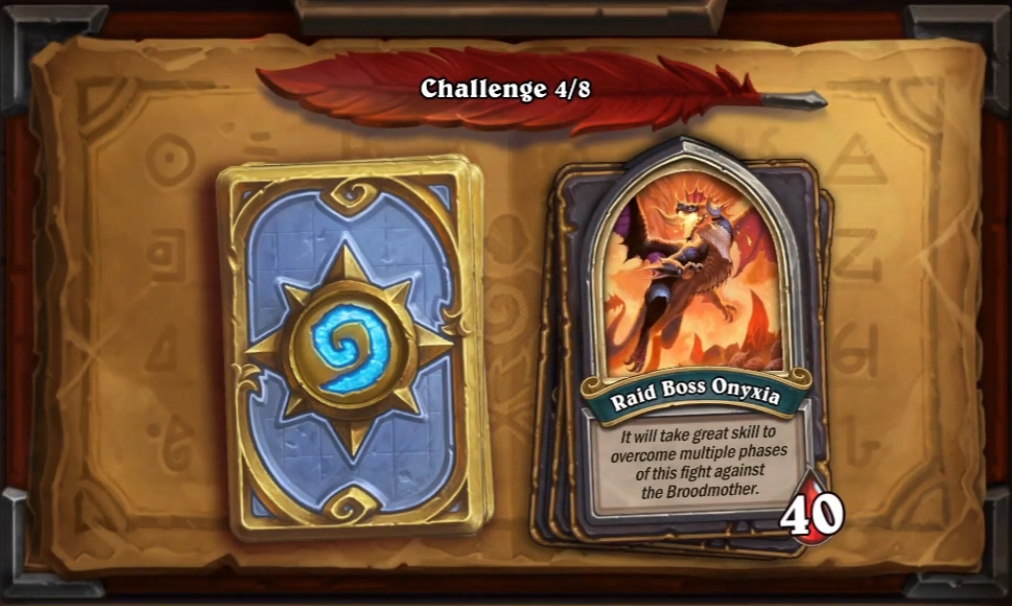
To be able to deal with Onyxia in her raid dungeon, we need every piece of power we can get. That is why we’re all seven mercenaries in our deck!
And not only that: Our brand-new hero power deals a whopping 8 damage to a random enemy minion and freezes them as well. You might think that all this power isn’t required to beat an old dragon lady in a card game – but you’d be terribly wrong to think that.
First things first: It’s very important to not mulligan away Cariel and Rokara. They represent insane mid-game tempo, something you’ll need particularly for one reason:On turn 4, Onyxia summons Kazakusan, a 4-mana 10/10 with Rush. It also revives every three turns – so be prepared to freeze this sneaky dragon to prolong its life as much as possible.
Over the mid-game, Ony’s hero power will suddenly pick up the pace of the fight. She’ll throw her signature spells at you – much like during her original raid encounter in World of Warcraft. Tail Sweep, Wing Buffet, Deep Breath – you will lose your board repeatedly at this point
This fight can be very hard if you don’t use your mid-game mercenary prowess to lower Onyxia’s health. Very much like her WoW self, you need to deal damage over the course of the fight to eventually win it. I managed to get the last bit of burn damage thanks to Wand Thief. You have enough board-controlling tools within your deck, and Arcane Overflow should be used to build up a board together with your mercenaries. Take every piece of extra damage through sources like Discover, and kill that bloody broodmother!
Raid Boss Onyxia – Part 2
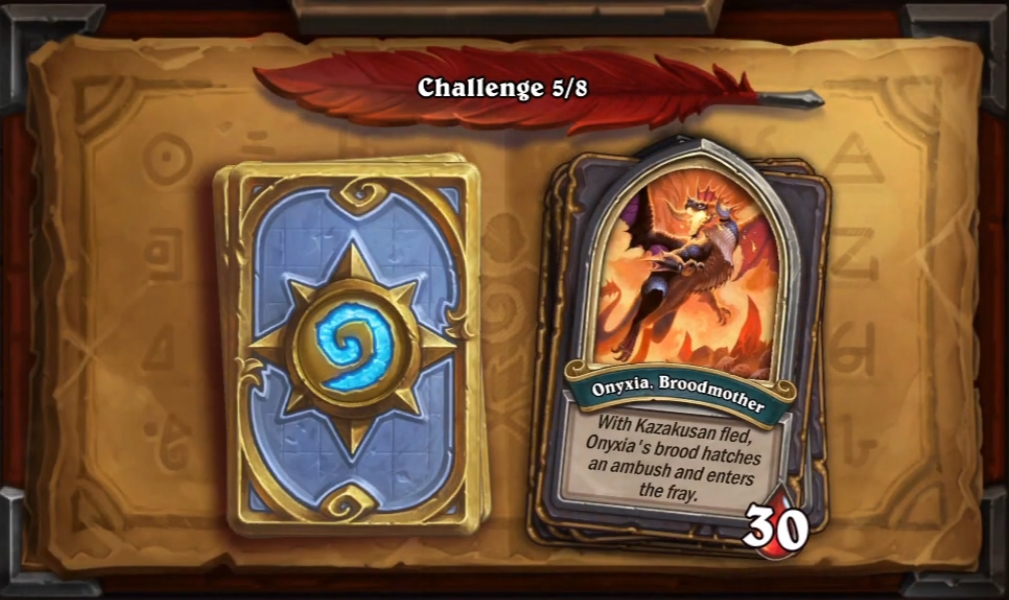
You got goofed – this was only the first phase of the legendary Onyxia fight! In the second phase, we’re fighting against the broodmother’s very own kin.
Our deck and hero power change tremendously. Dealing honorable damage will grant Varden’s hero power two additional damage – a nice tool to control the board state.
The key to victory in this boss fight is to properly control whelp spawning on the board while bringing down Onyxia. AoE board clear like Fire Sale is sparse in your deck, so try to use high-health minions as a meat shield whenever you’re cracking those Onyxian Eggs.
Besides hard board-clear, spells like Mass Polymorph or Devolving Missiles are excellent tools to reduce whelp spawns.
Similar to Phase 1, you need to find your balance between keeping control of the board state and dealing damage to Onyxia. Pop eggs or polymorph them as soon as you have a beefy board, and try to amass as much burn damage as you can. Buffing up your hero power early also makes a big difference – dealing 6 or 8 damage for a mere 2 mana in the late-game can decide the game. Bring Onyxia to 0 health, and prepare for the next phase of this epic raid encounter!
Raid Boss Onyxia – Part 3
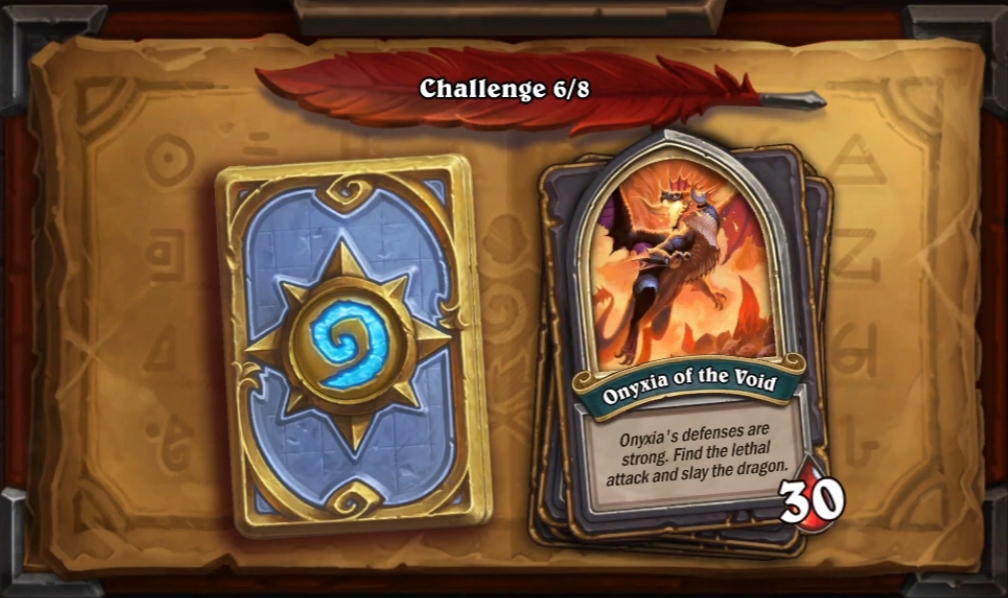
Hold on … a PUZZLE? As the final stage of one of WoW’s most iconic raid encounters? This is not how I remembered the final phase of the Onyxia fight in World of Warcraft! Oh well, let’s get right to it:
Puzzle 1: Play Cariel Roame, Buff Cariel with Windfury, Trade Cariel into one Evasive Drakonid, Trade Cariel into one Dragonspawn Lieutenant, Buff Cariel with Shield of Honor, Trade Cariel into full-health Evasive Drakonid, Trade Cariel into middle Onyxian Drake, play Lab Partner, Play Consecration, Play Meeting of the Minds, Play Kurtrus Ashfallen, Play Leeroy Jenkins and deal lethal damage to Onyxia
Puzzle 2: Play Mo’arg Artificer, Play Mo’arg Artificer, Play Eye Beam on Onyxian Warder, Play Talented Arcanist, Play Felscream Blast on one of the Mo’arg Artificers to deal lethal damage to Onyxia
Puzzle 3: Play Wild Bloodstinger, Play Shan’do Wildclaw to copy Wild Bloodstinger, Attack Onyxia with both Wild Bloodstingers, then Tundra Rhino, then Burrowing Scorpid, then King Mukla. Play Overwhelm on King Mukla, then Attack with Duskboar, then Attack with Rudolphus to deal lethal damage to Onyxia
Puzzle 4: Play Aldor Attendant, Play Aldor Attendant, Play 2 Libram of Wisdom on Rokara and trade her into Hoarding Dragon, Play 1 Libram of Wisdom on each Aldor Attendant, Play Animated Broomstick, Trade 1 Aldor Attendant into Hoarding Dragon, Trade Animated Broomstick into Evasive Wyrm, Play 1 Libram of Wisdom on the remaining Aldor Attendant, Trade the remaining Aldor Attendant into Evasive Wyrm, Play both Coins, Play Stonetusk Boar, Play 2 Libram of Wisdom on Stonetusk Boar, Play Lady Liadrin, Play Animated Broomstick, Trade Animated Broomstick into Onyxian Whelp, Trade Lady Liadrian into Scion of Ruin, Trade Cariel into Onyxian Whelp, Play 6 Libram of Wisdom on Stonetusk Boar, Attack with Stonetusk Boar to deal lethal damage
Puzzle 5: Play Radiant Elemental, Play Radiant Elemental, Play Psyfiend, Play Educated Elekk, Play Shadow Vision and Pick Raise Dead, Play Shadow Word: Pain on Educated Elekk, Play The Coin, Play Apotheosis on Psyfiend, Play Shadow Visions and pick Shadow Visions until Onyxia dies
Puzzle 6: Play Preparation, Play Snowfall Graveyard, Play Forsaken Lieutenant, Play Elwynn Boar, Play Elwynn Boar, Trade 2/2 Elwynn Boar into Hoarding Dragon, Play Explosive Sheep, Play Teron Gorefiend, Play Backstab on one of the Explosive Sheep, Attack Onyxia with Sword of a Thousand Truths to deal lethal damage
Puzzle 7: Play 2 Ethereal Augmerchants onto Efficient Octo-bot, Play Scabbs Cutterbutter, Play Guild Trader, Play Potion of Illusion, Play 2 Ethereal Augmerchants onto Scabbs, Play Shadowstep onto one of the Ethereal Augmerchants, Play Ethereal Augmerchant on Scabbs, Play Sinister Strike, Play Garrote, Trade Guild Trader, Trade Guild Trader again to draw second Bleed to deal lethal damage
Puzzle 8: Play Emerald Skytalon and trade it into Deathwing, Play Redgill Razorjaw into Runaway Blackwing, Play Simulacrum, Play Shooting Star onto Crow Roaster, Play Ethereal Augment onto Crowd Roaster, Play Ethereal Augmerchant onto Hoarding Dragon, Play Meeting of the Minds, Play Reckless Apprentice, Play Hero Power onto Onyxia, Play Blackwald Pixie, Play one of the Coins, Play Hero Power onto Onyxia to deal lethal damage
Onyxia Risen
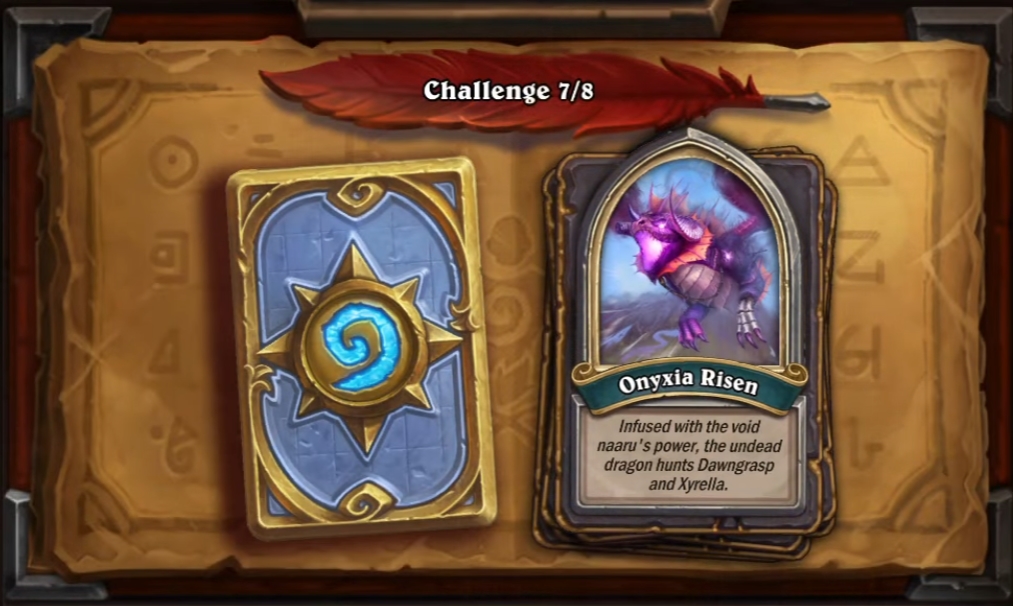
As Dawngrasp and Xyrella try to escape Onyxia’s wrath after they had taken the naaru shard, we have to survive eight turns to safely arrive at the Exodar.
Honestly, this encounter is a bit of an RNG-fest. First off, you have to draw into board-clear early to survive the deadly waves of dragons. In addition to that, you need to pray for Onyxia to summon weak dragons in the early turns so that you’re able to clear them with your limited tools. Cards like Flamestrike and Mass Polymorph are the real game-changers while other high-mana cards and minions are deadly dead draws. You will most likely have to start over multiple times and just find that one fight where luck is on your side. Also, don’t try your luck with using your hero power to clear the board. It may help in the earlier turns, but during the mid-game you’ll just need those on-curve board sweeps as early as possible – so fish for those with your external resources like Wand Thief!
Mi’da, Pure Void
Xyrella and Varden reach the Exodar and try to perform a cleansing ritual on the corrupted naaru.
As expected, the very last encounter in all of Book of Mercenaries focusses on story more than anything – and that is great. Over the course of the game’s turns, you will encounter Mi’das nightmares of the past. You will see a lot of familiar faces and enemies, and you will be able to deal with them with ease if you know the following: All you have to do is trade, trade, trade! At one point, Mi’da will empty her deck by confronting herself with all the nightmares she experienced over the course of the storyline. If you handle your resources well enough, you should be left with the board lead and an exposed naaru. Bring Mi’da to 0, and you will cleanse the entity off the void, save Xyrella’s child, and be rewarded with a free Mage pack!
Just in case anyone new is struggling with Varian, it is possible to complete the fight without progressing the phase. I managed to kill him with his Valeera still at 2/2 —he managed to get one shalamayne hit— all I did was freeze the board and his face.
Granted this was after about five attempts and a hand and draw that was incredibly lucky with freezing syngergy.
Since Alglyphic’s comment is almost two years old, now you now this hasn’t been patched or changed in anyway.
https://us.forums.blizzard.com/en/hearthstone/en/hearthstone/t/forsaken-lieutenant-nerf-bugs-the-6th-onyxia-puzzle/100008/10
this link is of a person who found the solution to puzzle 6/8, forsaken lieutenant got nerfed to 3 mana so this guide’s solution doesn’t work anymore
The solution for Oink Thousand Truths (puzzle 6) is just wrong. You don’t have enough mana to play Teron gorefiend after playing explosive sheep. Update your guides
wow onyxiais hard and her wing spell is bugged : send to hand legendary minions…
ok you need to snowball early and it’s easy. raid boss onyxia part 3 challenge 6 puzzle 8 is wrong.
my bad.
This guide gives rather vague advice, I didn’t find it very useful.
I didn’t get a gold pack for completing all the book of mercenaries… Really Blizzard??!
I’m not sure if it’s intentional or a bug, but after failing the first attempt with Varian trying to beat it phase by phase, I eventually skipped the phases altogether on attempt 2 with constant Freeze synergies and ignoring Valeera. I actually thought that the game would fail me for going face with Varian but no, that was enough to prove Varden’s worth in leading the combined armies.
I say this now, in case someone at Team 5 realises they should probably have given Valeera Taunt and patch it onto her, but at least the phases have some charming dialogue like Broll wanting to chat with Guff over his Questline.