
In Book of Mercenaries’ fifth installation, players can experience the unique story of Tamsin, the Forsaken Warlock. Once a stellar student of the Scholomance, she fell victim to the Scourge Invasion happening in and around Lordaeron. Revived into undeath, she now seeks vengeance against those who she thinks betrayed her in life.
In this extensive gameplay guide, we will navigate you through the eight different encounters of “Book of Mercenaries: Tamsin”!
Kurtrus

The first encounter of this chapter starts where the story of Kurtrus’ Book of Mercenaries ended – at Dreadmist Peak. Deck-wise, we’re running a decent self-harm Warlock deck, spike with some spicy campaign exclusives which we’ll highlight later on.
Surprisingly enough, the introductory fight against Kurtrus isn’t just a walk in the park. However, you should be good to go as long as you mulligan for early game prowess. Bloodbound Imp and the single-player exclusive Gizmizzle, most likely Tamsin’s personal imp, serves as great early-game tools. Trade aggressively, drop Flesh Giant, and you will outsmart Kurtrus eventually!
Hooktusk

Tamsin plans to invade Stormwind by boat – but for that, she and her adventurer friends need a boat in the first place!
In the bout against Hooktusk, positioning is everything that matters. Her personal cannon deals damage to the enemies “opposite of this minion”. If it kills any minion, it repeats its ability. The Zandalari captain will try to swarm you with her aggressive pirate deck – luckily, but the overall card quality is not too great.
The card that really made this fight for me was Dreaded Mount. It’s a great early-game buff, and the Dreadsteed helps a ton to soak damage from Hooktusk’s hero power. Thanks to Burning Blade Channeler, you’ll be able to create 3/3 horsies for free, and 2-mana 5/4s through your hero power on top of that.
Try to not fall behind early, and you should have no problems whatsoever overwhelming Hooktusk with your empowered demon board.
Elfarran
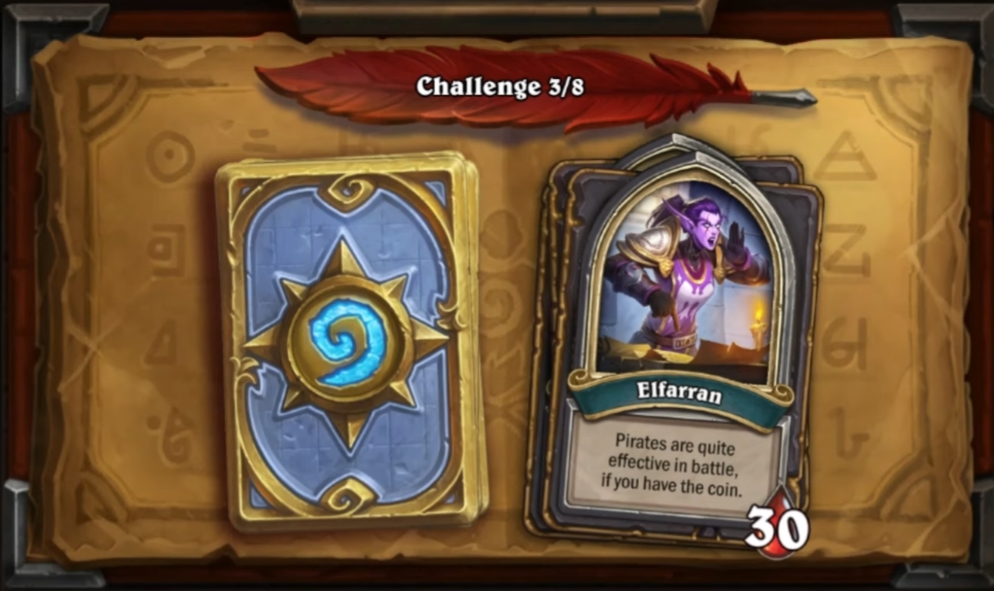
Once the adventurer crew reaches Stormwind harbor, they have to fight their way through the elite guards of the Alliance capital.
First off: It looks like we have to play Pirate Warlock in this match. Yes, this is not a typo. Elfarran actually has a ton of late-game value thanks to her Divine Shield deck, and thus we need every bit of value ourselves.
As always, Dreaded Mount does a great job at keeping board presence. Guff, another campaign exclusive, adds tremendous health value for the rest of the game. The real MVP of our deck this round is Fire Breather, though. We’re playing pirates, so those are not demons, but still – we need all the board we get against a swarmy Paladin archetype.
This fight can end quickly depending on the pirates you’re getting from your hero power. It’s more important than ever to keep the board clear even if you have to take bad trades if you don’t get good pirates!
Thankfully, Elfarran is basically in the same boat, so she’ll run out of fuel eventually. Stay healthy, discount your hand with Runed Mithril Rod plus Soularium, and you should get your pirate Warlock board going!
Bru’kan
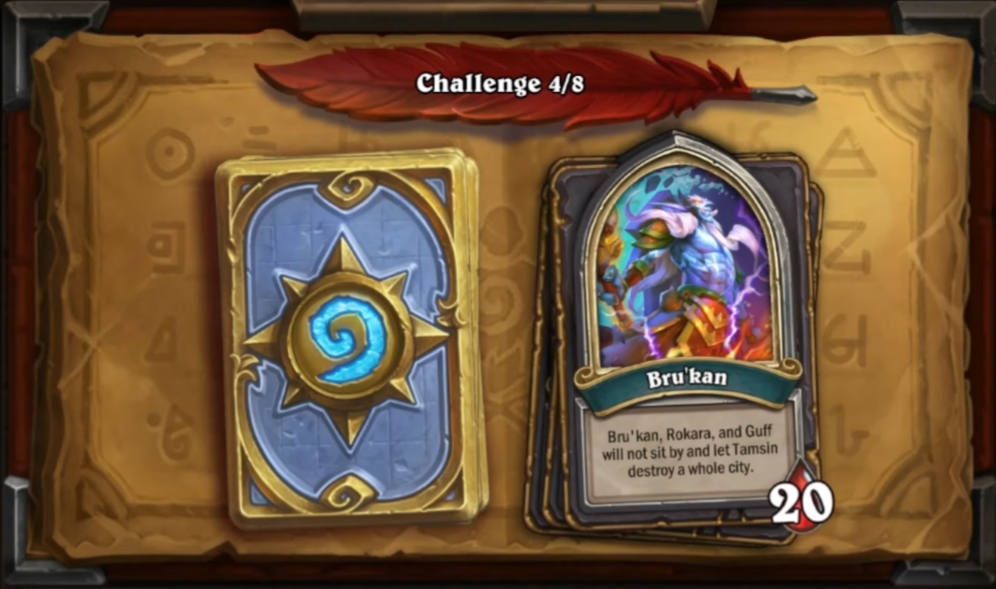
Eventually, Tamsin’s Horde friends find out about her ultimate master plan. Since they don’t want her to go Garrosh 2.0 and decimate a whole Alliance city, they have to fight the feisty forsaken. The plot thickens in this fight of Tamsin’s Book of Mercenaries – the Horde fellowship is about to fall apart!
In this encounter, we’re seeing demonic influences on our deck – and that is not a bad thing from both a story and a gameplay perspective. Apart from that, our hero power now summons two 3/2 imps for a mere 2 mana.
To bring down the mighty Bru’kan, all we need to do is to press this exact hero power. On the other side, the elder shaman rocks a pretty hero power himself. dealing 1-3 damage to enemy minions for 3 mana – that is why we need to hope for some classic low-rolls.
Once you’ve defeated Brukan, Rokara is the next Horde opponent we need to get rid of. As always, it’d be great if you’re rocking a solid board state once Rokara takes her place on the board so that you can immediately damage her. Keeping her board small also reduces the effect of Rokara’s hero power.
Last but not least, Gruff tries to intervene – but his army of squirrels should be no problem for your late-game board full of Flesh Giants and Mo’arg Forgefiends. Finish him within one or two turns, and move on to your true task!
A Cheesemonger

While Tamsin sneaks her way through Stormwind, she eventually has to face the true end boss of Stormwind: A cheesemonger.
We’re facing a Stormwind-based deck archetype full of rats, merchants, and everything else the Alliance capital has to offer. Looking at our own deck, we’ve turned into a more control-heavy Warlock with Tamsin’s legendary card effect as our hero power.
That may sound a bit over-powered at first – but we need every piece of removal against what looks to be the most powerful cheese merchant of all Azeroth. His two copies of Rats of Extraordinary Size will cause particularly pesky problems, especially if paired with the Rat King.
More often than not, this fight will go the full distance into fatigue – so staying healthy is of utmost importance. Your key card to success will be Dark Alley Pact. The fact that you can copy this banger of a spells means that you’ll eventually be able to overrun the monger’s army of rats. That paired with multiple copies of Hysteria, Drain Soul, and Touch of the Nathrezim will give enough firepower support to beat that cheesy SI:7 agent in disguise.
Xyrella
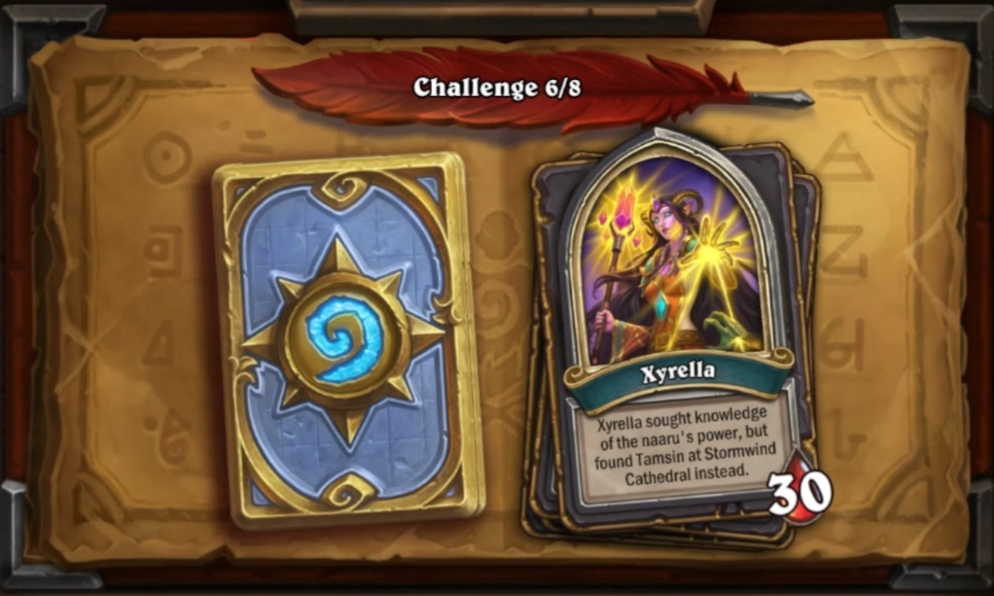
The next Alliance hero that tries to ruin Tamsin’s master plan is Xyrella. Our deck slowly transforms into a weird control/self-harm hybrid – but that is not a bad thing against Xyrella’s Priest deck.
First off, let me tell you that Stealer of Souls plays a whole different than you see it on the ladder. We have way fewer healing spells, but that gets compensated by Enhanced Dreadlord.
In the end, this fight is an easy win because of one of Priest’s oldest issues: Lack of removal when it comes to large minions one by one. Dreadlord and Mo’arg Forgefiend do a great job at sticking to the board, and Goldshire Gnoll helps a ton keeping the board clear and trading 2 for 1.
By the way: This doesn’t change one Xyrella switches into shadow form. The only thing you’ll have to look out for is your health total because Xyrella does have a few damaging tools to her disposal. Stay healthy before you phase her, and your full board should have no problem in corrupting the holy priest eventually!
Bolvar Fordragon

The holy priest Xyrella has been beaten, so now it is time for Stormwind’s true elite to take over.
The fight against Bolver is truly epic. We start the fight with 10 mana, while Bolvar sits at 1 – and that is completely fine after looking at his hero power: Every turn, for 0 mana, he summons FIVE minions from his deck and gives them 3 health and Taunt.
And if that wasn’t already enough, Bolvar’s deck size is almost doubled compared to ours, and full of minions on top, so we need to get things done quickly. Our win condition is to summon Anetheron by playing 6 demons. That also means that they don’t have to survive, so you can go all-out on Bolvar’s board.
I found it to be most effective to summon as many demons as possible during the very early turns. We need to rely on bad RNG on Bolvar’s side – and lucky draws on ours. The two Summoning Portals that are featured on board make our plan much easier – however, we need to start covering our health points after turn 3 or 4, depending on Bolvar’s deck summons.
The one thing that helps our cause tremendously is Tamsin’s hero power. Every gargantuan board removal that we draw – may it be Twisting Nether, DOOM! or Corrupting Mist – will be duplicated and costs 0 mana from thereon. Again, this is really just a game of math: am I able to summon a demon, or will Bolvar’s board be big enough to kill me next turn? Whenever you’re looking at the second option, you will need to use a board clear.
Once you’ve summoned Anetheron, all you need to do is survive. He will be able to clear every board and every minion Bolvar throws at us, so make sure you are healthy enough to endure one more turn so that he gets ready to attack. As soon as the dread lord is under your command, make sure to attack the low-attack minions and use its cleave to maximum effect, and Bolvar should stand no chance!
Cornelius Roame

I can safely say that, for me, the fight against Tamsin’s father has to be the best encounter we’ve had the pleasure to play during a Book of Mercenaries chapter so far.
And that is not because we’re looking at an extremely hard or complex fight, like the one against Bolvar. It’s just the final puzzle piece of Tamsin’s compelling storyline that has been perfectly transformed into a disturbing and yet brilliant gameplay experience.
Tactic-wise, all we need to do is burn Cornelius’ deck. He’s immune to any damage except fatigue damage, so we’ll rid him of all his precious memories. Both Mind Demon cards almost do the job themselves while cards like Memory Burn and Tickatus serve as the icing on the cake.
As soon as Cornelius runs out of cards, you’ll be able to reap the rewards of Tamsin’s master plan and this tough edition of Book of Mercenaries!
‘Our win condition is to summon Anetheron by playing 6 demons.’ I’m pretty sure it’s 7 demons.
Ironically, apart from that Bolvar fight (which I don’t think plays out as you described because there’s much more to consider imho) I can’t remember anything because to me, all felt very simple – besides said Bolvar battle. Maybe I just got lucky with the other encounters …
Well then. Stormwind has certainly dropped on more spicy backstory that the Barrens chapters hinted at, and we got explanations for why the Questline featured the heroes thus. Rokara led the Horde team into Stormwind, and Bru’kan stepped in to protect the Stormwind citizens from harm. And Tamsin’s turned out to be a pawn like other characters looking for the shards… I’d agree with Tharid on the compelling storytelling. Cornelius’ fight is the first time I’ve played a match in Hearthstone that simply felt difficult to watch. You’re not so much clearing a final boss as much as you’re slowly killing an old man who has no chance of fighting back and begging his daughter to stop.
Onto gameplay, praying for low rolls is what you need to do for the mercenaries fight. I find that Rokara typically starts her turns with two copies of Conditioning in her hand, and she also usually has Blademaster Samuro and Tent Trasher in there too, which means it’s very easy for her to wipe your board and make a comeback thoroughly impossible. The only realistic way forward for that fight is clear out Bru’kan as fast as possible so Conditioning doesn’t go beyond Rank 2, or luck out with Tamsin’s perfume and get a board wipe. And Guff is… well, the Tamsin versus Guff part of the fight is just sad. Which I suppose makes sense because the two of them can’t bring themselves to actually hate each other.