As part of Patch 20.8, Book of Mercenaries’ fourth installment tells the story of the demon hunter Kurtrus. After Xyrella’s campaign introduced the first three Alliance mercenaries, we will soon learn more about the two remaining members of the 5-player group.
Kurtrus, once a peaceful night elf minding his business in Felwood, joined Illidan’s demon hunters to take revenge on Anetheron, the dreadlord that destroyed his homeland during the Third War. But the Betrayer didn’t help his scholar, so Kurtrus sets out to seek justice on his own – and finds another Alliance mercenary.
In this extensive gameplay guide, we will navigate you through the eight different encounters of “Book of Mercenaries: Kurtrus”!
Samuro

Taken out of a dream of his family being slaughtered by the Burning Legion, he wakes up to a brave paladin being surrounded by orcs.
As usual, the first encounter of every campaign feels more introductory than challenging. We start with Cariel on the board, a powerful 4/5 with Taunt, and that alone gives us enough fuel to end the game sooner than later. Use your small Tempo DH deck accordingly, play minions on curve, and you should be able to get rid of Samuro eventually.
Aranna Starseeker
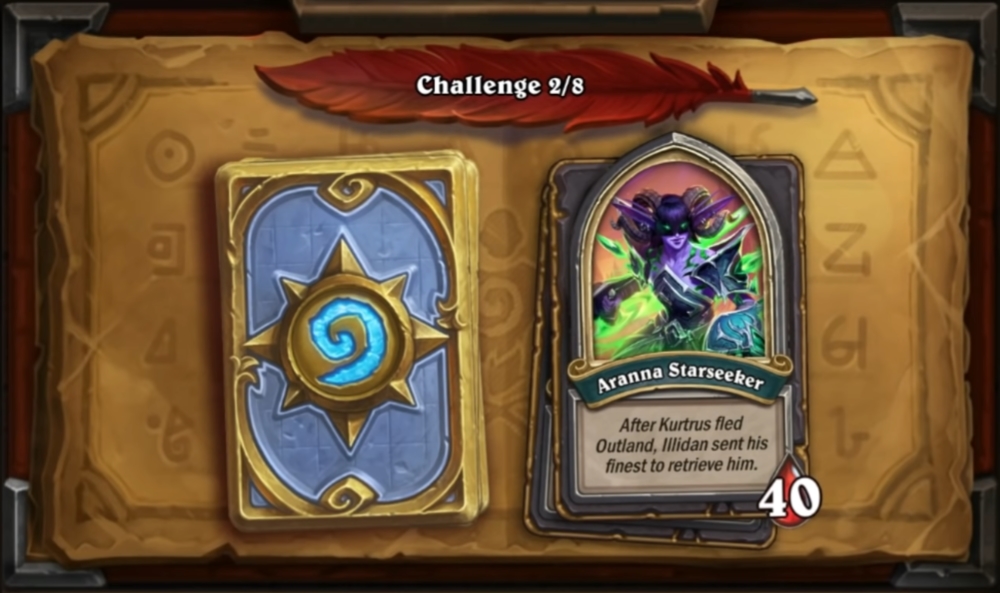
Back in the day, Kurtrus left Illidan after he couldn’t help the restless night elf to avenge his family. Now the Betrayer sends his best demon hunters to catch the deserter.
At first, Aranna’s hero power looks very scary. Being able to trade with her face more effectively after minions attacks could ruin games – but not if you’re Kurtrus! His campaign-exclusive cards in combination with the very strong DH toolkit make short work of Illidan’s minion. Hurl Glaive in particular deals easily with even-number health minions, and Immolation Aura or Blade Dance should give you enough control to get ahead on board in the mid-stages of the game.
Aranna’s only strong answer can be Flamereaper, so take care of your minion positioning in the early- and mid-game!
Heavy removal HP on Aranna’s side. Keep the board clean so that she can’t make use of it. Immolation Aura and Blade Dance help – Hurl Glaive is even better! Echo 2 damage for 1 mana? Insane! Watch out for Flamereaper because it can mess with bigger boards for great value. Other than that, stay aggressive and win the race.
Sangtusk
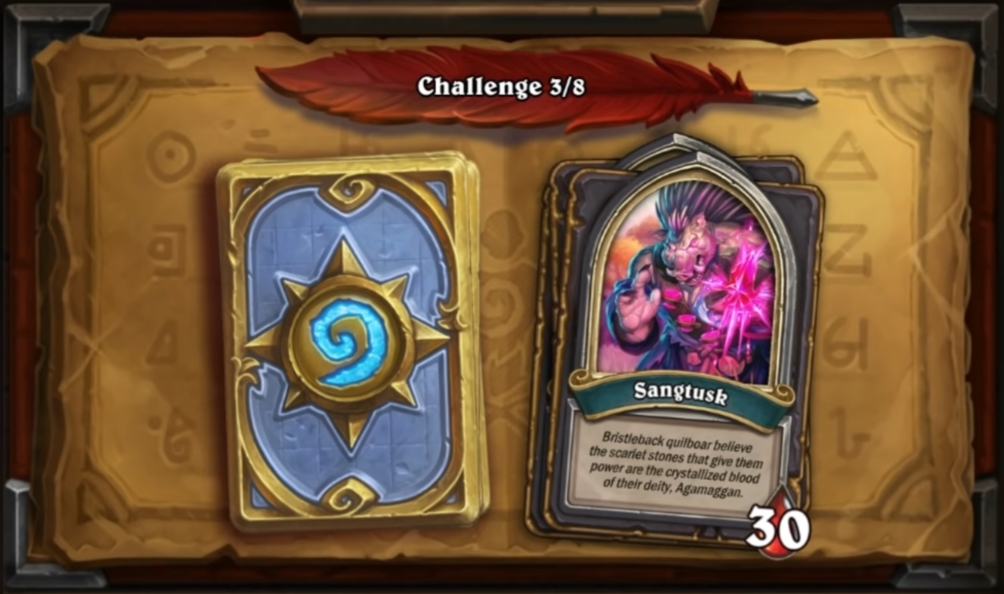
On their way to complete their individual quests, Kurtrus and Cariel find a particular quilboar warlock on the road …
Similar to Aranna, Sangtusk features a high-tempo hero power. If not dealt with correctly, it can spiral out of control real quick, so make sure to keep tempo on the board high. Our deck doesn’t change as much, and we basically evolve into a Tempo/Big DH hybrid archetype. Oh, one more thing: Don’t shy away from hitting face early. Having Cariel on the board from turn 1 on can do enough early damage to seal the deal.
In terms of curveballs, Sangtusk plays Flesh Giant as well as Soulciologist Malicia, so keep track of Soul Shards and Sangtusk’s health!
Sarilus Foulborne
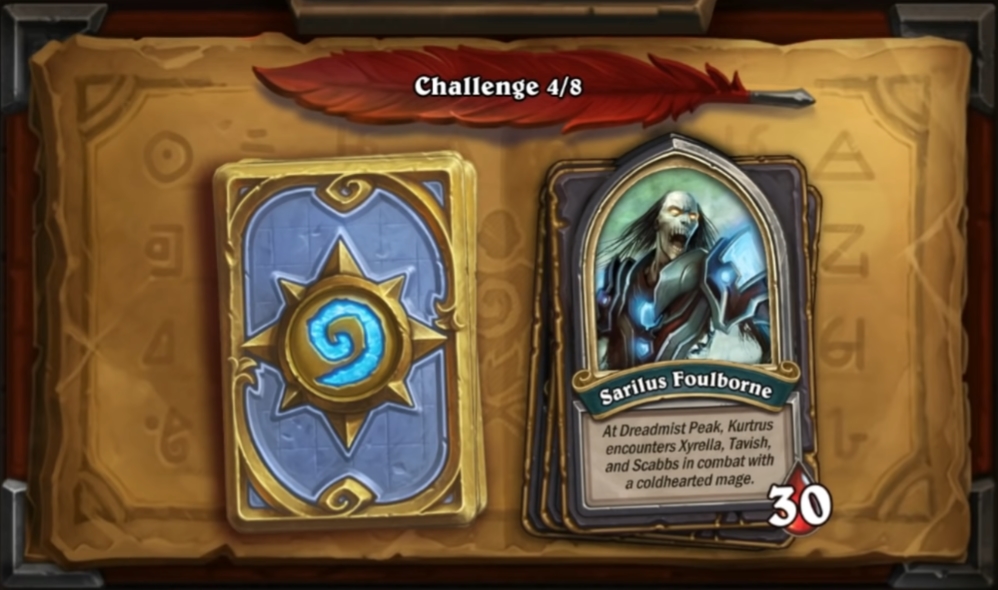
The two adventurers advance to Dreamist Peak and encounter a Forsaken mage fighting another group of mercenaries.
One good thing about this fight is that we know Foulborne’s hero power already: Just like Frost Lich Jaina back in the day, he will eventually overwhelm you with Water Elementals if you don’t take care of your 1-health minions at least to a certain degree.
However, our four allies on the board from the very start of the game will deal with all of those elementals over the course of the early stages of the games.
What carried me in this encounter was Kurtrus’ second campaign-exclusive card Going Alone which serves as a nice way to redraw big parts of your hand. It solves one of Tempo DH’s biggest issues: Drawing dead or misplaced cards. After you’ve played it, you will almost always be able to take advantage of your Outcast cards – so do exactly that, and you should be able to overwhelm the Forsaken mage eventually!
Rathorian
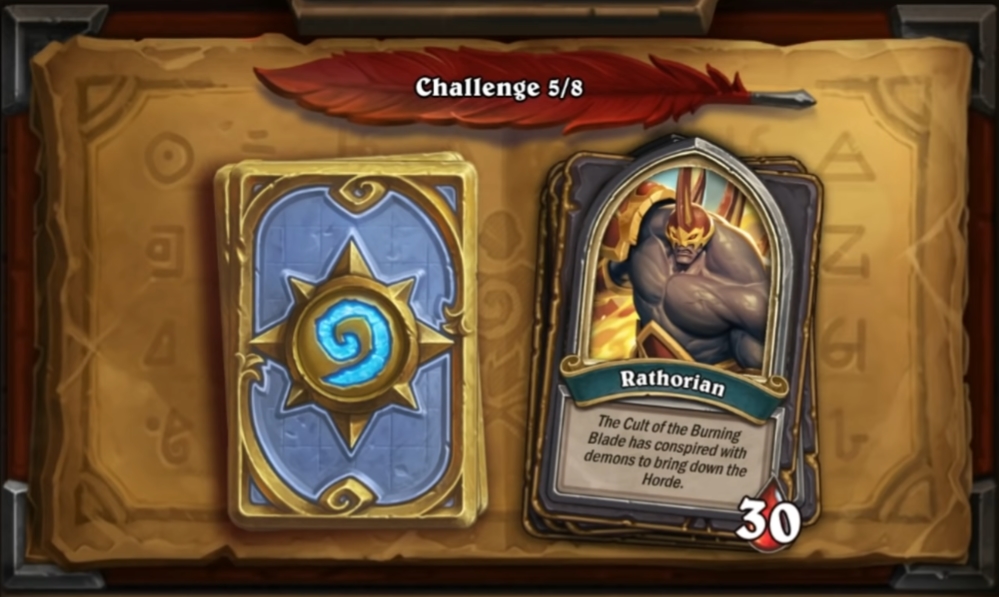
All mercenaries share one goal: To retrieve yet another naaru shard. A warlock of the Burning Blade is rumored to hold it – but a gargantuan doomguard blocks the way of our group of adventurers.
The fight against Rathorian turns into a fully-fleshed group encounter – and that is why the game wants us to choose a hero power of one of our allies. Looking at all of them from a value standpoint, Scabbs’ 2-mana hero power brings to the table what we need most: Card draw and board interaction – and that goes for the coming encounters as well!
Rathorian is a prime example of a mana-cheating deck. In fact, he’s able to highroll into the orbit, so a tad bit of luck will almost always help against this crazy demon. Demon Hunter Sigils in particular helped me to get rid of very early threats like Burning Blade Acolyte. Don’t shy away from using broken cards like Hurl Glaive early to stabilize your side of the board. Rathorian’s big problem is lack of card draw, so putting up a longer game definitely doesn’t hurt and will reward you with a win most of the time.
Kazakus
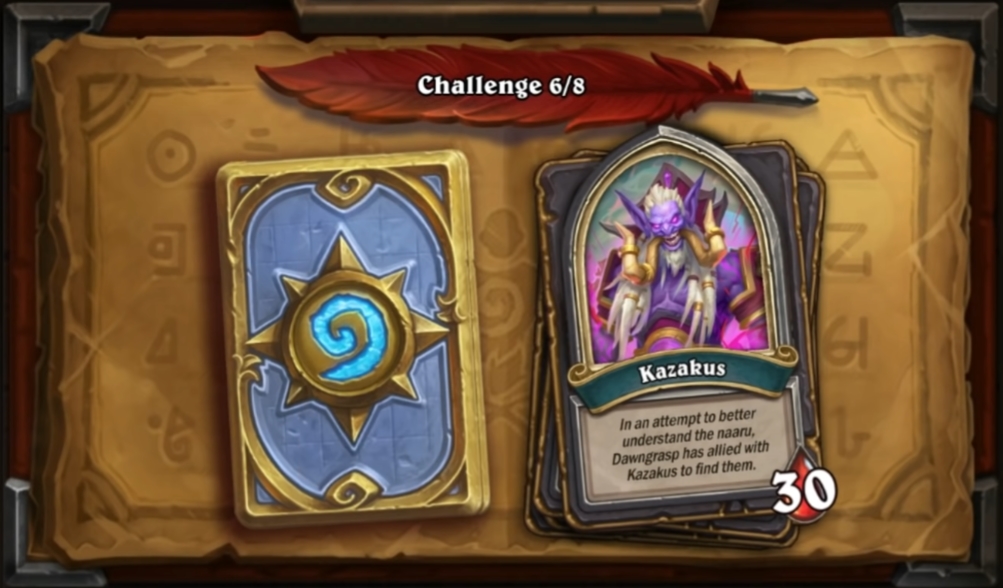
While the newly formed party rests up, they’re being confronted by a mage and their troll companion who also seem to be on the look for naaru shards …
So what we’re fighting in this encounter is Kazakus – quite literally! His hero power looks incredibly powerful, but always be aware that he needs to spend a whole 3 mana to craft up a potion, so that’s a huge enough loss of tempo to get us ahead everytime he uses it.
Apart from that, Kazakus plays a very mediocre Secret Mage list. He almost always casts Netherwind Portal very early, so take that into account when casting early spells.
Once Kazakus is beaten, Varden will unwillingly take over. Now we’re fighting a full-on Control Mage with an equally bad hero power compared to Kazakus. At this point you should have a big enough board from your fight against Kazakus. Varden will use their hero power extensively, which brings us ahead even more and the win eventually.
Neeru Fireblade
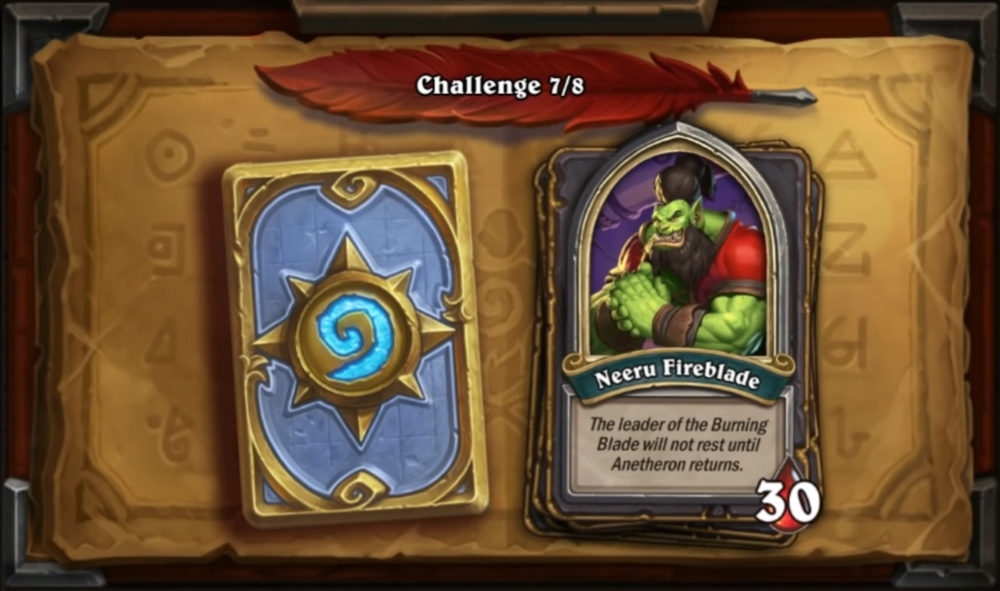
While Scabbs, Tavish, and Xyrella return to Stormwind with their shard, Kurtrus and Cariel further investigate the wrongdoings of the Burning Blade clan.
This one is quite the unique match against the leader of the Burning Blade. Neeru can only be damaged with weapons, so Kurtrus’ weird hero power finally becomes relevant. With every one remaining stack of your weapon, you want to recast your hero power to upgrade your weapon. That way you make sure to deal as much damage as possible to Neeru while focussing on board control with your minions. Two key cards to success, in this case, are Fury (Rank 1) and Inner Demon two finish off the orc warlock.
Oh, one more thing: Neeru is immune to fatigue damage as well! That is why he uses cards like Fel Reaver and Tickatus to make short work of any deck present in the game. That puts us on a bit of a clock, so make sure to focus on face damage through your weapon from the very start!
Tamsin Roame
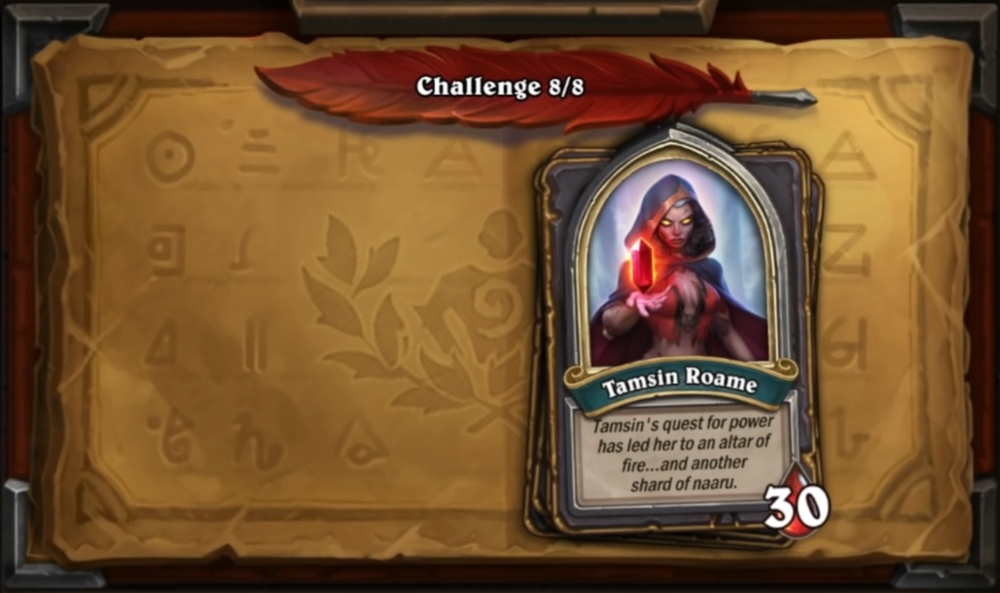
After they’ve taken care of Neeru, both Kurtrus and Cariel meet their destiny – one way or the other …
To be frank, the final fight against Tamsin, Cariel’s sister, is very underwhelming. At first, seeing a 2/30 Cariel on the other side of the board may put you into panic mode – but don’t fret!
The most important thing in this game is to keep your cool and play it the Demon Hunter way. Cards like Skull of Gul’dan are made for overpowering single-player encounters like this one, and we have more than enough late-game prowess to challenge Tamsin.
Once Cariel is dead, the fight is basically won. Use Hurl Glaive and Going Alone wisely to make best use of your Outcast cards. Surprisingly enough, stacking up Kurtrus’ weapon turns out to be quite the healthy support strategy as well – so strike down Tamsin and complete yet another chapter in the Book of Mercenaries!
Can you be more specific for the final boss (tsamin) encounter? I have tried a dozen times and can’t beat her, I only barely kill her sister before I die the next turn.
what I am looking for is deep strategy or what cards to reroll for or anything more than “underwhelming” too much rng to assume I can beat it my first time xD