With Bru’kan’s chapter in the Book of Mercenaries, Hearthstone enters the final stages of this story year by releasing the second-to-last edition of their single-player experience! The patch notes hinted towards a major story twist this time around as we try to get behind Onyxia’s and Kazakusan’s ultimate scheme – but at what cost?!
In this extensive gameplay guide, we will navigate you through the eight different encounters of “Book of Mercenaries: Bru’kan”!
Dreadlich Tamsin
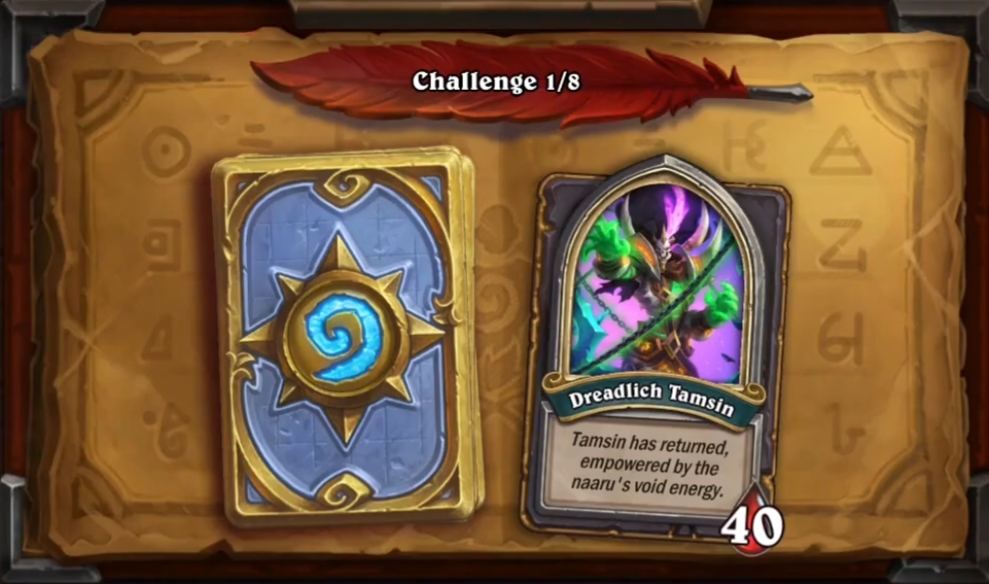
Just like Book of Mercenaries’ last chapter, the first encounter of this campaign is surprisingly difficult. In the early-game, Tamsin will throw a whole lot of board pressure through minions like Bloodbound Imp at you. In terms of mulligan, you should try to fish for early answers like Novice Zapper, Lightning Bolt, or Lightning Storm.
Over the course of the mid-game, you should be able to stabilize eventually. Her royal lichness will lose a whole lot of tempo thanks to mediocre minion plays while Bru’kan’s tool kit will make short work of these exact plays. What won me the game, however, was the good ol’ Doomhammer + Rockbiter Weapon combo – never change a running Face Shaman system!
Campfire
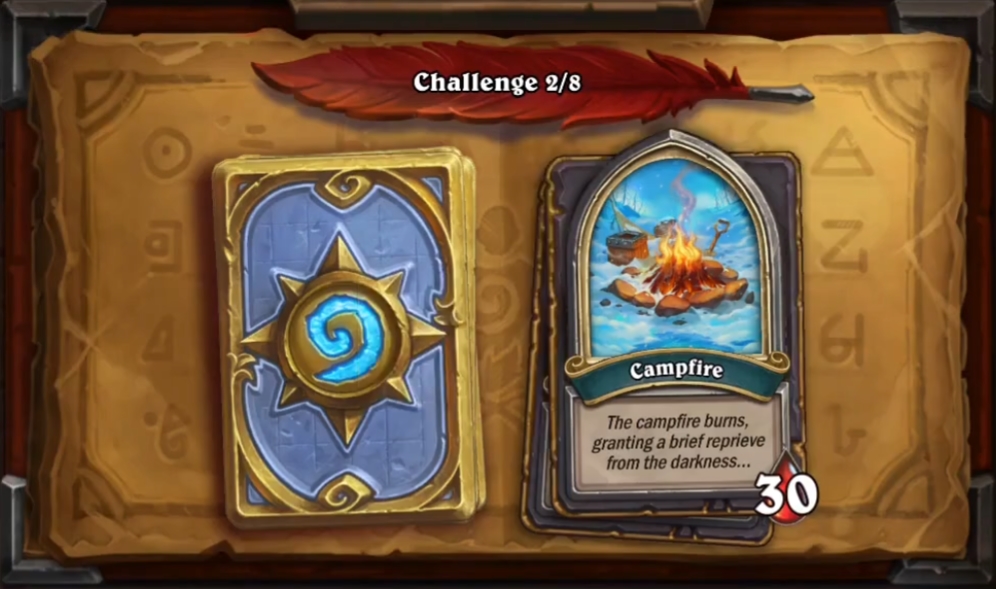
It is time again for some puzzles! This time around, we need to get rid of some pesky elementals while sitting at the campfire:
First Board: Play Runic Carvings with Alarm the Forest (Rush) option, Trade 3 treants into one Bonfire Elemental and 1 treant into the other Bonfire Elemental, Play Chain Lightning (Rank 2) on remaining Bonfire Elemental
Second Board: Trade Al’Akir into Bonfire Elemental first and then into Fire Elemental, Play The Lurker Below on Bonfire Elemental, Kill off The Lurker Below with Lava Burst
Third Board: Play Lightning Bolt on one of the Fire Elementals, Play 2 Wolf Rider and trade into both full-life Fire Elementals, Play Overdraft on one full-health Flame Elemental, Play Frost Shock on another full-health Flame Elemental, Play Beakered Lightning, Play Overdraft on last remaining 1-health Flame Elemental, Trade Vessina into remaining Fire Elemental
Fourth Board: Start by trading your Boulderfist Ogre into one Fire Elemental then Lightning Bolt the second one. Play Landslide, Snowball Fight on the last enemy minion, and then finish whichever one survives with Earth Shock.
Fifth Board: Trade one Frantic Hippogryph into the Tough Blue Campfire to gain Windfury, Play Talented Arcanist, Play Crazed Alchemist on Korrak, Play Beakered Lightning, Trade both Hippogryphs into both Fire Elementals
Wing Commander Ichman

Versus Ichman, we are required to choose one of our mercenary friends’ hero power. I went with Rokara because we need additional early-game removal options. Ichman’s hero power looks threatening at first sight – but drawing 1-cost minions will become very weak very fast.
It is again Bru’kan’s mid-game prowess that decides the game for us. Minions like Earth Elemental and Fire Elemental produce insane amounts of value. The only thing that can rain on our shamanistic parade is Hunter’s Mark which produces even more value and enables crazy trade potential for our opponent, so look out for those. That also goes for Deadly Shot – but there’s really nothing to do against that. As the game goes on, Ichman will lose more and more hand value, and we should be able to establish a board full of mid-game threats. Watch out for his Stampede, though – it can create one last scary board in no time. Try to control the board at this stage, and again look for a finishing blow with Doomhammer and Rockbiter Weapon!
Taskmaster Snivvle
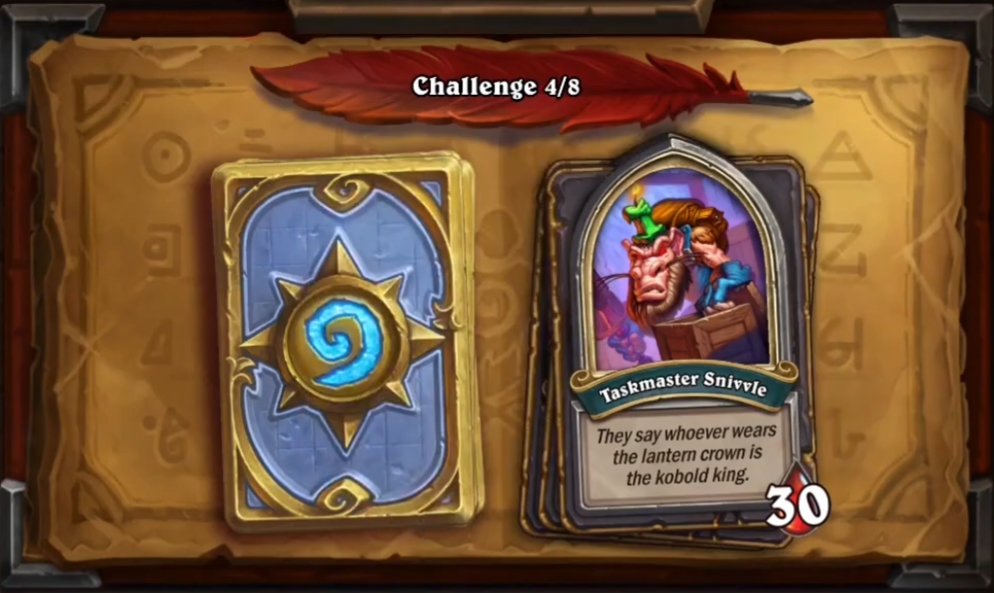
This fight is interesting! Snivvle starts with two 0/8 treasures on the board. These treasures will pull from the usual treasure pool, awarding us with cards like Zarog’s Crown – so try to get rid of the chests to claim your kobold-y award! Snivvle will try his best to disrupt our game plan, most obviously through his hero power that grants attack by dealing damage to its own minions – or chests, rather.
To be honest, this game is like a box of chocolate – you never know what you’re gonna get from the burgling kobold master. That is why you have to take care of the board even more. If you get early access to one of the treasures you should have no problem keeping the upper hand, though – and if things go south, Cariel herself will appear on turn 8 to save the day by joining your board as a reviving 2/5 Taunt minion. All in all, this fight feels a lot more story-centric – so clear the board, get your treasures and enjoy the show that also includes a special League of E.V.I.L. kobold cameo!
The Primalist
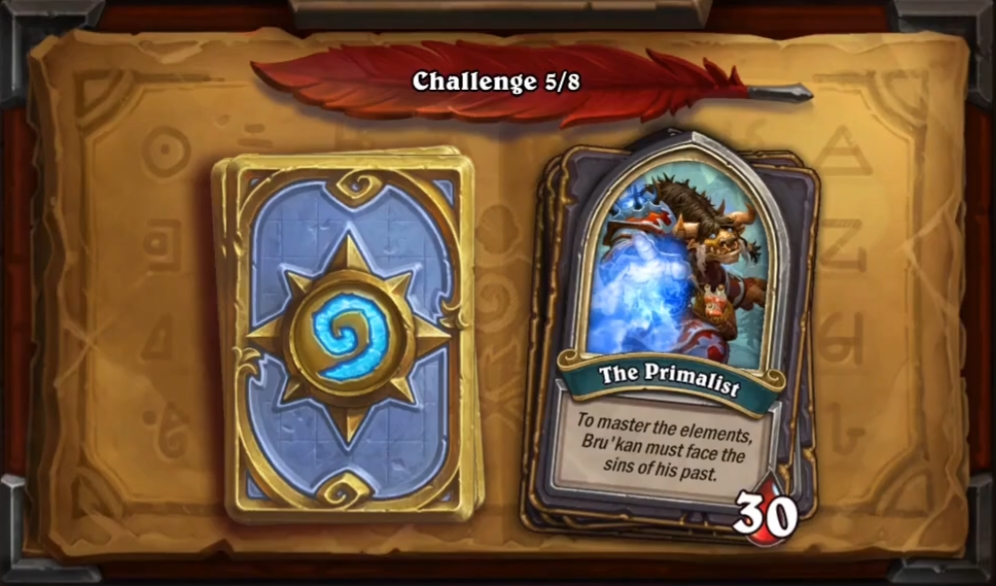
Against the tauren primalist, Bru’kan has to face different visions in order to complete this encounter. Once again, this encounter felt very easy, but still: As a general rule of thumb, you should always look to clear the board before advancing to the next phase of the encounter!
First off, there is Drek’thar, leader of the Frostwolfs. He’ll summon a basic totem after each turn, which, on its own, isn’t too threatening. Use your board clears with caution and advance to the next phase to face Thrall. His active effect – to protect the primalist from any damage – isn’t particularly threatening either, so take your time to control the board.
The next phase opponent is Daelin Proudmoore, Jaina’s father. Daelin’s effect is a bit less tame – however, at this time in the encounter, you should have enough tools to showcase a nice board and a great hand to finish him off as quickly as possible. After that, you have completed the lessons of the primalist and will advance to the next encounter!
Lokholar the Ice Lord
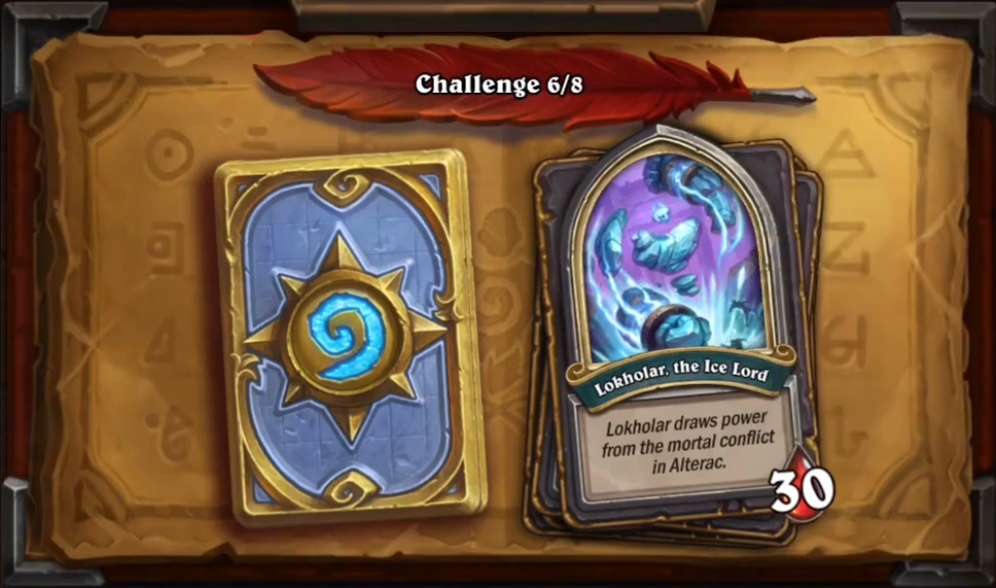
We start the fight with our full party of mercenaries on the board. Lokholar immediately starts throwing Frost spells in our general direction – but luckily, our deck has turned into a decent Frost Shaman list as well.
Honestly, this may be the easiest fight of all of Book of Mercenaries. The only thing you need to do is to hit face with your mercenaries, really. Playing good cards on curve helps as well! It all makes sense from a story standpoint, though: We have just proven ourselves in the eyes of the primalist, and taming Lokholar was a logical consequence!
Vanndar Stormpike
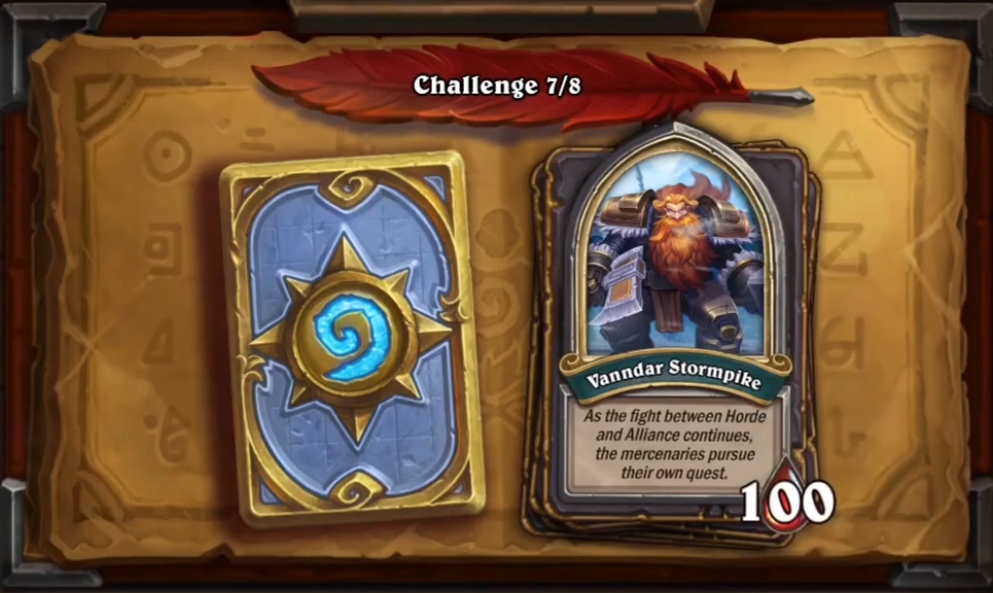
We’re entering Alliance territory in Alterac Valley and have to face Vanndar, leader of the Stormpike expedition. We start the encounter with a revivable Lokholar on our side. Vanndar, on the other side, starts with 10 mana – a great indicator for a close fight! Vanndar’s hero power may look tame at first sight – but in theory, infinite value becomes a problem over a longer encounter, and Vanndar’s 100 health pool doesn’t really help in that regard.
Luckily, Guff helps us out on turn 4 by summoning Ivus, the Frost Lord! With the two revivable elemental lords at our side, this fight is impossible to lose, not least because we have cards like Bru’kan’s Lesson that let us invoke the elements twice for a mere 6 mana. On turn 9 to 10, you should have a ridiculous board while Vanndar will continue throwing measly 1/1 rams at you. Slowly whittling away at Vanndar’s health will net you the victory so that you can advance to the last fight of this chapter!
Dreadlich Tamsin (Again)
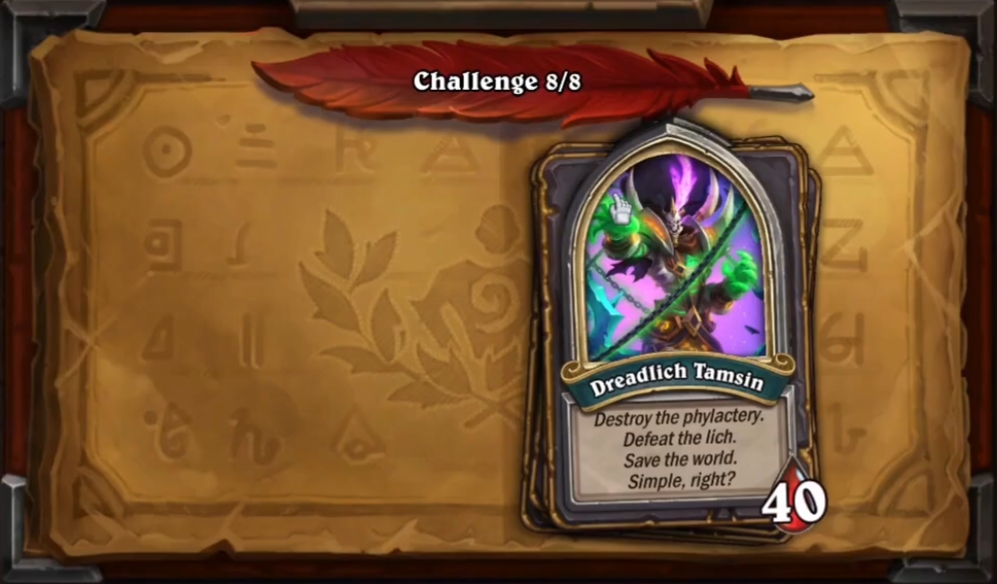
The final encounter will feature Dreadlich Tamsin and her evil plan to absorb the void naaru’s power. Over the first few turns, we will draw each and every mercenary – which is a great thing because Tamsin doesn’t really have that many early-game removal tools. The only exception is her Defile hero power, so try to not play too much into it.
However, the tables turn on turn 7 where Bru’kan sends off a part of his party to fend off the evil dragons Onyxia and Kazakusan. From there on, you should play smart by using your Frost synergy. Tamsin’s refreshing hero power can become a problem but also your saving grace because she needs to invest a whole lot of mana. In the end, despite the ultimate sacrifice that Bru’kan has to make, you should have no problem taking Tamsin with you. Similar to the final battles from the last couple BoM campaigns, story definitely outshines difficulty here – but that’s a-okay. If you’ve come that far, you should call the golden Shaman pack your very own and be prepared for the final chapter coming soon – congrats!
For the final Tamsin fight, since the party splits when Tamsin gets below 20HP (not necessarily turn 7), my strategy was to trying to avoid card draw, not damaging Tamsin, and use my mercs to kill the constant demons. Once in fatigue, she loses since her hero power does not generate any value and I still have enough cards in my deck
So for the primalist fight, I won’t really fast with a t2 hp in the 5/5 totem, after that it was gg,
And for the last fight, I had rokara on the board after the event, because she was in the revive state, (and also Cariel but that is normal), so easy gg too