It’s been over six months since the release of Book of Heroes’ first chapter, and the series continues to tell the story of Hearthstone’s original hero characters. This time, players will experience the tale of Gul’dan. As the first warlock of Azeroth, he has been involved – among many, many other terrible events – with the creation of the first death knights and the corruption of the original Horde.
In this extensive gameplay guide, we will navigate you through the eight different encounters of “Book of Heroes: Gul’dan”!
Forgotten Warrior
Being a weak part of his tribe, Gul’dan’s chieftain one day has had enough of him.
This fight may be the easiest introductory encounter of all single-player campaigns. Our goal is to hold out 9 turns against the chieftain – and we have more than enough tools to do exactly that. Keep the board clear, heal yourself through your hero power, and move on to the Throne of the Elements.
Throne of the Elements

Seeking sage advice, Gul’dan reaches the Throne of the Elements …
It is safe to say that the Throne of the Elements encounter is the hardest second encounter of all single-player campaigns. To finish this fight, you have to play a total of 8 Shaman spells. For that, you have to get the most out of your copies of Marshspawn. Don’t waste your early spells for removal too much, don’t try to play cards on curve. It is of utmost importance to use the elemental effect of Marshspawn to create additional spells – because otherwise, you won’t be able to complete the win condition!
Based on your draws, using your Marsh Spawns perfectly also includes interaction with Bog Slosher. Your deck features this minion for a reason! Other than that, fully rely on your healing and defensive tools to create as many spells as early as possible.
Once you’ve witnessed the corrupted vision of Sargeras, we turn into a powerful Warlock with a full hand. Taking revenge on our clan chieftain turns out to be a walk in the park – just play all your expensive minions and use your Discard synergies accordingly, and he won’t stay a chance.
Ner’zhul
To complete his master’s plans, Gul’dan seeks out the revered shaman Ner’zhul.
In our third match, we’re faced with an even level of difficulty. Being a Warlock in Shaman disguise, we should try to use the elemental powers to get Ner’zhul on “our side”. Suspicious Elemental in particular turns out to be one of many tools to crack this fight. Before that, you should be able to draw enough Elemental synergy to get into late-game. Cards like DOOM! and Tar Lurker will provide copious amounts of defense, while classics like Power Overwhelming and Sea Giant should be able to take the cake against Azeroth’s future first death knight.
Chieftains of the Horde
Gul’dan continues to play out his plans and tries to bring together the orc clans …
For the first time in the history of the Book single-player campaigns, we are treated with a puzzle encounter! To solve every single puzzle, go ahead as follows:
- Grommash Hellscream (Warsong Clan): Trade imps into hellboars, Shadow Bolt the 4/4 orc, use Hero Power.
- Blackhand (Blackrock Clan): Play all three Dragon eggs, play Broomstick, use Hero Power
- Durotan (Frostwolf Clan): Play Hellfire, play Shadow Council, play all three Felhounds and trade, use Hero Power
- Kilrogg Deatheye (Bleeding Hollow): Trade Dunemaul Shaman into both orcs, use Grimoire of Sacrifice on imp, use Hero Power
- Fenris Wolfbrother (Thunderlord Clan): Play Felhound, play Flame Imp, play Deathweb Spider, play Animated Broomstick, trade Imp into on 4/5, trade Spider into another 4/5, trade first Cobra into another 4/5, trade second Cobra into 4/4, trade third Cobra into Wolf, trade Felhound into Clefthoof, use Hero Power.
- Hurkan Skullsplinter (Bonechewer Clan): Play Curse of Weakness, trade Firebirds into two Taunt Orcs, use Drain Soul on one of the Orcs, attack with Lake Thresher, use Hero Power
- Zuluhed the Whacked (Dragonmaw Clan): Play two Darkglares, trade in 2 Locusts, play Fiendish Circle, trade in one more Locust, play Animated Broomstick, trade in last Locust, play Darkest Hour, kill Taunt with Batterhead, trade rest of the board, play both coins, use Hero Power.
- Kargath Bladefist (Shattered Hand Clan): Play two Raven Familiar, play Soularium, trade Taunts with your two 6/6s, Demon Fire one Raven Familiar, destroy one chest with Batterhead, use both coins, Demon Fire second Raven Familiar, destroy second chest with Batterhead, play both coins, play Soularium, trade rest of the board, use Hero Power.
Medivh
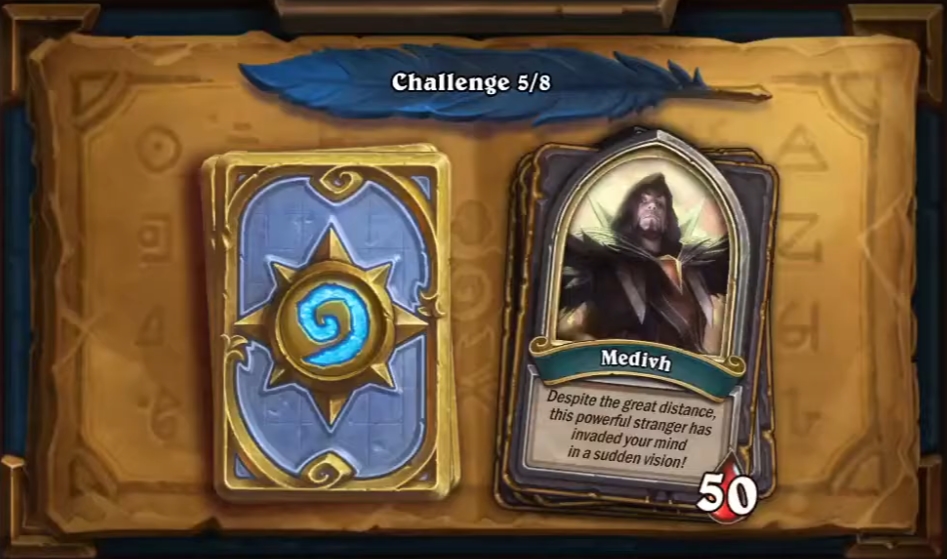
Suddenly, a dark wanderer approaches Gul’dan and offers him an incredible deal.
The fight against Medivh turns into a classic Warlock versus Mage match – but with a couple of twists. Medivh will equip Atiesh as his Hero Power, while we will be able to replace an enemy minion with a friendly demon on our board that costs one less. For 4 mana, this sounds very expensive, and it is; however, it gains more and more value against bigger and bigger threats.
By the looks of it, we’ll get Garona in our hand at all times in the mid-game. Besides our Hero Power, having a cleaving minion that stays on our board for the rest of the game helps a ton against the incredible value generated by Atiesh.
In terms of board control, copies of Archmage’s Apprentice should receive top priority. Atiesh is a value monster, and returning good spells to Medivh’s deck can cost us the game. Other than that, our late-game is looking great thanks to our Hero Power. However, you should always be ready to start a race against Medivh once your hand is almost empty. He plays at least two copies of Flamestrike, so you have to rely on your luck in those situations, but other than that it is a pretty beatable encounter if you use your Hero Power correctly!
Orgrim Doomhammer
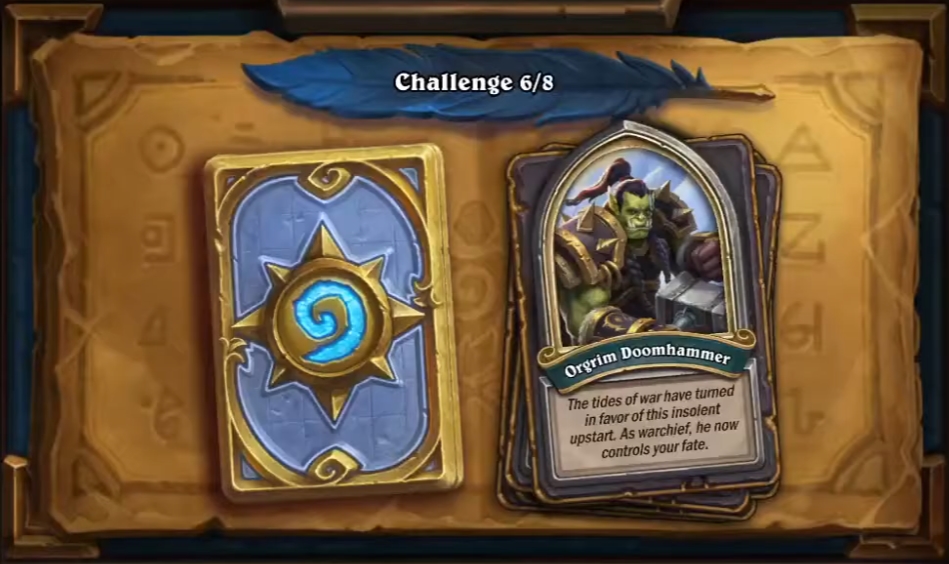
One of the orc warlords, Orgrim Doomhammer, doesn’t trust the mad warlock and confronts Gul’dan …
Against Orgrim, we need to hold out for 13 turns. Our Hero Power didn’t change, so we know how to use it accordingly. By the looks of it, our overall card quality isn’t too great in the early stages, so relying on our Hero Power is even more important.
Somewhere in the mid-game, Orgrim will start his legendary galore, playing Rexxar, Varok Saurfang, and Doomhammer, so be prepared for that. Another late-game curveball is Grommash Hellscream, who can deal terrible damage
Fallen Soldier

In search for allies, Gul’dan seeks to revive Teron’gor.
Similar to the Chieftains fight, we need to solve puzzles again to revive Teron’gor! Here are the solutions to each puzzle:
- Puzzle 1: Play School Spirits, play Mortal Coil on left Skeleton, play Ravenous Familiar, trade Familiar into left Skeleton, use Soul Shear on Spirit of Teron’gor, cast Torment Soul.
- Puzzle 2: Play School Spirits, play Spirit Jailer, use Soul Shear on Spirit Jailer, play both coins, play Soulwringer, trade Souls with all minions that have 3 HP, play 4 coins, use Hysteria on Spirit of Teron’gor.
- Puzzle 3: Play Void Drinker, use Harvest Soul on Void Drinker, play Soul Rend.
Tomb Guardian
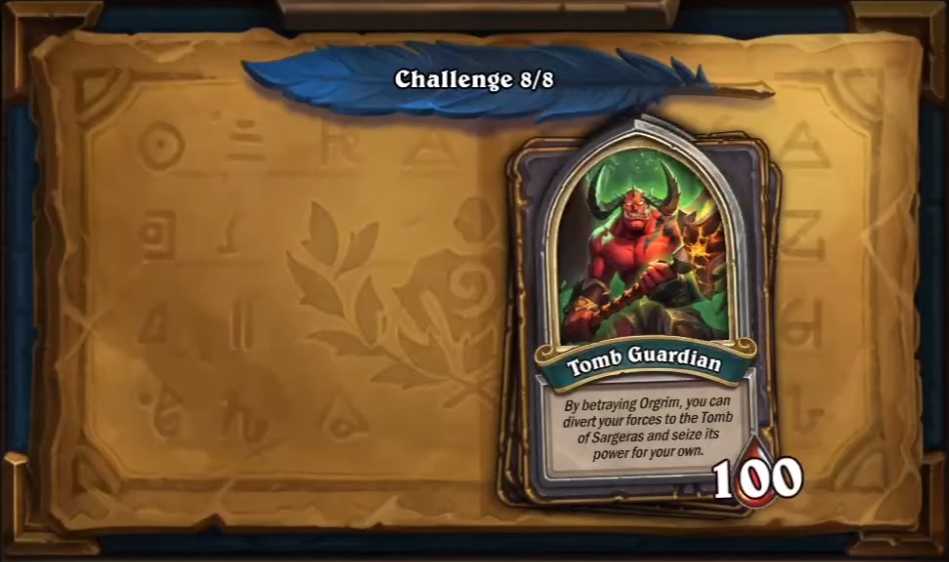
On what has been his last mission, Gul’dan traveled to the Tom of Sargeras to achieve ultimate god status.
In this last fight, we need to take multiple things into consideration. We start the fight against the Tomb Guardian with 10 mana, and that for a reason – the all-seeing Eye of Sargeras will destroy one of our mana crystals every second turn, and that value increased by 1 per use!
That is why we need to play our strongest cards as early as possible. The only way to play expensive cards with low mana is Cho’gall’s Spellburst effect that lets us play cards for health instead of mana.
The one department that our opponent doesn’t seem to absolutely control is card draw. In comparison, our campaign-exclusive spells Power of Gul’dan does everything we need in terms of card draw – and more! Why? Because it has the same effect as Skull of Gul’dan, and we know that this particular Demon Hunter spell carries a ton of value in single-player matches.
What makes this card even better is Stormreaver Warlock, an early-game minion that is able to copy the spell that you used to activate the minion’s Spellburst effect. Use it to copy Power of Gul’dan or Fel Furor, another exclusive spell that gives our demons or, if combo’d, all our minions +1 attack.
In addition to that, our board clear is terrific: Thankfully, we’ve kept spells like School Spirits or Cascading Disaster in our deck. Together with our upgraded Rain of Destruction Hero Power, we should have no problem to bypass Taunt minions or remove early threats.
The one card that should do the main work when it comes to the enormous health pool of Tomb Guardian is Soulwringer. This boss minion is Malicia in her essence for one less mana, and we should always play into it by playing Soul Fragments in the early stages of the game.
Other than that, the Tomb Guardian doesn’t hold too many surprises – so crush him, seal Gul’dan’s fate, and take your win in Book of Heroes: Gul’dan!
Thanks so much. Just realized there’s a golden pack reward for completing BOH, so I flew through Gul’dan’s puzzles with your guides.
Another one down to never be played again. This whole book series is a complete whiff to me. Absolutely zero replayability.
I can’t imagine the time they spent putting these together. Hoping they bring back the dungeon run style next year.
There is a mistake under the fourth boss, Chieftains of the Horde. For the fourth puzzle, Hurkan Skullsplinter (Bonechewer Clan), the writer of this post states that you must play Curse of Weakness two times at the very beginning. That is incorrect. You only have 6 mana, if you play Curse of Wellness twice, you’ll end up running out of mana. You are only supposed to use Curse of Wellness one time, then follow the rest of the steps.
Thanks for pointing it out, fixed.
This is correct, thanks for pointing it out!