Only two weeks after Patch 20.4 and Xyrella’s Book of Mercenaries have gone live, it is now Guff’s time to tell his origin story. Guff’s Book of Mercenaries serves as the third chapter of the Horde storyline that revolves around the happenings within the Barrens. The aspiring druid wants to prove his worth to his great-uncle, the revered Hamuul Runetotem, and starts to investigate a dark corruption inside the Wailing Caverns.
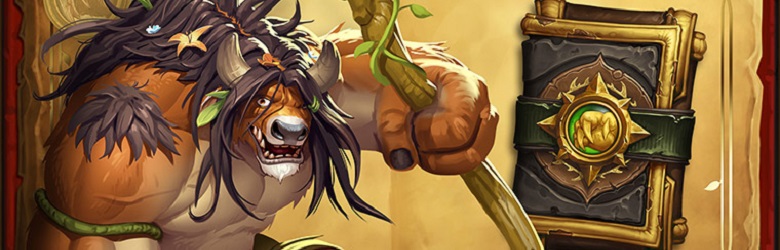
An Angry Treant
In the first encounter of Guff’s Book of Mercenaries campaign, the young tauren seems to have trouble with a summoned treant during the druidical lessons led by his famous great-uncle in Thunder Bluff.
Looking at the initial board state, it seems that the story of Guff starts off in the tauren capital Thunder Bluff. Over the course of the first two turns, our mission is clear: We need to get control over the rogue treants as soon as possible – or else they will destroy Hamuul’s dear city.
As always, the first encounter feels very introductory. Guff plays a pretty standard Druid list, and so does his enemy who focuses – of course – on summoning treants. Experienced players know that Token Druid lists tend to fall behind once you have the ability to clear their board over and over. To achieve that state of the game, we have to buff our Thunder Bluff totem taunters. Cards like Lion’s Pride or Blessing of the Ancients get that job done, so try to prioritize filling up the board until those buff cards become available to play. As soon as you take control over the board, things get messy for our treant enemy real fast and we should be able to move to the second challenge.
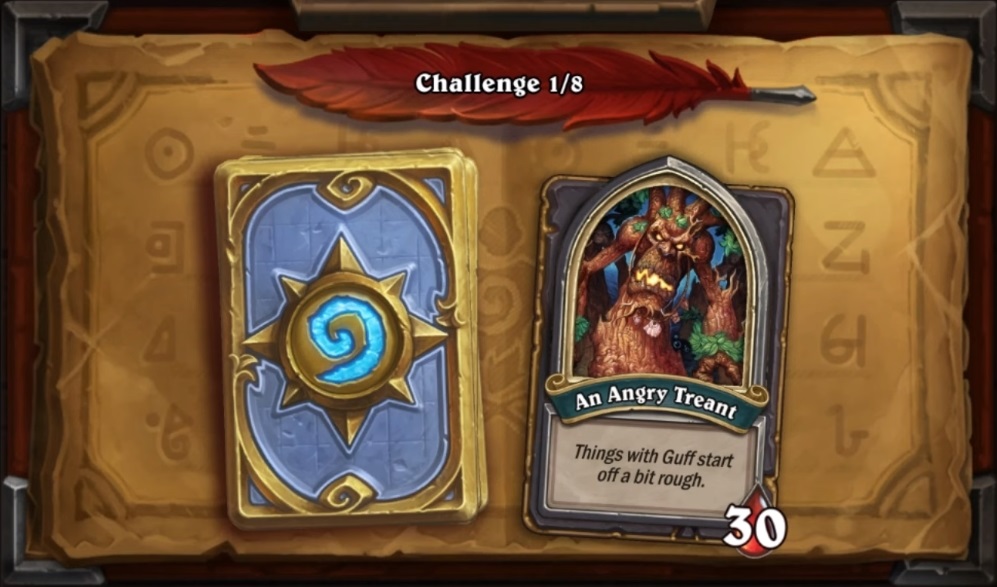
Vapos
Despite his great-uncle’s advice, Guff continues to investigate the strange behavior of his homeland together with a group of friends, starting at an oasis called the Forgotten Pools.
Unlike Xyrella’s approach to group play, Guff is supported only through one of the hero powers of his friends Tamsin, Bru’kan, Rokara, and Varden. Guff runs a spell-heavy druid list, so I chose Tamin’s 3-mana spell reduction as the preferred hero power during this encounter.
Similar to single-player encounters in the past, we have to advance through three stages in the form of three 3/10 fissures that need to be destroyed. Vapos plays a list full of its elemental people, so we need to prepare for some combo-swinging turns.
As we already know, all these stage encounters share the same approach: Once you advance to the next stage, you should try to be ahead on board at the time. In this particular case, Guff shouldn’t have major problems with that. His spell removal kit in combination with two copies of Talented Arcanist provide great board clear for little mana, and Tamsin’s hero power helps with earlier execution in that regard. The hero power also supports you in building up a powerful board through our board-buffing tools.
One thing that can ruin our efforts though is Vapos’ ability to create random Mage spells through its hero power. Try to gain strict control over the board so that Mage heavy-hitters like Deep Freeze don’t catch you off-guard. If you keep your priorities straight you should be able to overrun Vapos’ elemental army and continue the adventure.
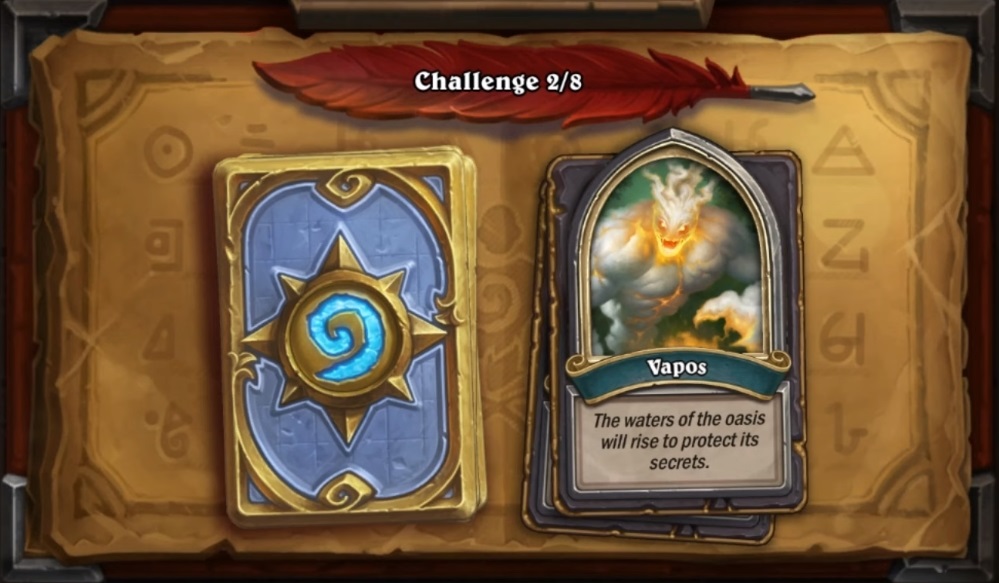
Barak Kodobane
We find out that the fissure of the Forgotten Pools contained one of the mysterious naaru shards. Guff’s friend Varden suspects more shards in the vicinity, and the team of adventurers advances to Lushwater Oasis, a landmark occupied by the aggressive Kolkar centaur.
At the start of the fight, we once again need to choose a hero power. Looking at the initial board state, I thought it’d be a great idea to get as much board generation going as possible, so I went with Varden’s option.
Thankfully, the game heavily increases our odds of winning by summoning a band of kodos on our side of the board. From there on, Barak’s Hunter-based beast deck should stand no chance against our kodo-infused Druid list. Barak’s Venomstrike Bow, however, can enable him to value-trade very efficiently – good thing that we chose Varden’s hero power that summons 1/1 freezing icicles!
Keep trading efficiently, and your late-game minions like Gold Road Grunt will do the rest.
Cannonmaster Smythe
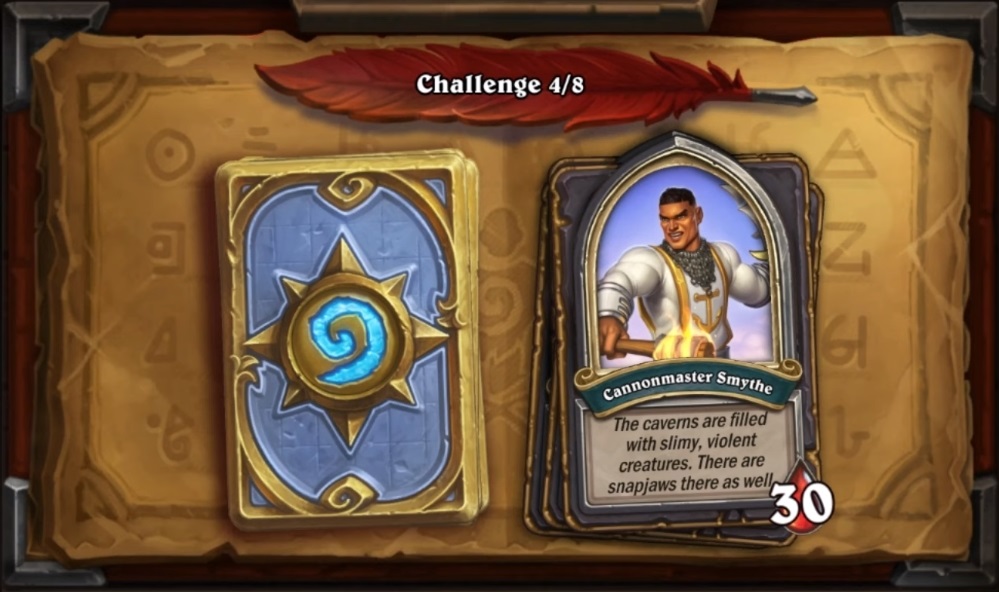
Before his demise, Kolkar warns the adventurers about the source of corruption lingering within the Wailing Caverns. Kazakus once again urges the mercenaries to retrieve more naaru shards at any cost. As they make their way into the caves, they meet a group of trigger-happy Alliance soldiers doing terrible things to the local snapjaw turtles.
With the fourth encounter of this edition of Book of Mercenaries, our deck transforms heavily. Guff’s new signature spells The Power of Love and Rest and Relaxation add a ton of early-game prowess, while the addition of ramp tools together with late-game beasts indicate only one thing: We’re playing Guardian Druid now!
We need to choose our hero power yet again, and I stuck with Varden’s option just because it adds a great Turn 1 play. Additionally, our deck is reinforced by five copies of the Suddenly Snapjaw spell which summons a 2/3 Divine Shield snapjaw turtle when drawn that also attacks immediately.
In terms of the general game plan, our goal is crystal-clear: Get the ramp party started and keep the board clear until you can apply the usual Guardian Druid recipe. Smythe’s passive hero power in combination with his secret-heavy Paladin list can throw a heavy wrench into our gears though, so try and resolve sticky secret situations as quickly as possible.
Other than that, you shouldn’t have too many problems overcoming your Secret Paladin opponent. it’s not like Smythe is particularly weak – it’s more that the addition of free board control provided by those cute little snapjaws makes the encounter almost trivial!
A Party of Adventurers
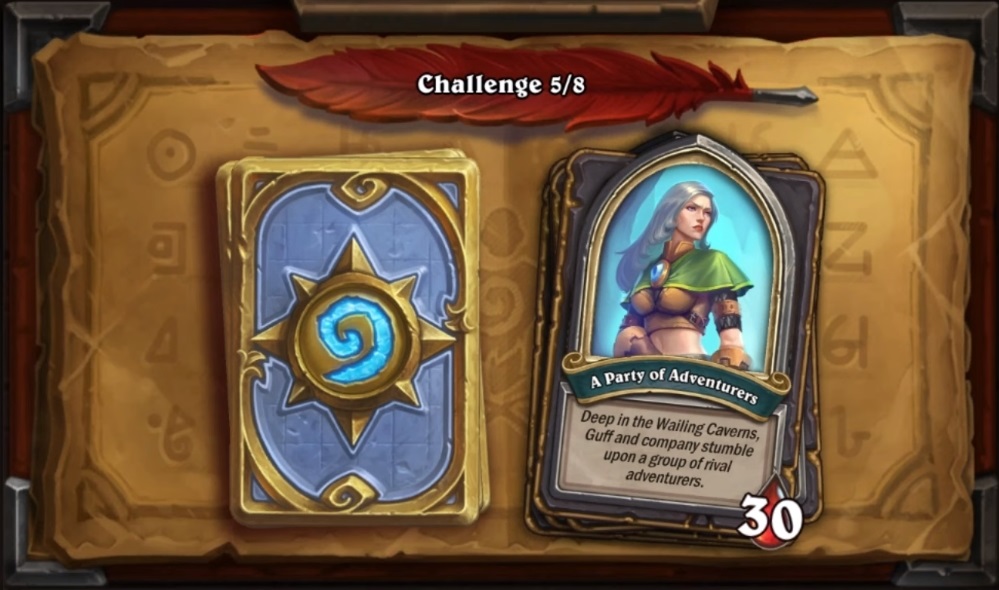
On their way into the caverns, the Horde mercenaries encounter another group of adventurers – what are they looking for?
Again, Varden’s hero power proves to be quite handy against the wave of 2/2s that are summoned during this encounter. Much more important in the fight against the adventurers are board removal options like Starfall. Remember the Octobot fight from Xyrella’s campaign? That’s where we had to use those options at the right time so that we don’t waste too much value – and the same goes for our fight against the Party of Adventurers.
Other than that, we should stick to our plan to execute the usual Guardian Druid win condition. Our two copies of Lake Thresher help tremendously with dealing with the zoo-style adventurer deck. Guffs signature spell The Power of Love has many practical use cases in this encounter, for example against Smug Senior.
Just like in any Guardian Druid match, it can happen that you just don’t draw into your copies of Guardian Animals – but do not worry! Guff’s beasts should provide enough power level on their own, and together with his signature spells, victory should be inevitable even without lucky draws.
Lady Anacondra
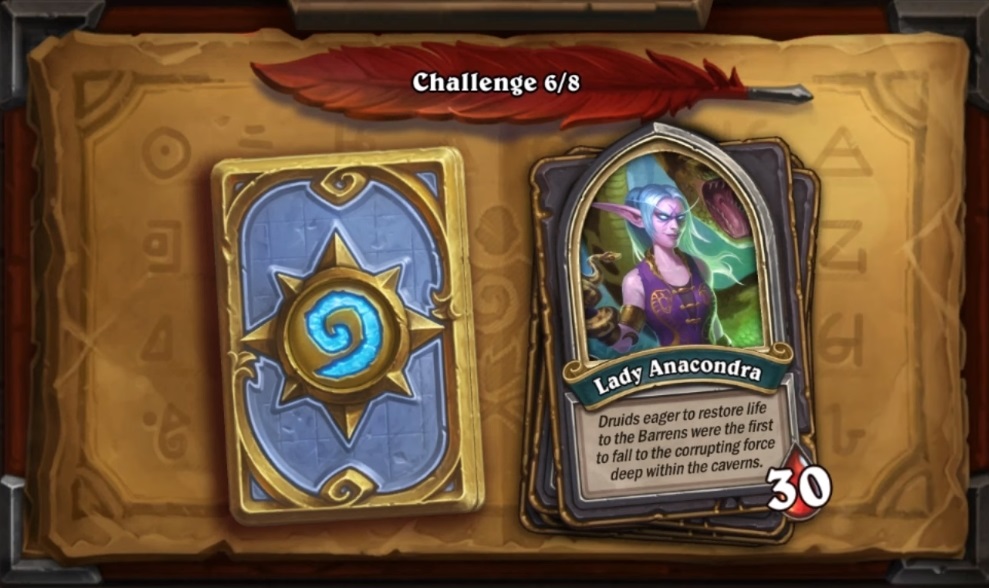
It seems that not only wild beasts inhabit the caverns. A group of druid fanatics watches over a questionable ritual taking place in the Wailing Caverns.
In the sixth challenge, our Druid evolves more and more into a Guardian Beast Druid hybrid list – and we’ll need every bit of beastly power against Lady Anacrondra, our druid enemy.
First off, her hero power directly influences the choice of our power. It is again Varden’s option that we should choose – mostly because a control effect against Anacondra’s poisonous beasts is more than welcome while building up big minions on our side of the board.
The Power of Love, our budget Mind Control spell, serves us more than well by being able to remove two poisonous beasts at once. Once you’ve dealt with Anacondra’s early-game threats, you should have no issues building up a big board. You can even go so far and make a greedy play for Survival of the Fittest. With enough ramp, you’ll be able to stomp the enemy despite their ability to create poisonous beasts basically for free. In the end, it is a mix of Ramp Druid tools and the general power levels of big beasts that guarantees victory.
Mutanus

After they’ve dealt with Lady Anacondra, the mercenaries continue their way into the cave system – and discover a freakish creature that looks like a …murloc?
A murloc opponent, playing a murloc deck, with a hero power that buffs murlocs? That sounds like trouble for our group of adventurers!
I really love the concept behind choosing different hero power from our friends – but it is yet again Varden’s option that makes most sense against a list that floods the board with early-game murlocs.
Only a few cards change in our list – but one change changes everything, and that is the addition of Celestial Alignment. In the right situation, this card single-handedly wins you the game against an archetype that relies on playing multiple murlocs each turn. If you don’t happen to draw it early, don’t worry – play out your normal Guardian Druid game plan, and you should be able to snag a win. But why not win in style against a mutated murloc?
Similar to the other encounters of this chapter, staying alive during the early-game parts of the match is of utmost importance. The Power of Love comes in as a match-winner yet again, and even relatively weak card additions like Stubborn Gastropod make life easier in the early turns. Once you’ve picked up speed thanks to ramp and card draw, Guff should have no issues “befriending” the dweller of the deep named Mutanus.
Void Naralex
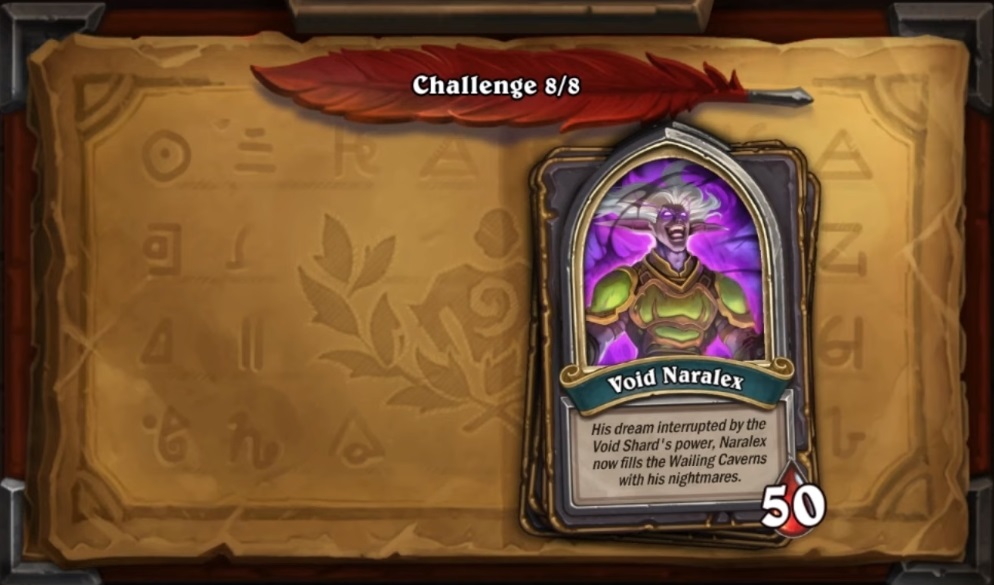
Guff and his friends identify a particularly powerful druid called Naralex as the root of corruption in the caves of the Barrens. By the looks of it, the night elf wanted to enter the Emerald Dream to restore his homeland to the state it was in before the Shattering happened – but the naaru shard located in the Wailing Caverns took control over him.
Despite the overall lack of difficulty of this chapter, the last encounter against Naralex definitely has one or the other trick up its sleeve. For example, Naralex’ hero power summons a 4/1 Rush snake that happens to be poisonous as well.
Overcoming these snakes in the early game proves to be quite difficult. Our early-game removal options are limited – but guess what? The Power of Love once again saves us! Use the weapons of your enemy against them, and you shall be rewarded with safety in the early stages of the game.
Another important bullet point in our game plan is to summon our party as quickly as possible. As the first encounter of the chapter, this last fight features our friends as minions in our decklist – so go ahead and get them on the board! Their effects are quite powerful, and the fact that they return after two turns of Dormant makes them an essential win condition.
Also, be aware of any Celestial Alignment shenanigans. Naralex runs a weird Priest/Warlock hybrid list spiked with high-value Corruption cards, so we don’t want him to get too much value out of his plays. That goes especially for Psychic Scream, the nightmare of any mana-cheating Druid deck.
Similar to many other final encounters of the last single-player campaigns, this match can very well go the full distance. Try to make good use of your two copies of Primordial Protector because they serve as the main source for non-deck value generation.
We also lost Survival of the Fittest as the ultimate board buff tool, thus not playing into huge board clears too much rewards us with a steady amount of board presence.
In the end, it is the incredible power of friendship in the form of all mercenaries on the board that will win you the match against Naralex. Un-corrupt the sleeping druid, and you will successfully claim the naaru shard and the win in Guff’s Book of Mercenaries!
It is possible to defeat A Party of Adventurers, but you will need both a good starting hand and draw luck. Save big board clears until there are 6 or 7 enemy minions. I used Dawngrasp’s hero power (ice shard) and tried to eat some face damage until I could place taunts and build a strong board control.
See: https://imgur.com/gallery/BjaGi2J
So…. The current nerf to standard. About that. It has buffed the Barak Kodobane battle for this mercenary track. How do we get that changed. I’ve tried so many battles, all the hero powers. The extra health and attack means that you can’t trade 1-1 on some of the starting mobs and leave your minion on the board. So no trade extra health loss. I’m at a loss. Maybe team 5 can rebalance the battle I feel that it is near un-winnable.